
Because of their high quality and near-universal compatibility, MP4 videos are the common output for many video or multimedia-capturing devices — especially cameras and drones. However, that also makes them a common target for corruption.
This is not only true because of the circumstances around the capture of MP4 video files but also due to their quality — MP4 files are much more sensitive to errors than less sophisticated video file system formats.
We created this guide with both of these challenges in mind and compiled 6 different and proven ways to fix corrupted MP4 files (using completely free tools).
Table of Contents
3 Tips to Improve Your Chances of Successfully Repairing Your MP4 Video
Successful file repair depends on a lot of different factors, which makes it impossible to guarantee 100%. However, there are simple due diligence practices that you can do to improve your odds as much as possible:
- Stop capturing videos. Do not save any new footage (or other types of data) to the storage device containing your corrupted MP4 file. Depending on the nature of the corruption, parts of its data may get overwritten by new file data, which can make repair and recovery much harder.
- Safely eject your drive. If you want to remove your storage device from the media capture device it’s inserted into (e.g. to back up your files or insert the drive to your Mac), make sure to eject it properly. Most devices have a Safely Eject feature that commences the appropriate disconnection procedures that ensure all processes conclude properly.
- Back up your files and/or storage device. We strongly recommend that you back up your files or your entire storage device (e.g. image backup). Repair procedures on their own can cause further corruption of files under certain conditions. The goal is to keep trying different solutions until we find the right one, so make sure you have copies!
6 Free Ways to Repair Corrupted MP4 Files
In this section, we cover 6 different ways to repair corrupted MP4 files. Because corruption can be caused by a lot of different reasons and can manifest in different ways, it’s hard for the average user to pinpoint the exact solution for their case.
To resolve that, we wrote this guide section in order of difficulty. Start with Fix #1 to eliminate potential issues and work your way down the list until you find the appropriate solution.
Fix 1: If You Used a Camera or Drone, Try Reinserting Your Memory Card or Rebooting It
If you used a camera or drone to capture your corrupted video, it may be one of the many devices that have a built-in auto-repair (or at least, auto-reindexing) feature that attempts to fix minor indexing issues. You can trigger this feature on some devices by physically reinserting the memory card into the device.
Another common fix is to reboot your device while the memory card is still inside, which might be the trigger action for other devices.
Fix 2: Repair Your MP4 File Online
If reinserting your memory card or rebooting your camera didn’t work, the next easiest method to repair corrupted MP4 files is by using an online MP4 repair software. We’ll be using Clever Online Video Repair for this demonstration because you can use it for free for files up to 5 GB in size (which is a LOT).
It’s also one of the few online repair tools (especially free ones) that is capable of restoring videos with a missing or corrupted Moov Atom. This is a part of the file that contains all the important metadata about the video that media players need to process and stream it.
It’s usually written to the storage device last, which means that it often goes missing in scenarios like sudden shutdowns, drone crashes, or other interruptions during the recording process. Given that MP4 videos are often used as output for cameras, Clever Online Video Repair’s Moov Atom repair feature should be extremely useful.
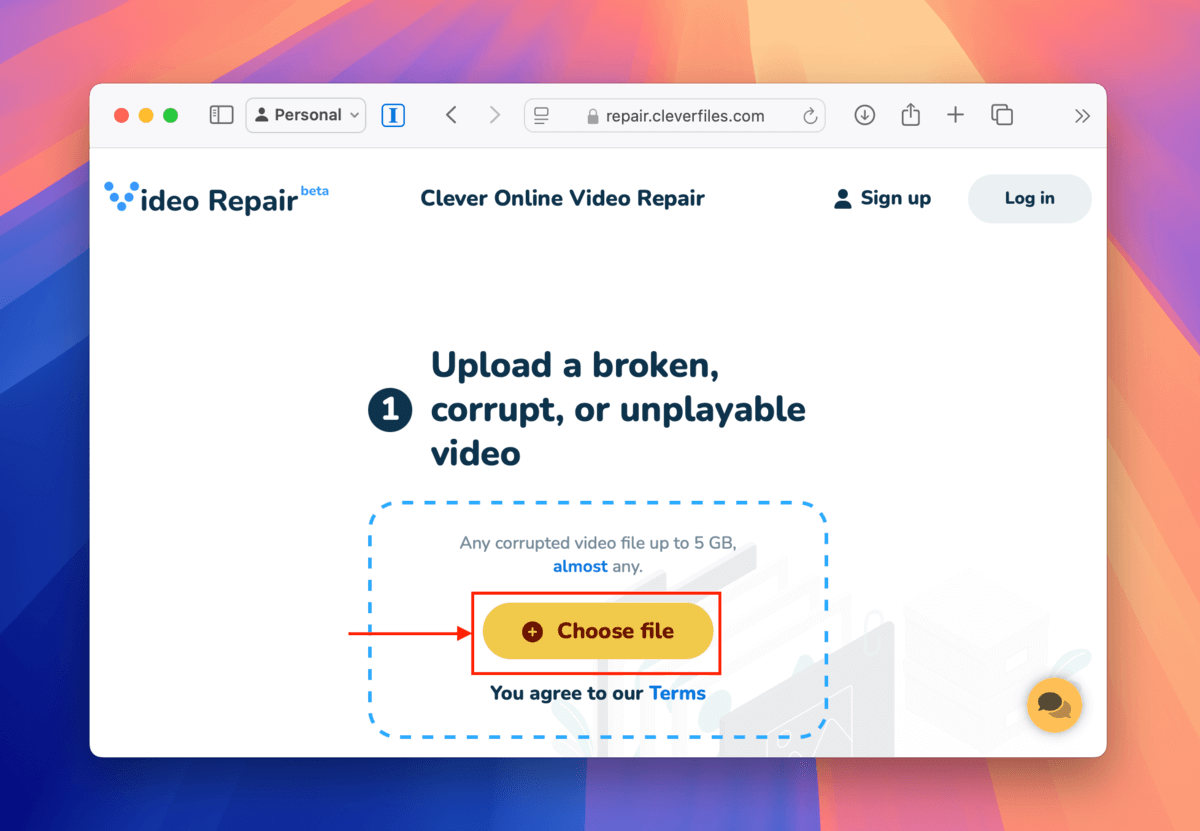
Step 1. Open any browser on your Mac and go to repair.cleverfiles.com.
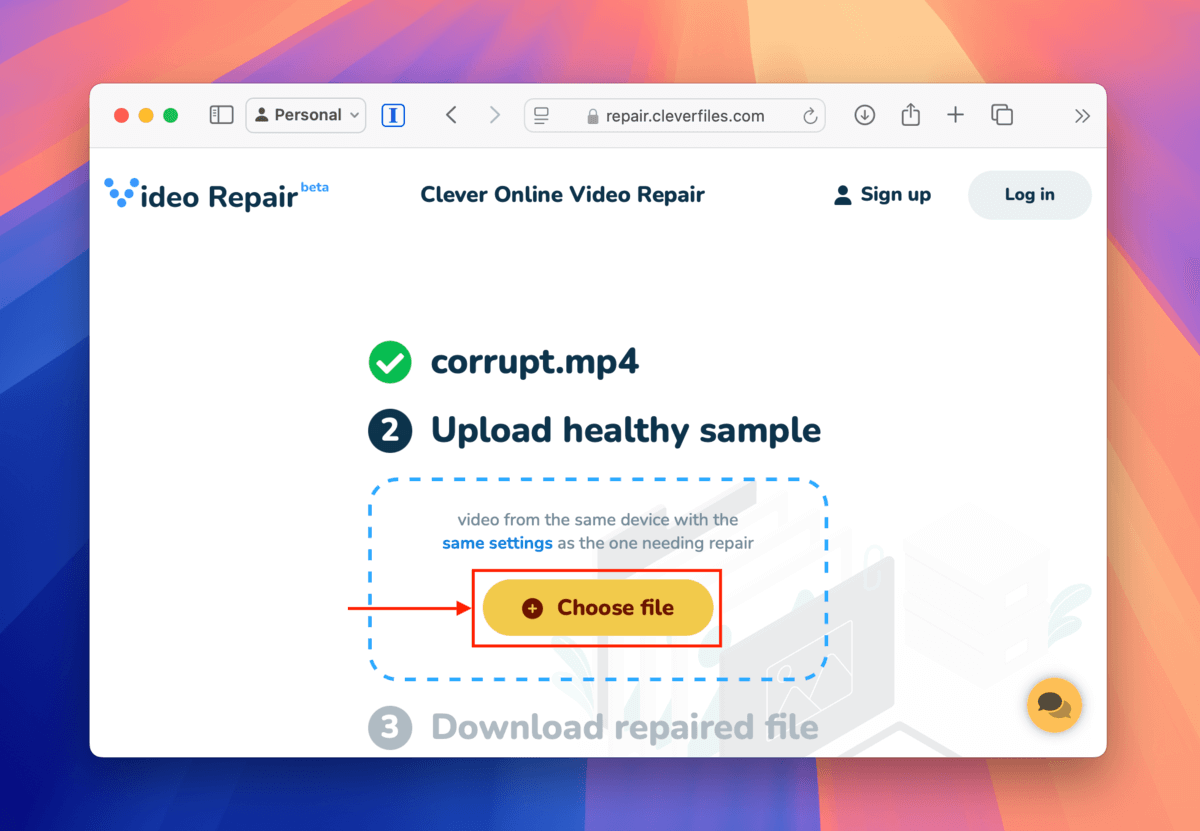
Step 2. Once the page loads, click Choose file.
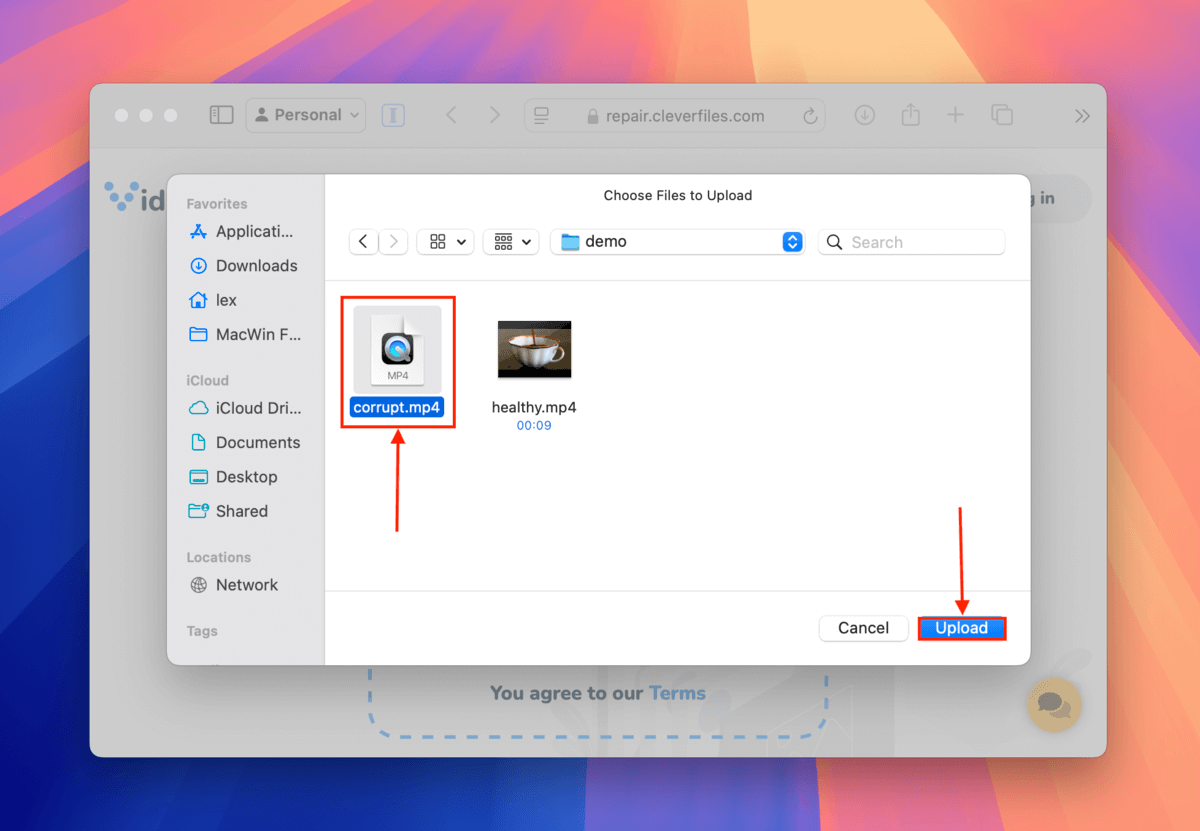
Step 3. A dialogue window will appear. Select your corrupted MP4 file and click the Upload button.
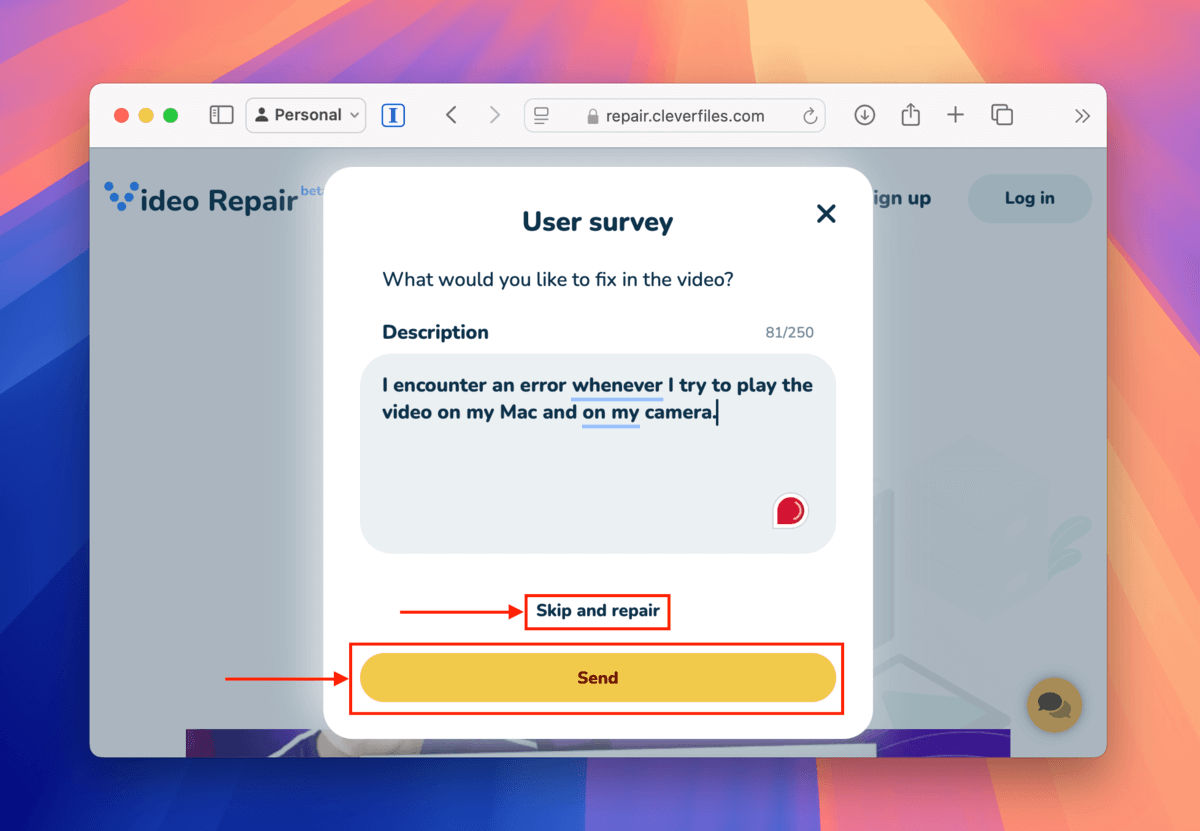
Step 4. If you can, fill up the user survey and detail what happened leading up to and after the corruption of your MP4 file. Then, click Send. If you can’t recall the details or you’re unable to fill it up due to privacy issues, click Skip and repair.
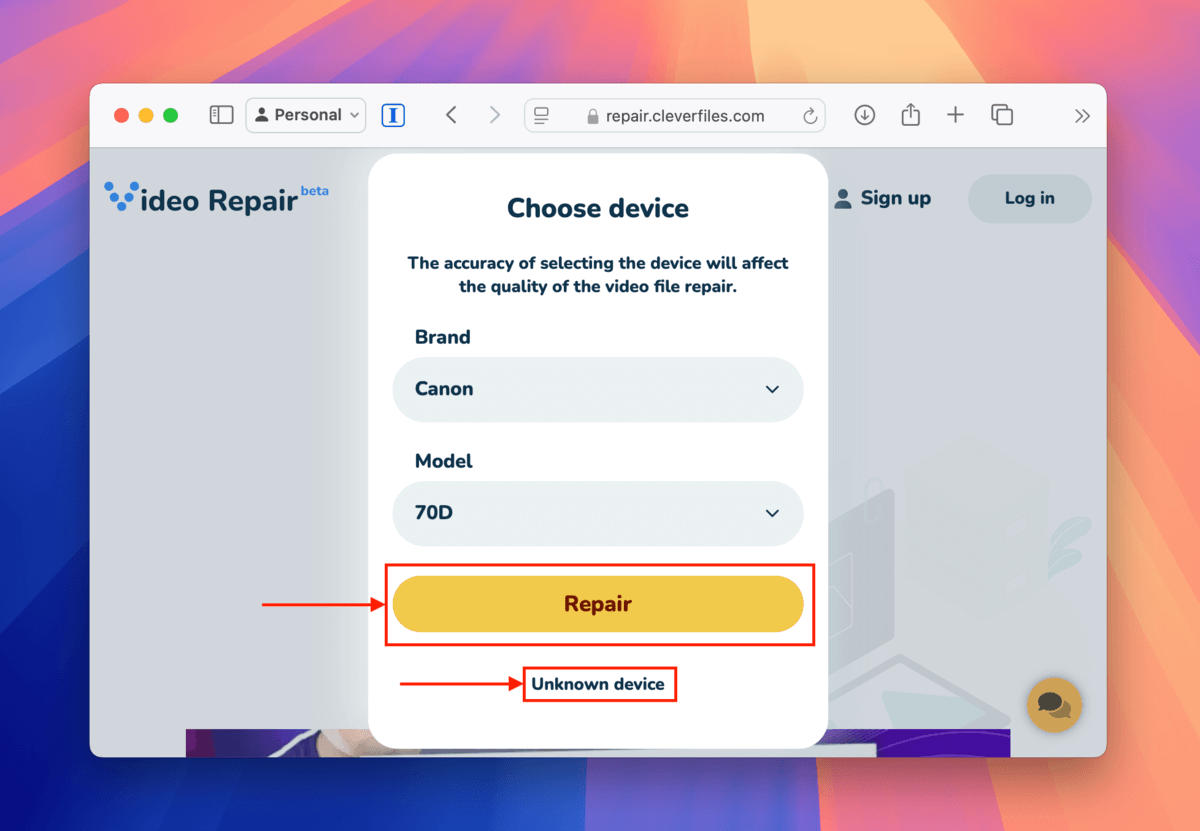
Step 5. Select the brand and model of the device you used to capture the MP4 file’s video. This can improve your chances of restoring your files. Then, click Repair. If you can’t recall which device you used, click Unknown device.
Step 6. Once your file has been uploaded successfully to the web app, another Choose file button will become available. Click it.
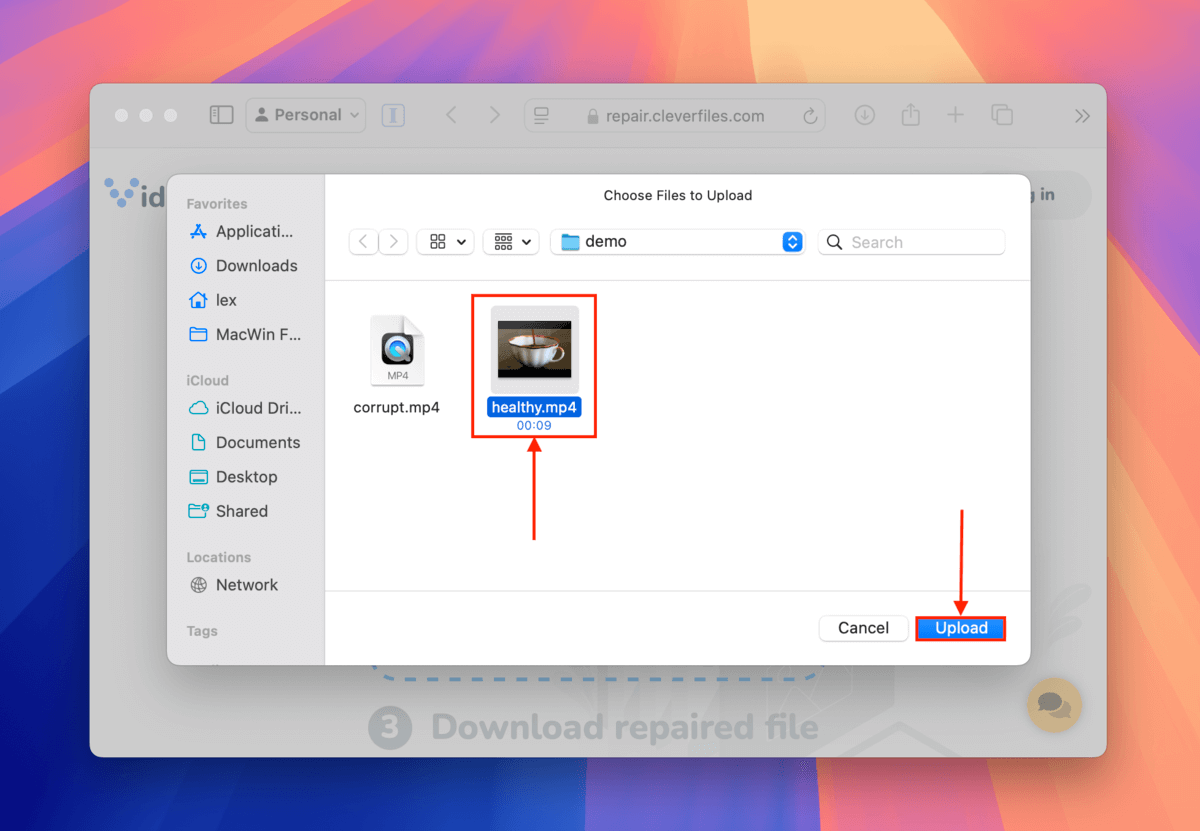
Step 7. A dialogue window will appear again. This time, select your healthy video sample and click Upload.
Step 8. Once your file has been uploaded to the web app, Clever Online Video Repair will automatically try to fix it. If successful, you’ll be able to preview screenshots of the video. Once you’re satisfied with the results, click the Download button.
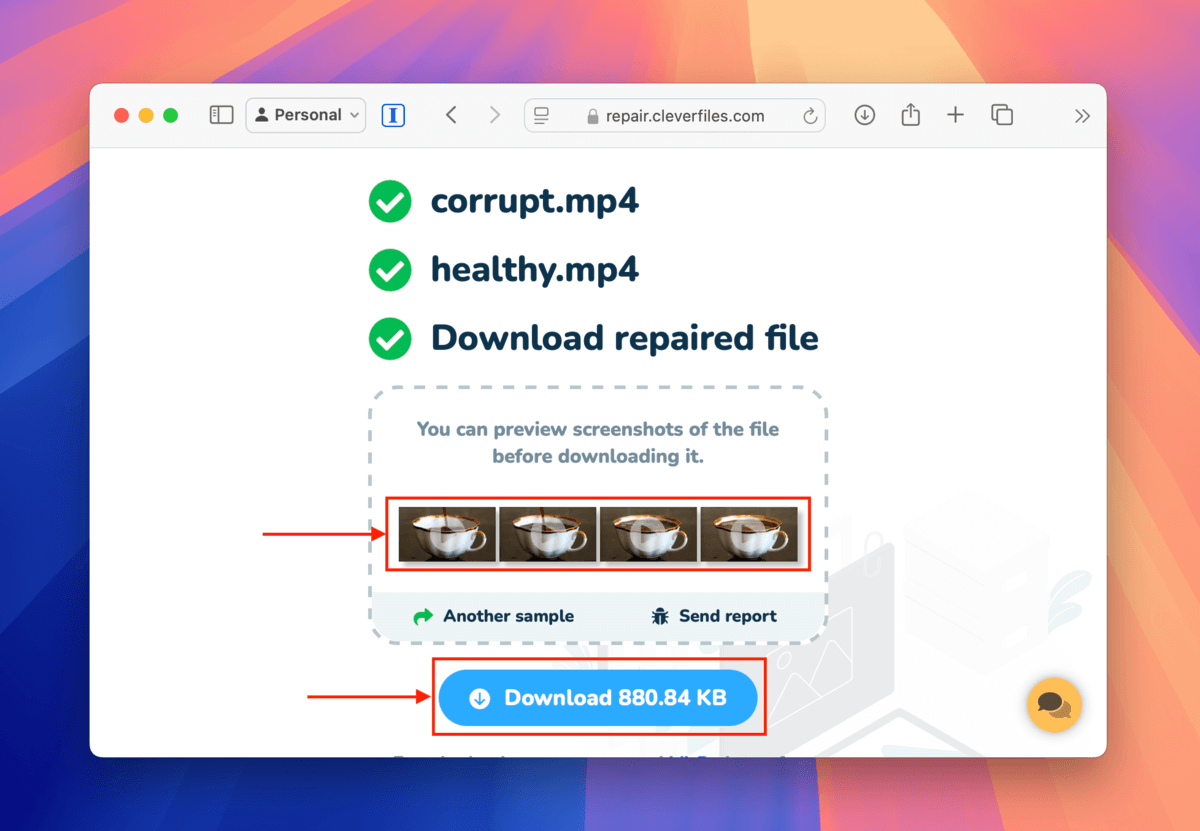
The repaired file will be downloaded to the location you selected in step 8. Try opening it with various media players to make sure it fully works.
Fix 3: Check Manufacturer or Device-Specific Tools
Check your device manual or the manufacturer’s official website for any proprietary tools they may have designed in the device itself.
Some examples we’ve covered in other articles are GoPro SOS and DJI’s Power Cycling feature (as well as Djifix, which wasn’t released by the manufacturer but by a third-party company).
These built-in MP4 video repair tools are usually designed specifically to address video errors that are known to occur on those specific devices — so they are better equipped to resolve those issues.
Fix 4: Utilize VLC Media Player’s AVI Repair Tool
VLC Media Player is a free and open-source multimedia player app with a built-in auto-repair tool for AVI files. It can “fix” AVI videos with minor corruption by reconstructing the file’s index while ignoring the corrupted parts as best as it can.
As the name suggests, the tool only works for AVI files. However, you can force VLC Media Player to repair your MP4 file by treating it as an AVI – to achieve this, you can replace its filename extension in Finder.
We’ll show you how to do the entire process in the guide below.
Step 1. Download and install VLC Media Player on your Mac.
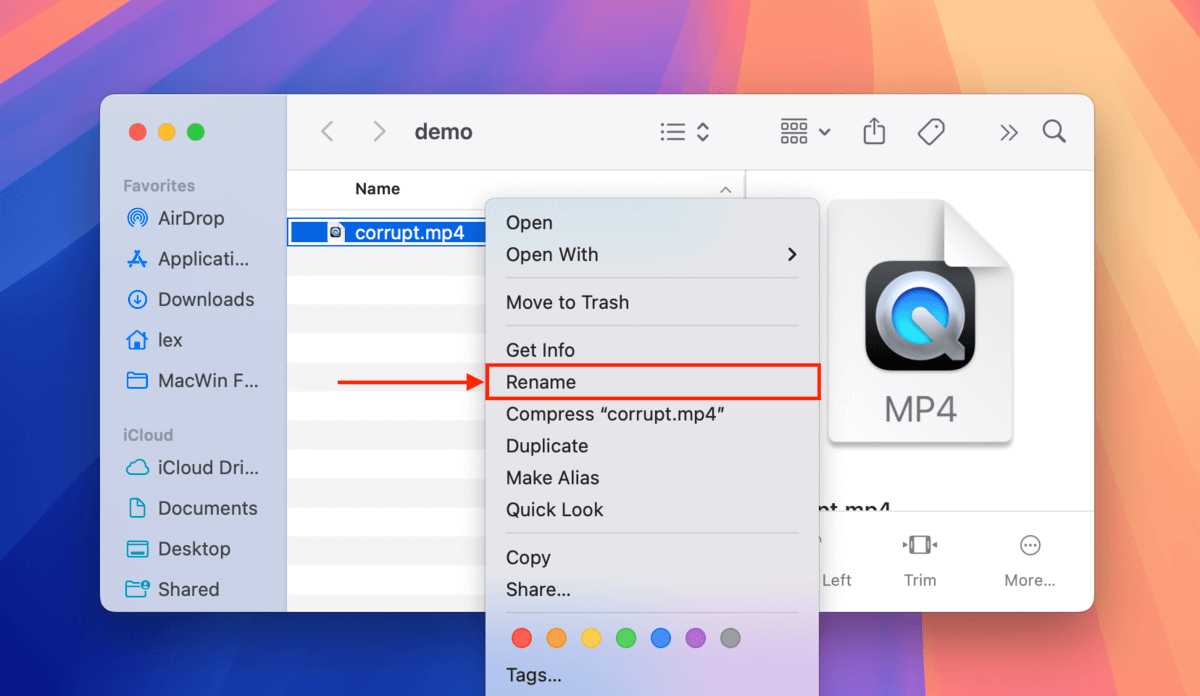
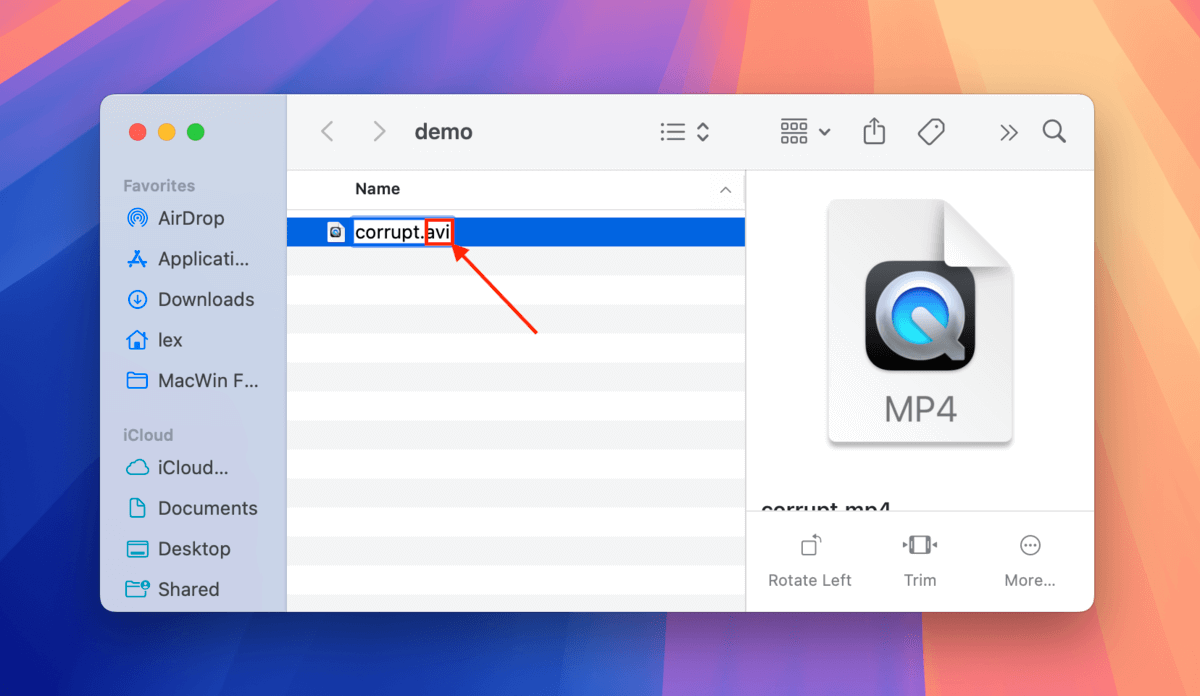
Step 2. Open Finder and locate your corrupted MP4 file. Then, right-click your file and click Rename.
Step 3. Replace your file’s extension from mp4 to avi (make sure you have a duplicate of your video file in case this method doesn’t work).
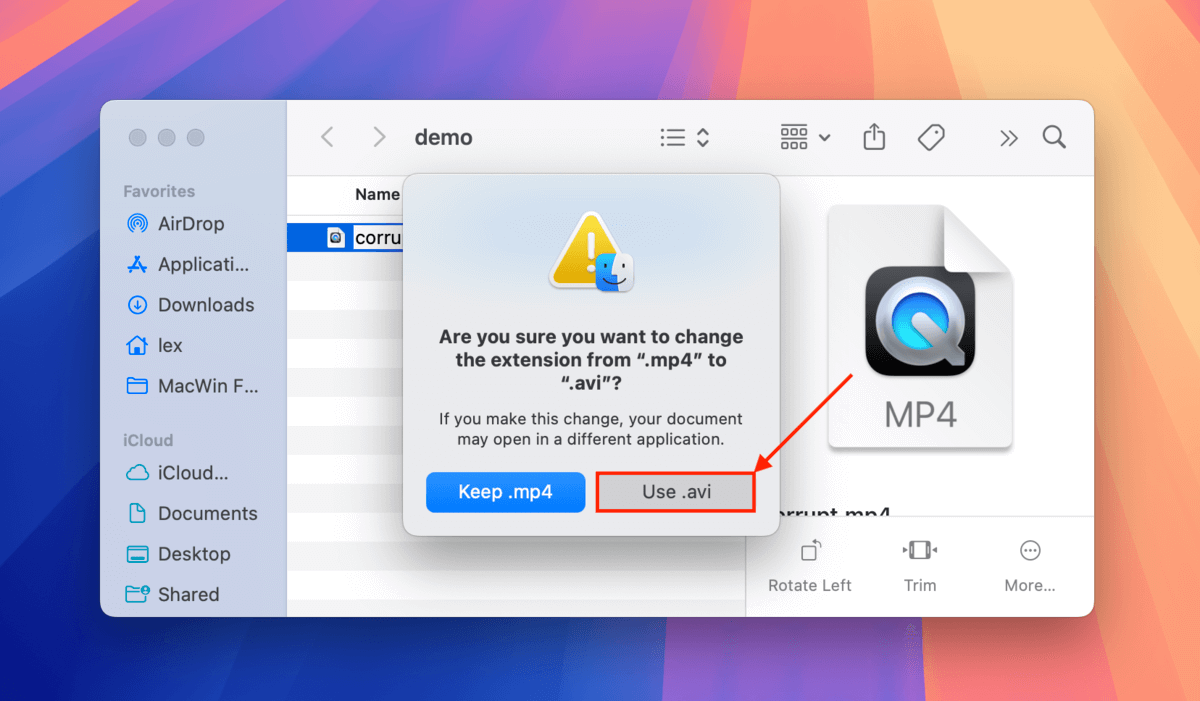
Step 4. In the dialogue box that appears, click Use .avi.
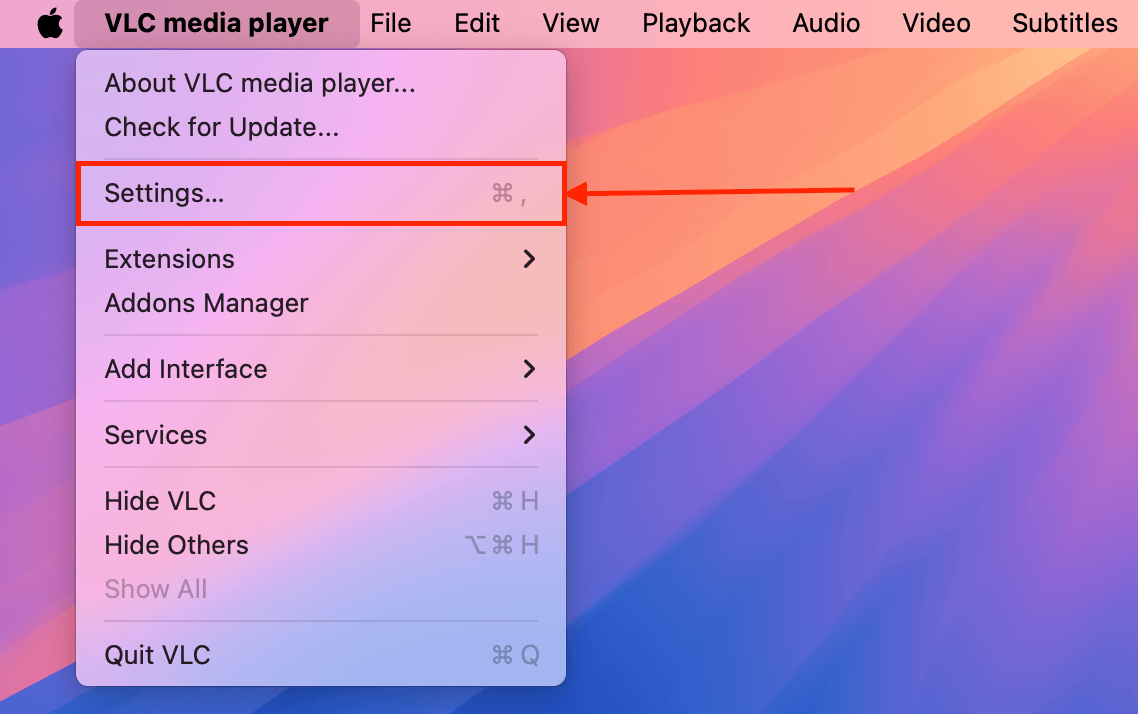
Step 5. Next, open VLC Media Player (but don’t open your file). Then, on the menu bar, click VLC media player > Settings.
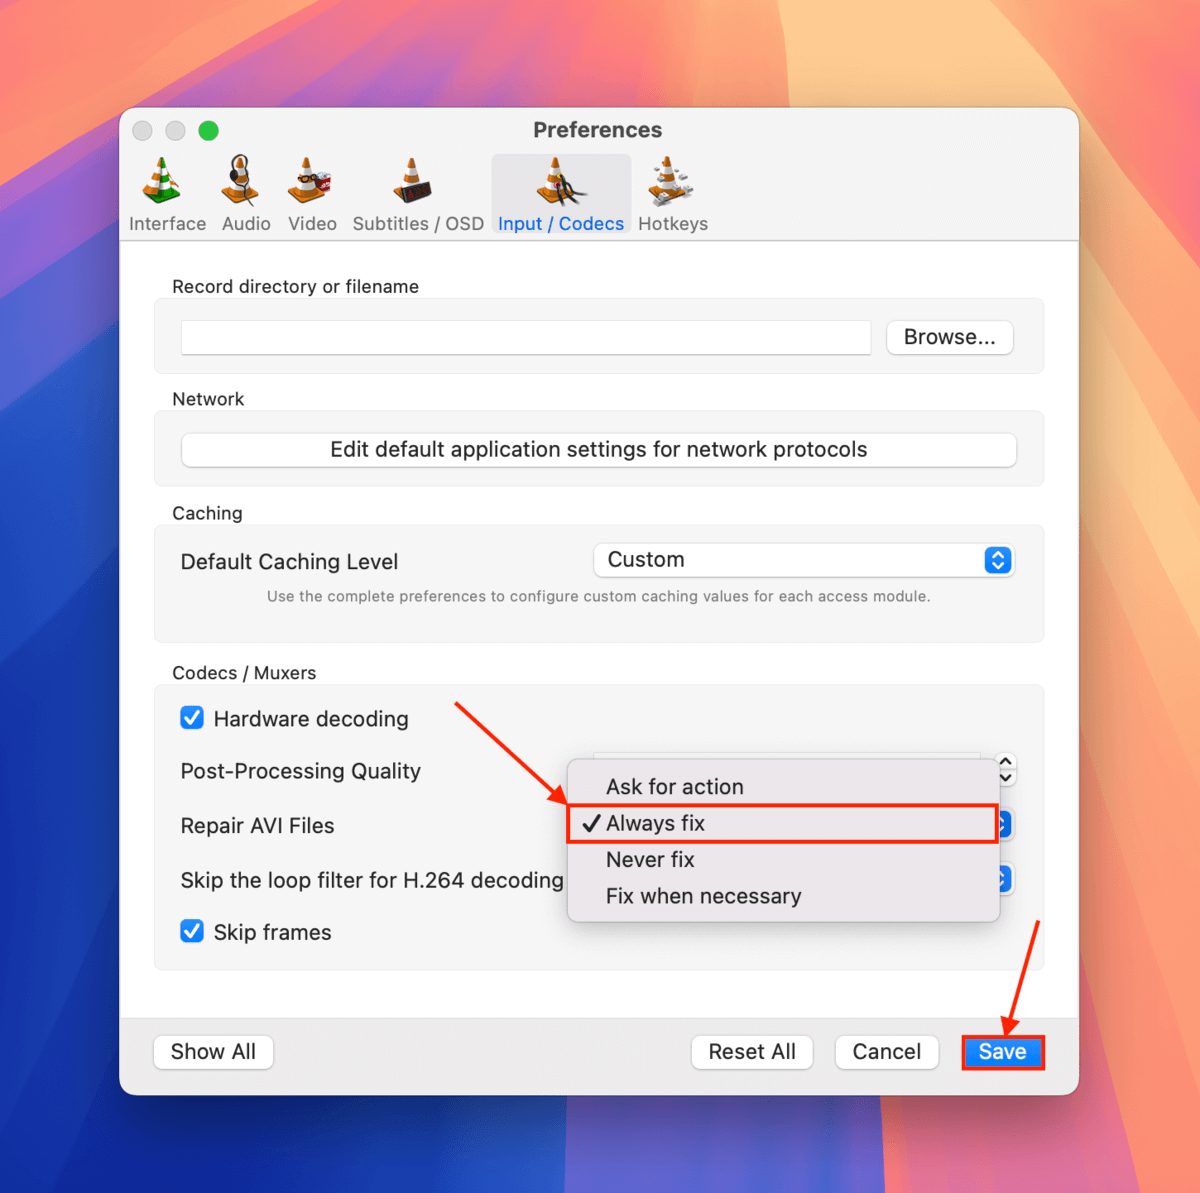
Step 6. Navigate to the Input / Codecs menu. Then, beside Repair AVI files, click the dropdown menu button and select Always fix. Click Save to confirm the changes.
Once you’ve saved the Always fix parameter, you can immediately attempt to open your “AVI file.” On VLC’s menu bar, click File > Open File… to select and attempt to play your MP4 file.
Fix 5: Convert Your MP4 Video Using VLC Media Player
VLC Media Player has a conversion tool that you can use to convert your corrupted MP4 video into another file format (like AVI).
This method can help repair corrupted videos that malfunction due to a broken or damaged container (MP4) by copying the video and audio streams into a newly-built container (AVI) that can ignore errors that MP4 containers typically flag.
Aside from utilizing a less “strict” container, the conversion process itself rebuilds the file system structure, which can also resolve other cases of minor corruption.
Step 1. Download and install VLC Media Player on your Mac (it’s free!).
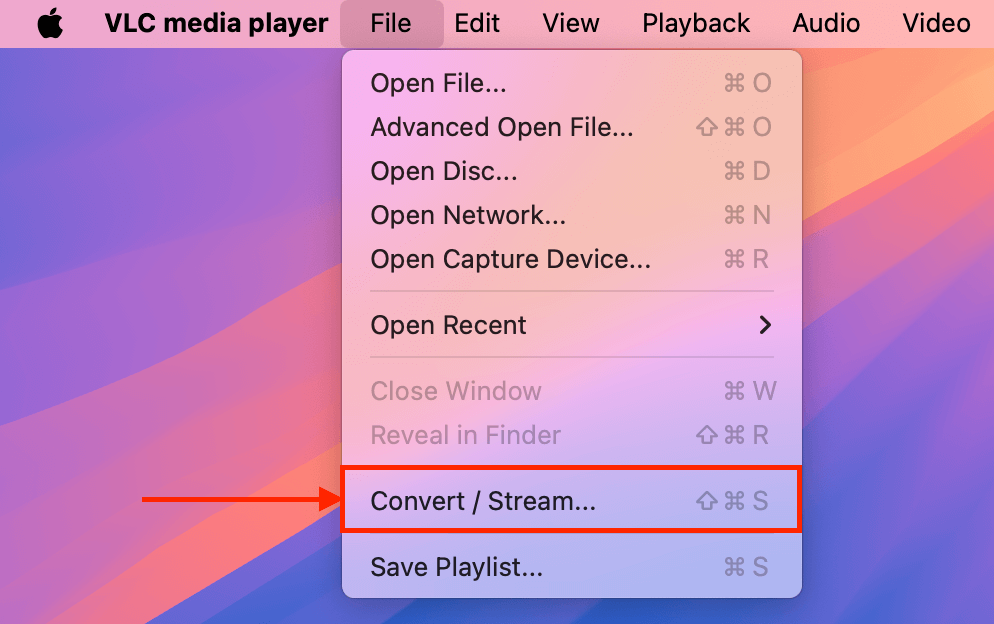
Step 2. Open VLC Media Player. Then, on the menu bar, click File > Convert / Stream…
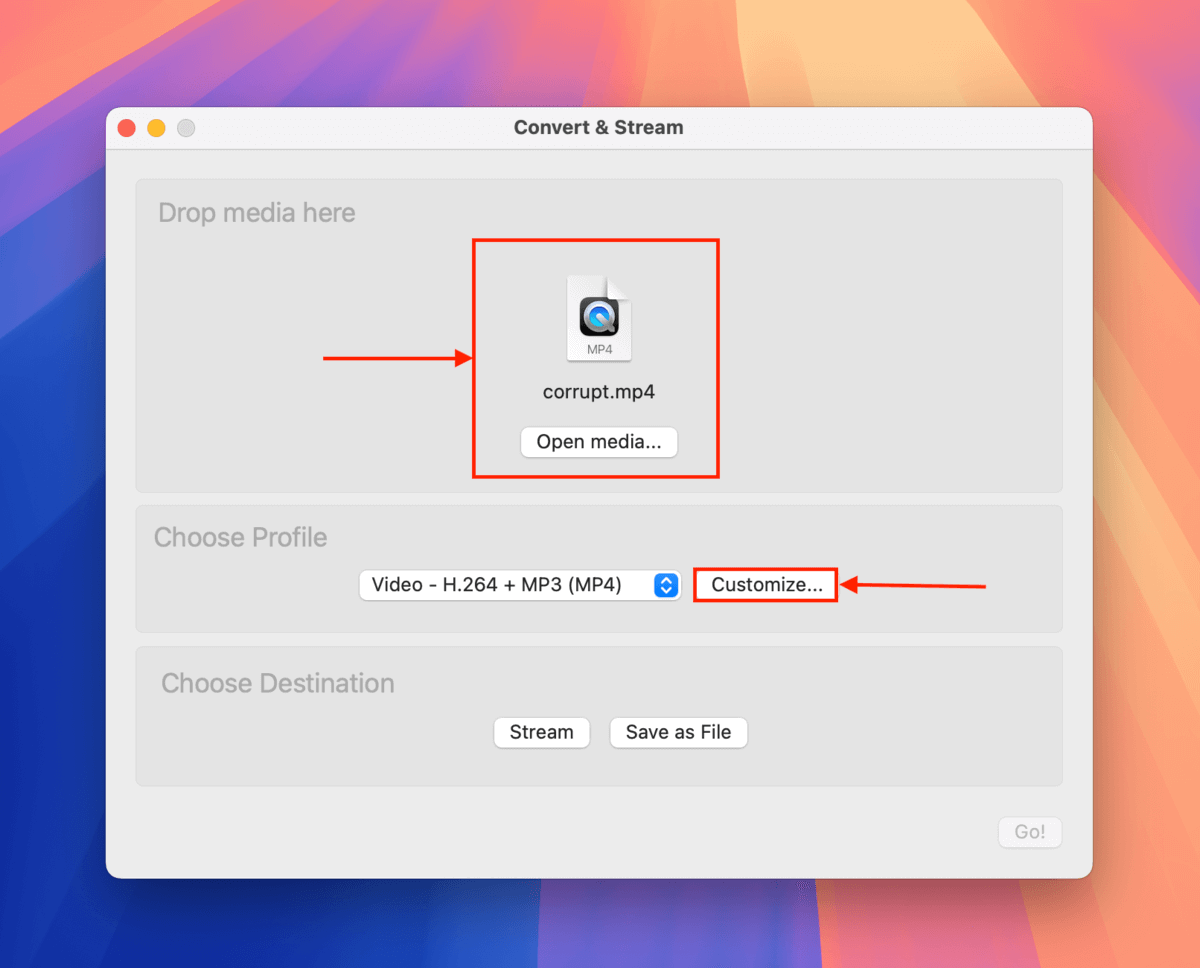
Step 3. In the window that appears, drag your corrupted MP4 file in the Drop media here section or you can select it manually by clicking the Open media… button. Once your file is uploaded, click Customize…
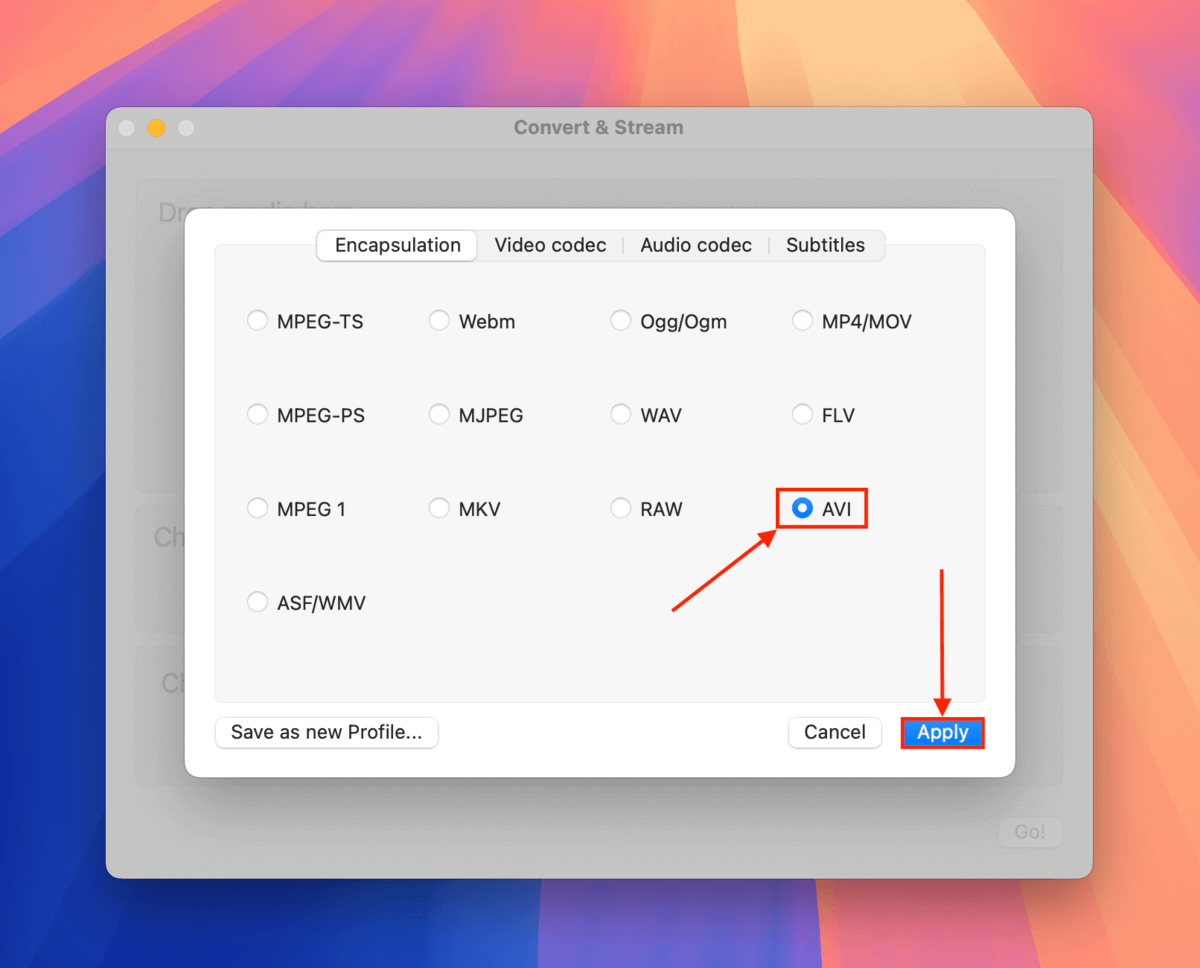
Step 4. In the Encapsulation menu, select a new format for your MP4 file. Then, click Apply.
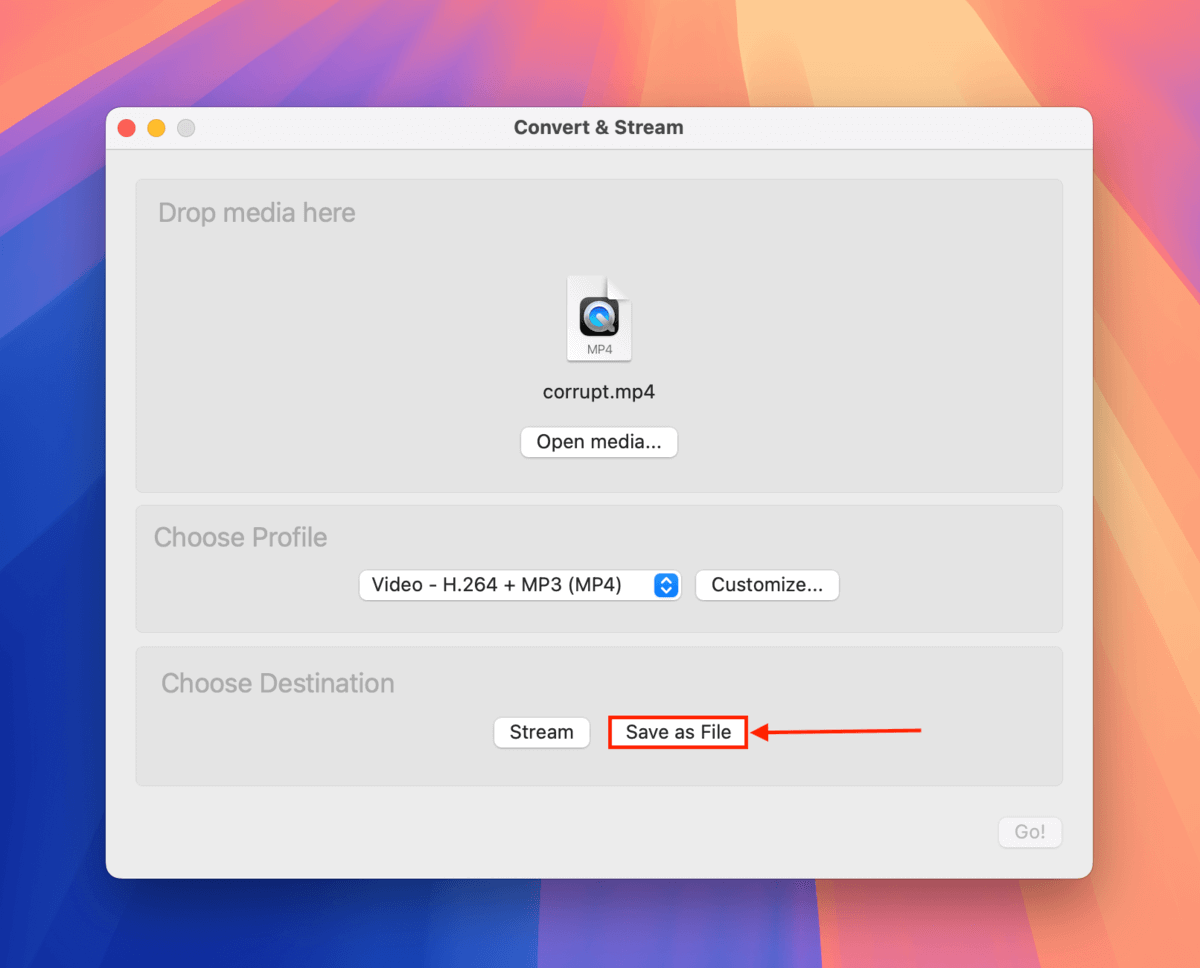
Step 5. Click Save as File.
Step 6. Click Browse…

Step 7. Select the folder where you want VLC Media Player to save the converted file. Finally, click Save.
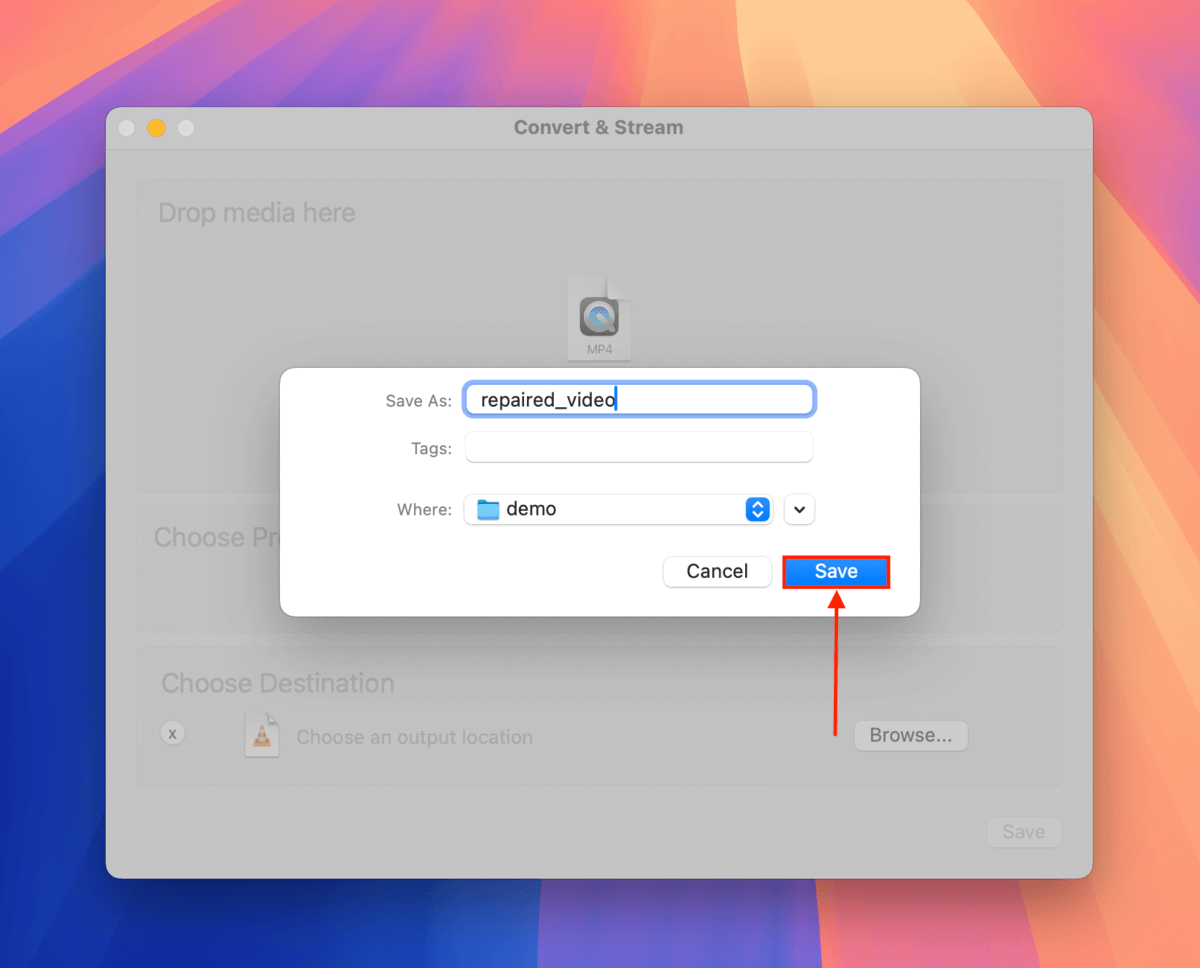
Step 8. In the Convert & Stream window, click Save.

When the conversion process concludes, you can find your converted video file in the folder you selected in step 7. We strongly recommend that you try opening it in VLC Media Player asap (menu bar > File > Open File) to make sure it works.
Fix 6: Re-Encode the MP4 File Using FFmpeg
If conversion doesn’t work, re-encoding your video follows a similar logic. Re-encoding decodes the video and audio stream of your file and re-encodes them into a new file.
On top of fixing the broken MP4 container (by re-building it), the tool we’ll use for the task, FFmpeg, also has more intelligent error handling than VLC Media Player and its advanced transcoder is better at processing broken or missing frames.
Like VLC Media Player, FFmpeg is completely free and open-source!
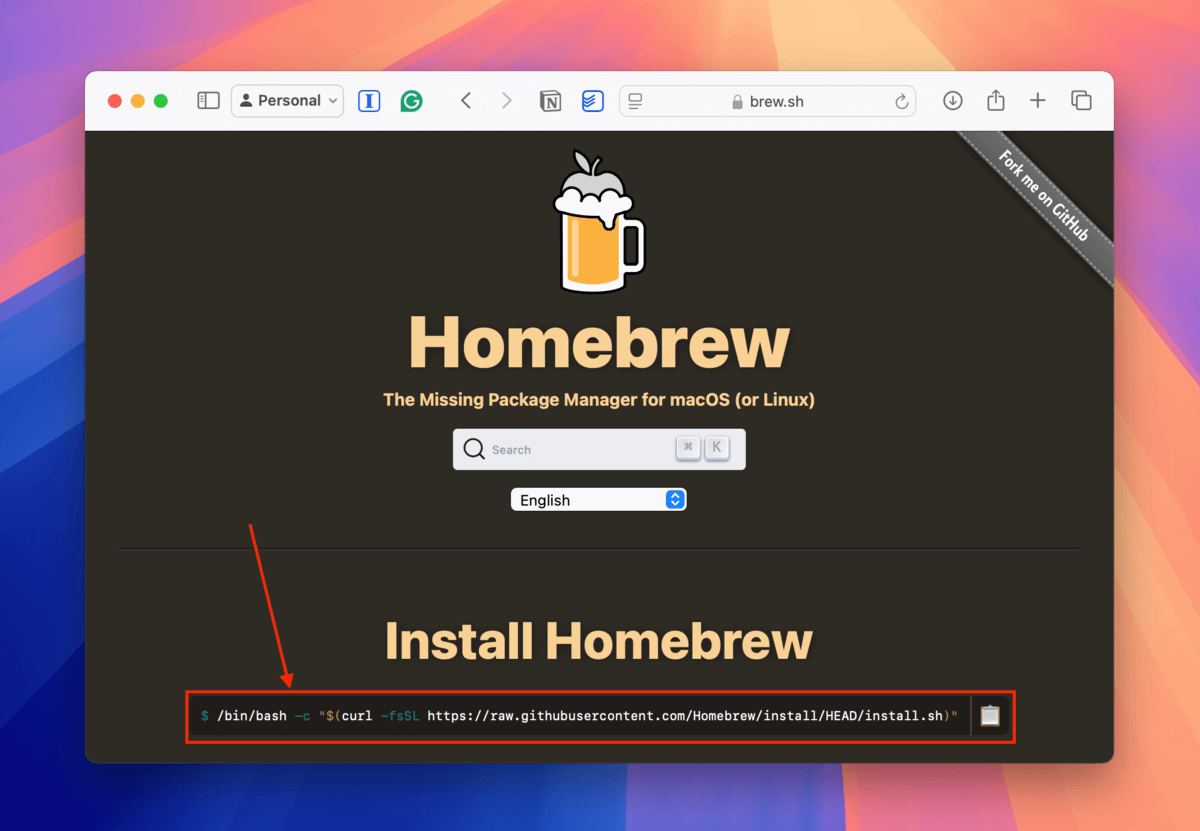
Step 1. The easiest way to install FFmpeg is via Homebrew. Visit Homebrew’s homepage and copy the featured link (it has a clipboard icon beside it).
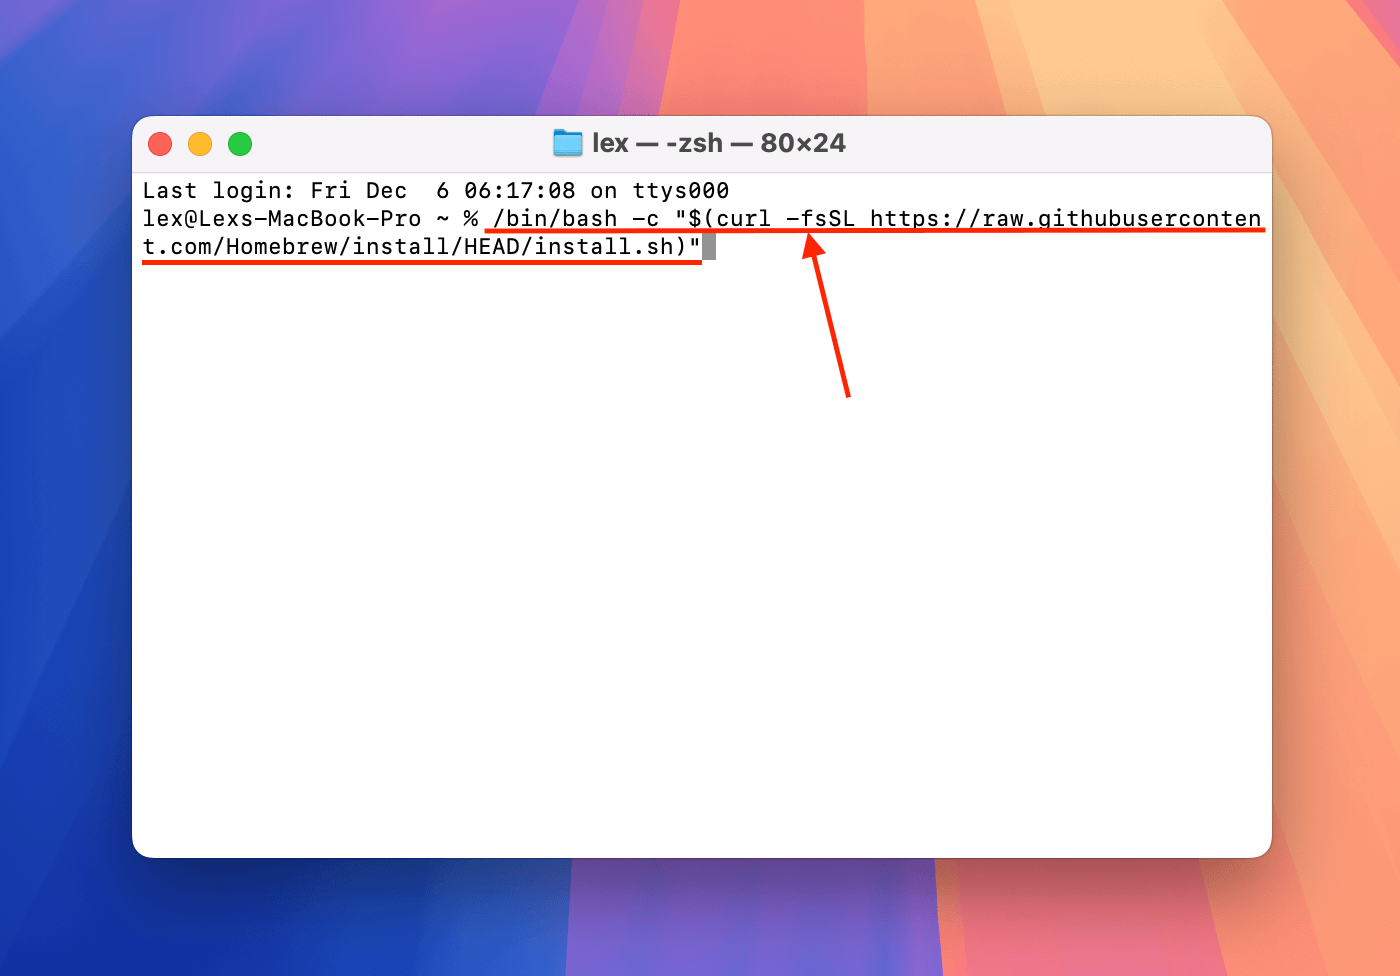
Step 2. Open your Terminal app (Finder > Applications > Utilities). Then, paste the command you copied from Homebrew’s homepage. Then, press Return to execute the command.
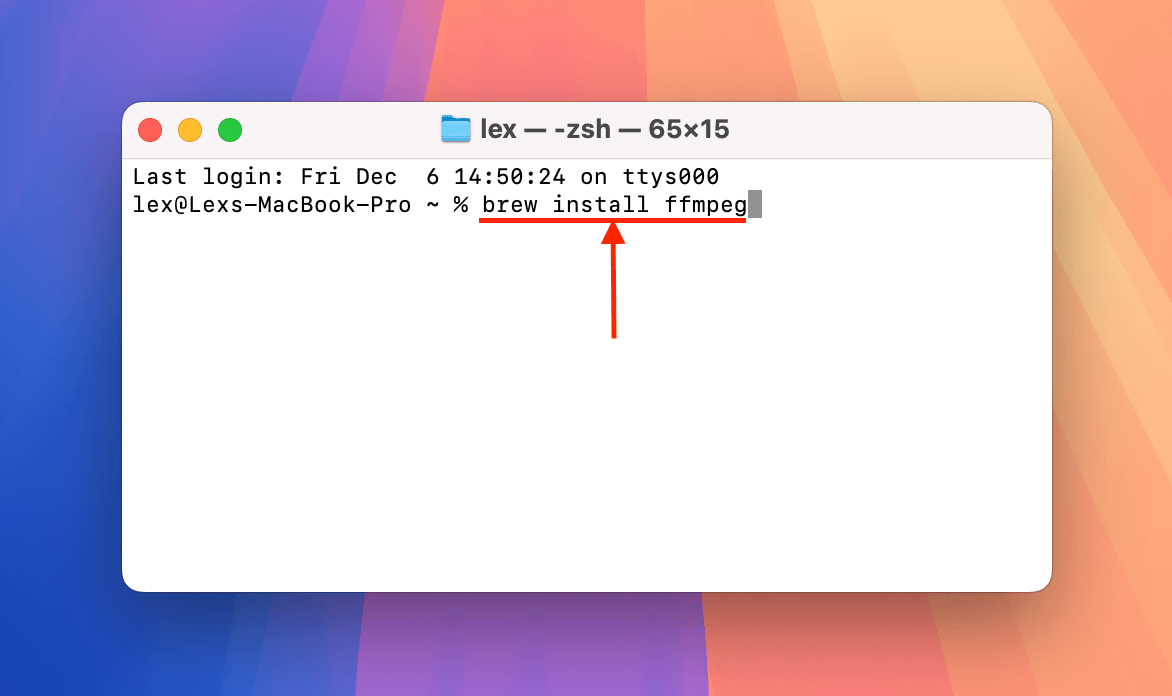
Step 3. After Homebrew has been fully installed on your system, execute the next command to install FFmpeg:
brew install ffmpeg
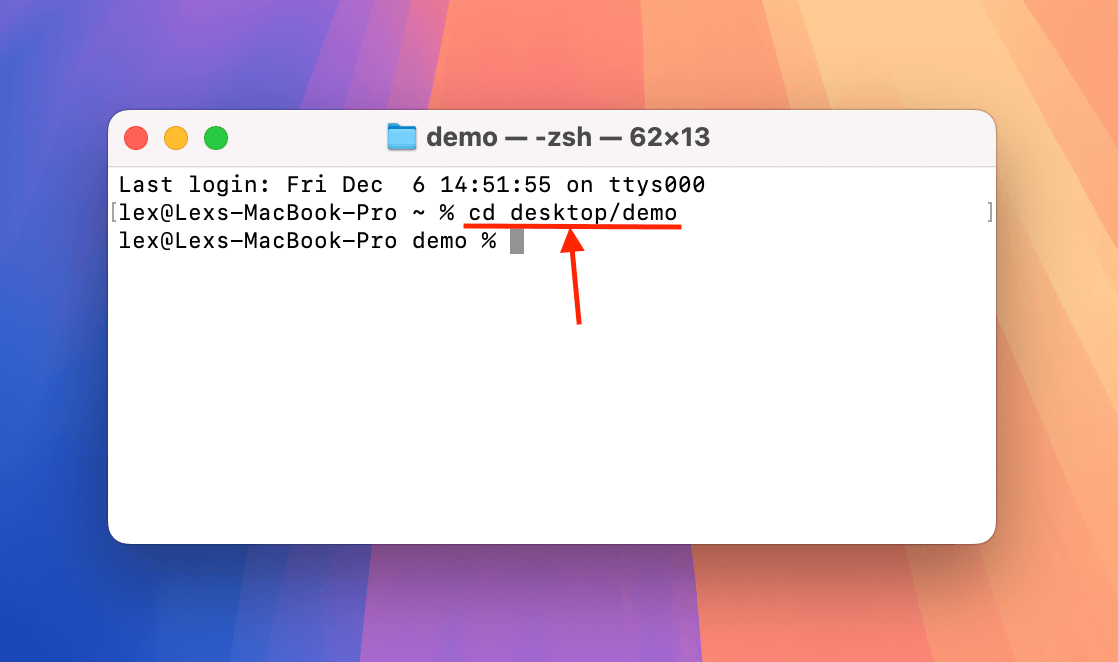
Step 4. Upon successful installation, change Terminal’s working directory to the folder where your corrupted video is stored. Here’s the command I used for my directory:
cd desktop/demo
Replace desktop/demo with the appropriate folder pathname on your Mac.
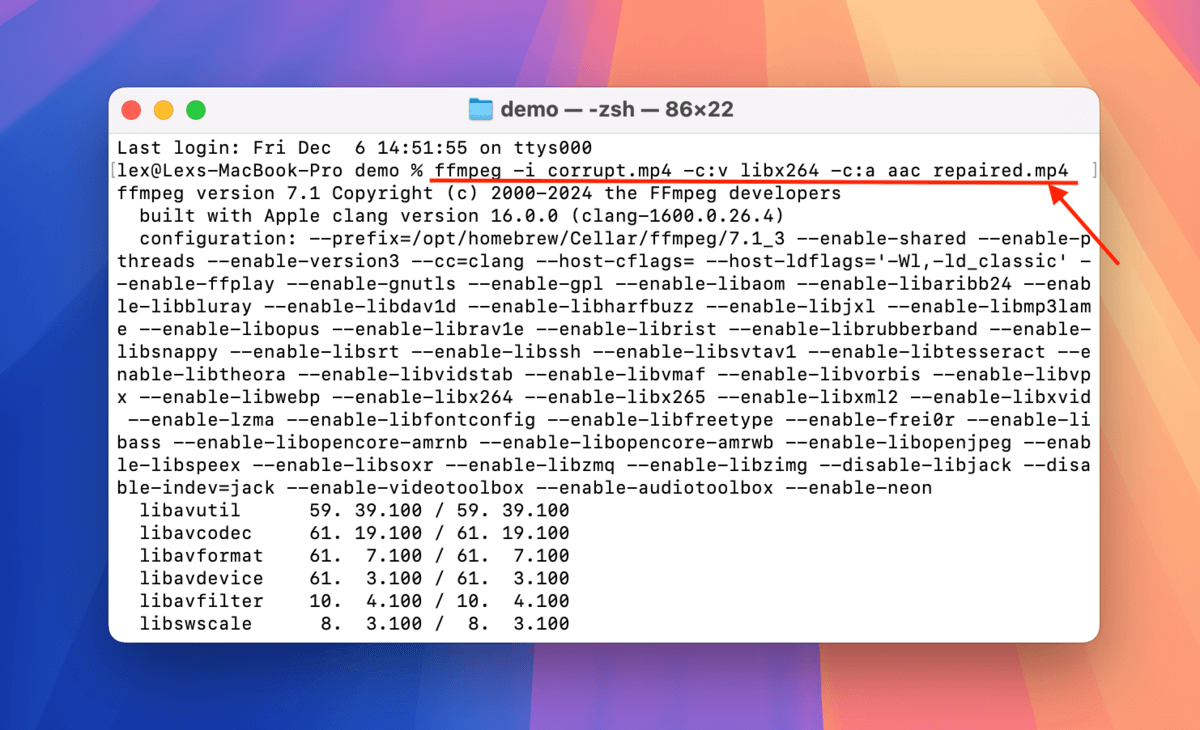
Step 5. Now that you’re in the right directory, you can use FFmpeg’s tools on your corrupted file. Execute this command to re-encode your MP4 file.
ffmpeg -i corrupt.mp4 -c:v libx264 -c:a aac repaired.mp4
Replace corrupt.mp4 and repaired.mp4 with the file names you want to use.
Once FFmpeg is done re-encoding your MP4 video, a new copy of it will be saved in the same folder as your corrupted video file. Try opening it with a media player.
Does this happen to your files often?
If multiple MP4 videos have been corrupted, especially more than once (and even when recording isn’t interrupted), then your storage device might be at fault. Have a look at our guides on how to fix corrupted USB drives, depending on which storage device you use.
And if you find that some of your videos have completely disappeared from your dashcam drive altogether but you can see that some of its storage space has been used (a major sign of corruption), check out our guide on how to fix an SD card that says it’s full but shows no files.


