
Corrupted F4V videos can be tough to repair because they weren’t even that common in the first place — and even less so now that Flash has become much less relevant. And the requirements of their playback are more complex than those of more universal video file types, like MP4, MOV, and AVI (which makes both repair and playback tools struggle).
In other words, successfully repairing F4V files takes the right tools and a bit of know-how. We provide both of those things in this article. Here’s a beginner-friendly, reliable, and up-to-date guide on how to repair corrupted F4V files.
Table of Contents
What are F4V Files and How Do They Get Corrupted?
F4V is a video file type designed by Adobe for the Adobe Flash ecosystem, but they are structurally very similar to MP4 files. Issues that users encounter with F4V are often found in their MP4 counterparts as well. Here’s a quick breakdown of what is likely happening to your file:
- Playback incompatibility. Because of the very niche use case of F4V file types, some media players might have a tough time reading your file. This can be resolved by conversion as long as you don’t mind losing the Flash capabilities.
- Damaged streams. Aside from damage to the container, the audio and video streams themselves could also be damaged, usually due to data transmission issues and improper file modification. These manifest in the video playback itself, such as color distortion or stuttering video.
- Container errors. Video files are video and audio streams stored in “containers” which is what F4V, MP4, MOV, etc. are called. Container errors are related to the technical side of the file rather than the streams. These are indexing errors, corrupted metadata, damaged or missing file headers, etc. Files with container errors are more likely to be completely unplayable.
- Missing Moov Atom. The Moov Atom stores important technical information about the video file itself. Without it, video files are typically unplayable. Missing Moov Atoms is a common corruption scenario because this component is usually saved last on the file (when you conclude capturing footage).
Despite the similarities in errors between F4V and MP4 files, the solutions are quite different. F4V files are more complex than other containers, which repair tools can take advantage of.
We’ll dive into these issues (and how they will be addressed) in more detail in the guide sections below.
4 Ways to Repair Corrupt F4V Videos for Free
In this section, we’ll go over 4 different ways to repair your corrupted F4V video. Because it’s hard to diagnose the exact issue on a case-to-case basis, we strongly recommend that you duplicate your corrupted video multiple times and simply try every solution one by one.
Fix 1: Repair Corrupt F4V Videos Online
Our first recommendation is to use an online video repair tool, which is super easy to use and only takes a few clicks to automatically repair different types of corruption.
We’ll be using Clever Online Video Repair for this guide’s demonstration because it still fully supports F4V file types, even as Flash has become obsolete over the years. It’s only one of the few tools that are designed to handle a completely missing Moov Atom, which is critical for not only playability but also file integrity.
This is especially critical for F4V files, which heavily rely on correct metadata and proper indexing. Also, it’s free for up to 5 GB!
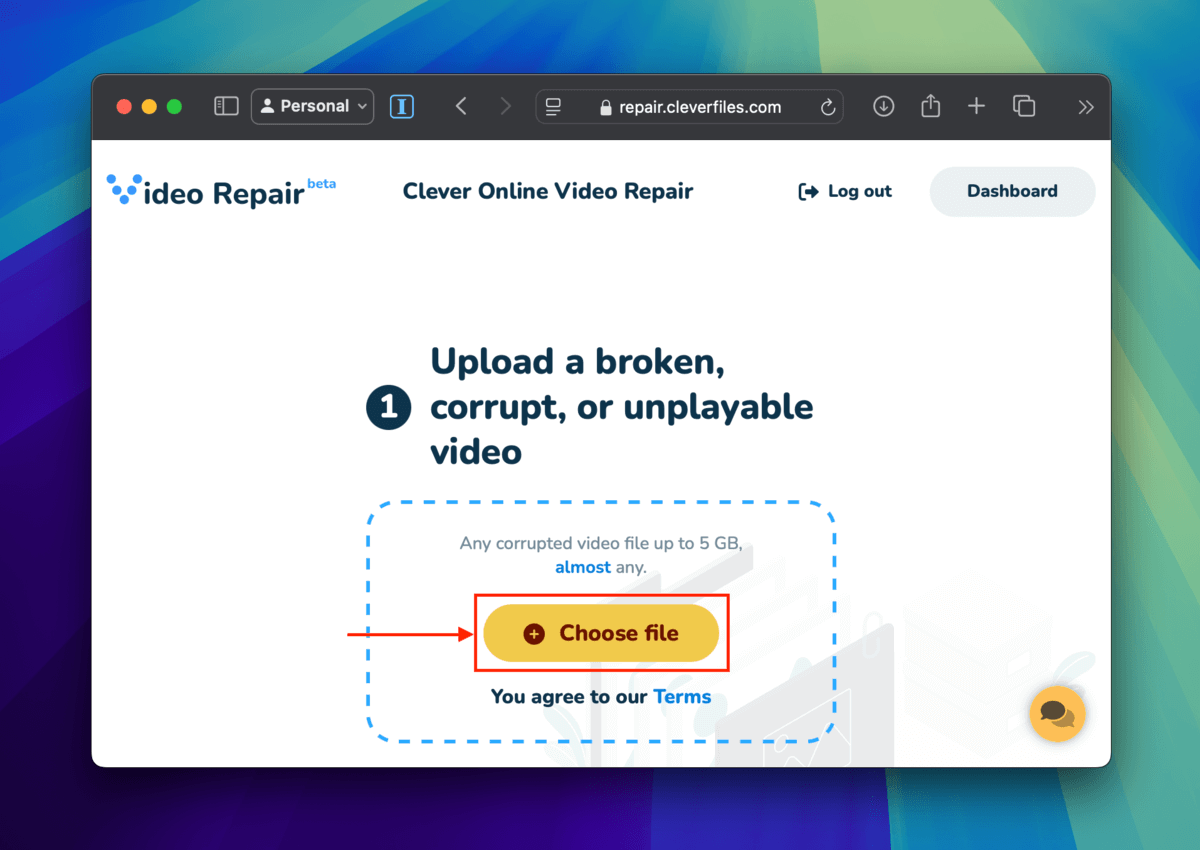
Step 1. On any browser, navigate to the repair.cleverfiles.com website.
Step 2. Under step 1 (Upload corrupt sample), click Choose file.
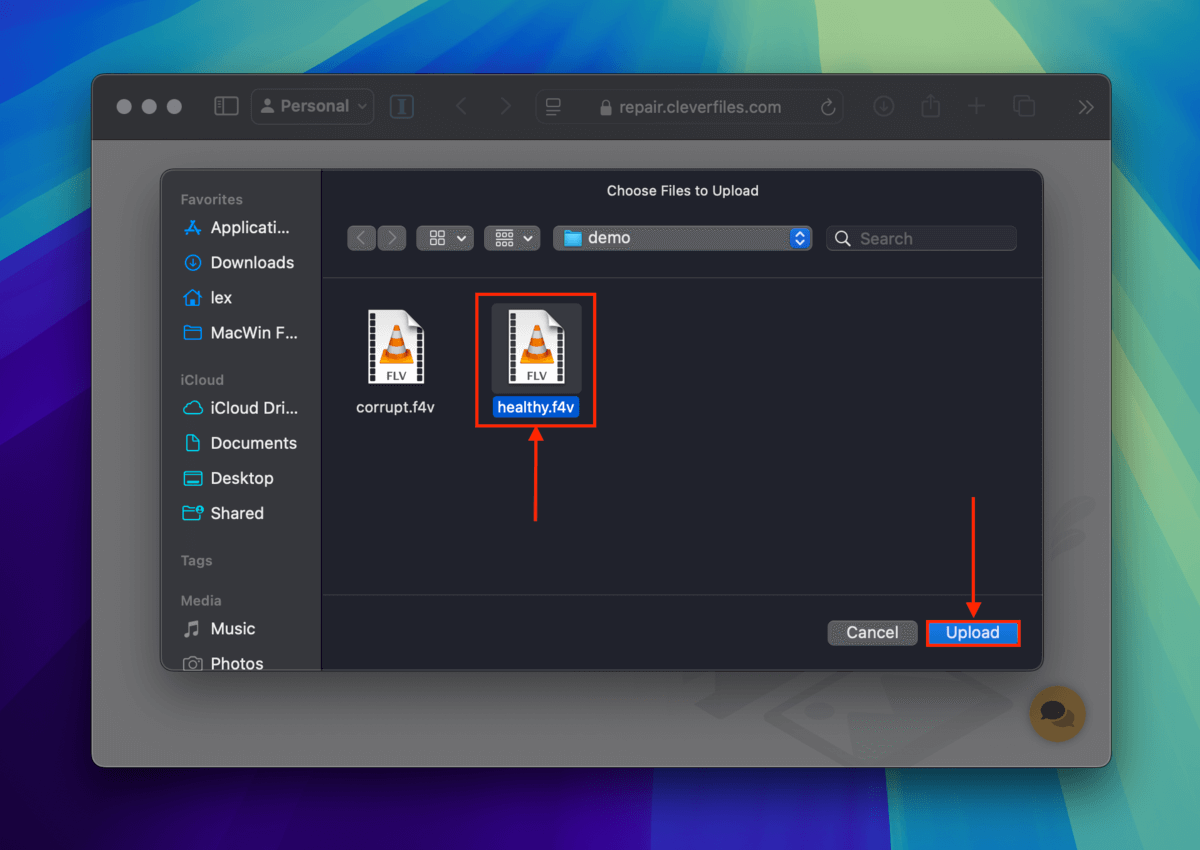
Step 3. In the window that appears, navigate to your corrupted F4V file and select it. Then, click Upload.

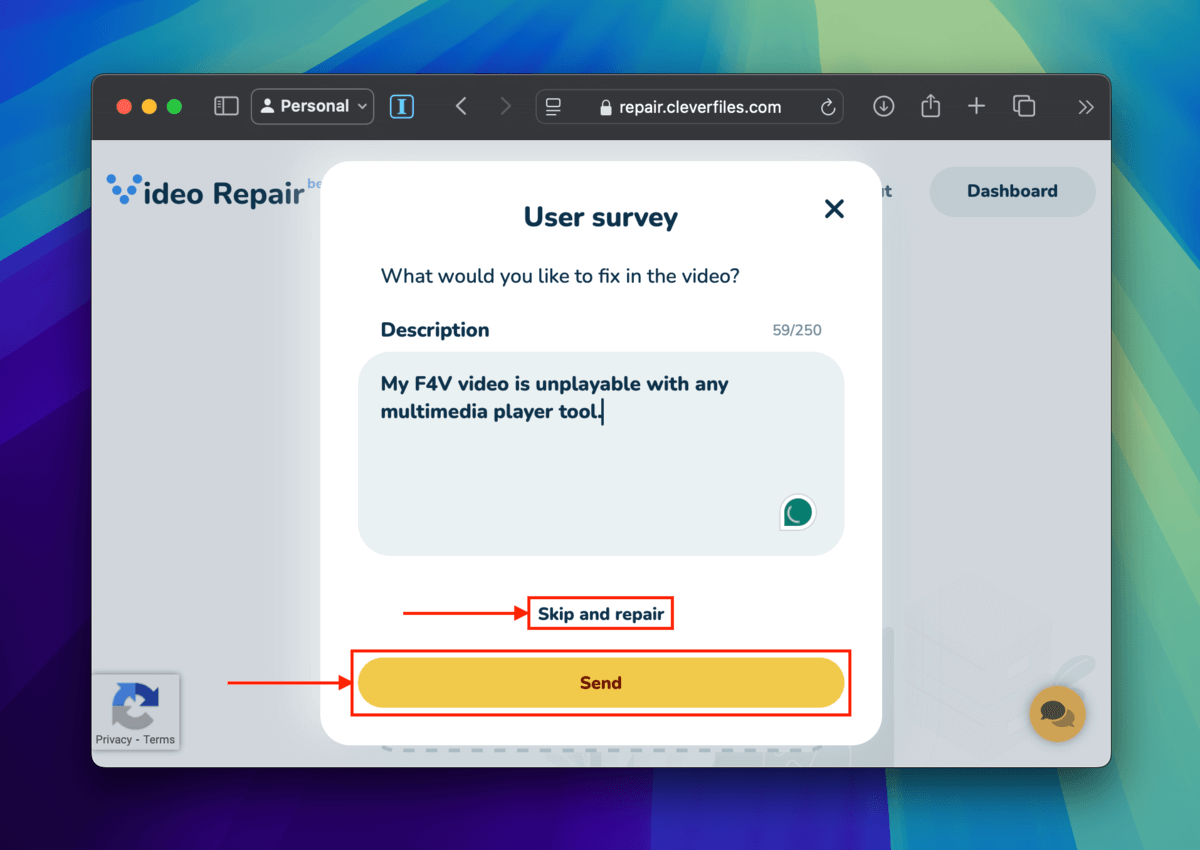
Step 4. Once your file has been uploaded to the site, you’ll be prompted to share more details about the corruption. You can click Skip and repair if you’re not sure or for privacy reasons.
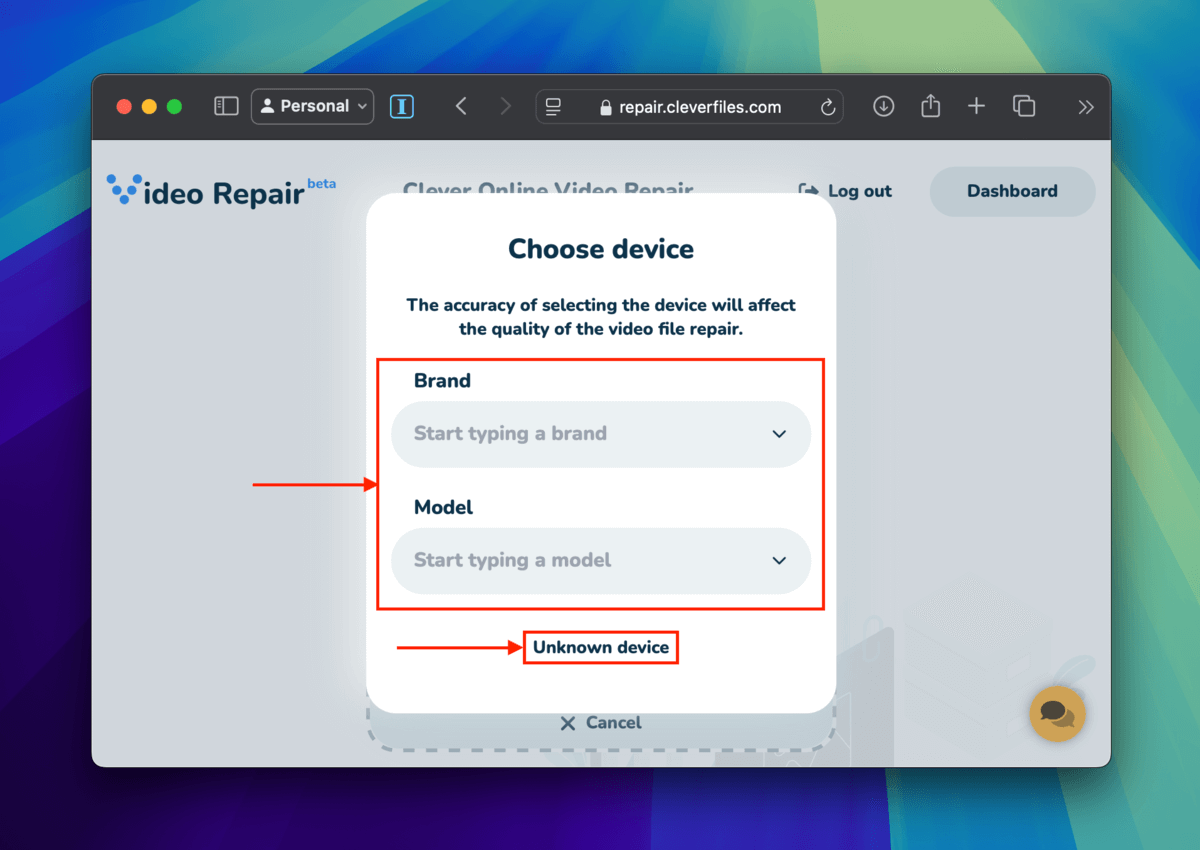
Step 5. Use the dropdown menus under Brand and Model to specify the device you used to capture your F4V file. Then, click Repair. If you can’t recall what device was used, click Unknown device.
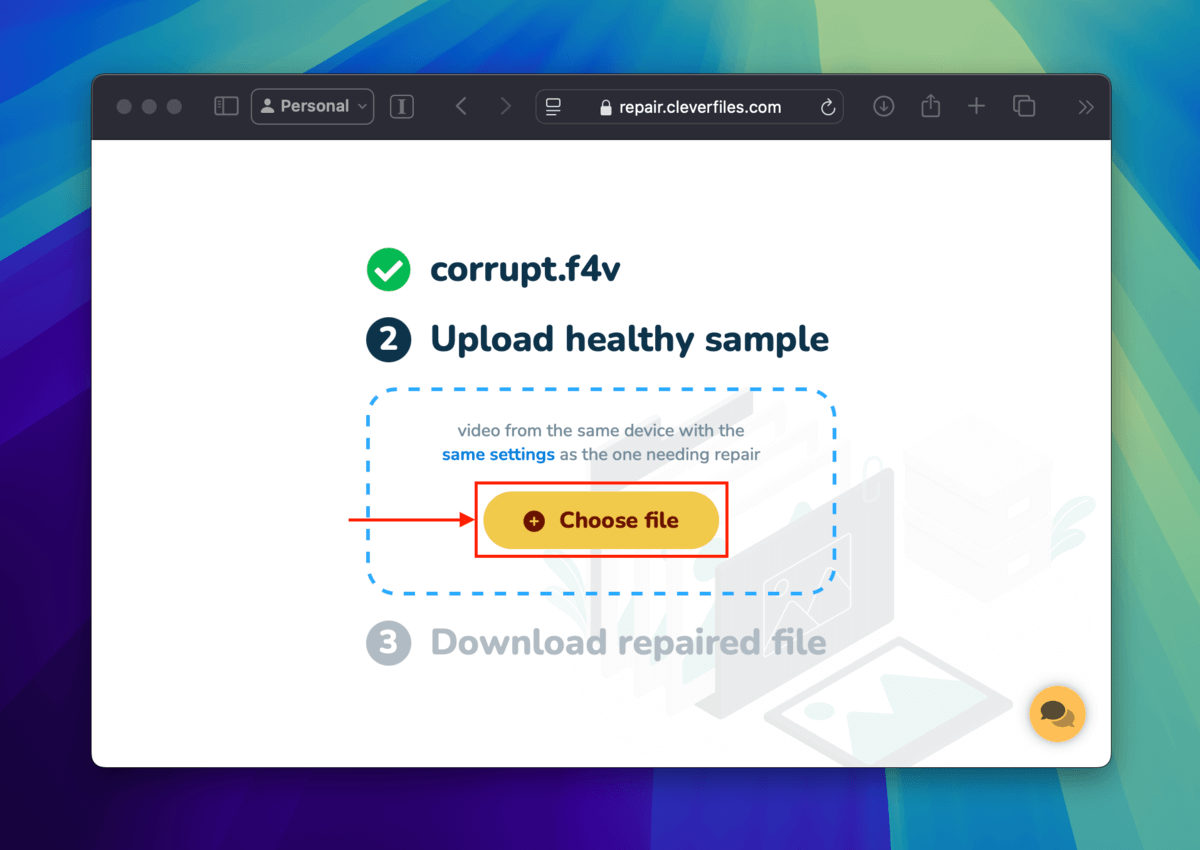
Step 6. Under step 2 (Upload healthy sample), click Choose file.
Step 7. Locate and select your healthy video sample file. Then, click Upload. Upon uploading the file, Clever Online Video Repair will begin the repair attempt.
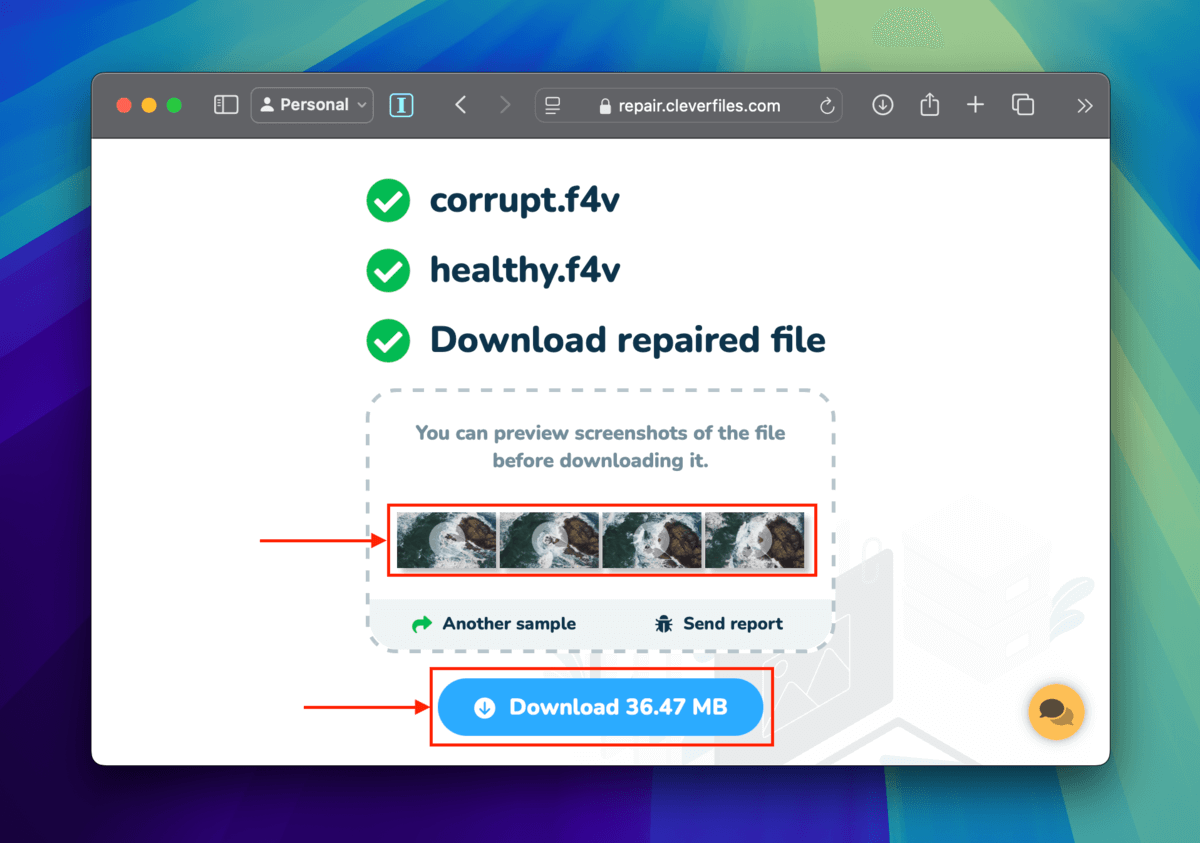
Step 8. If the attempt is successful, Clever Online Video Repair will provide screenshots of the clip for your preview. If you’re satisfied with the results, click Download.
Fix 2: Convert Your F4V File’s Container to MOV or MP4
Another way to “repair” a corrupted F4V file is to convert it to a less complex but structurally similar container, like MOV or MP4. This rebuilds the container from scratch, which eliminates any integrity issues.
And by converting the file to MOV or MP4, error flags thrown by the more “strict” F4V format might not be present or be outright ignored during the process.
For this demonstration, we’ll be using VLC Media Player — a beginner-friendly, free, and open-source multimedia tool.
Step 1. Download and install VLC Media Player on your Mac.
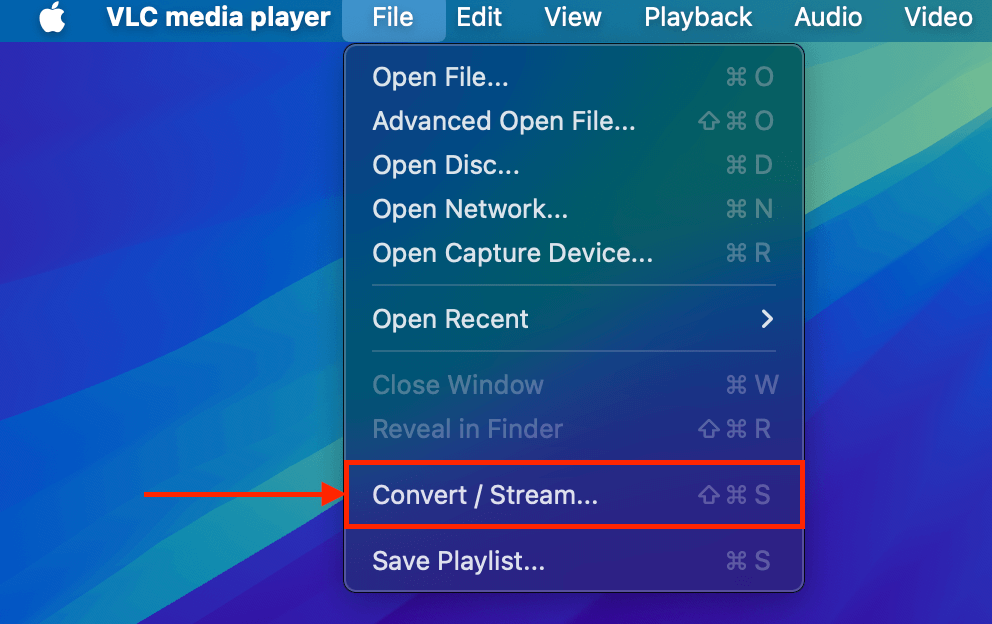
Step 2. Open VLC Media Player. On the menu bar, click File > Convert / Stream…
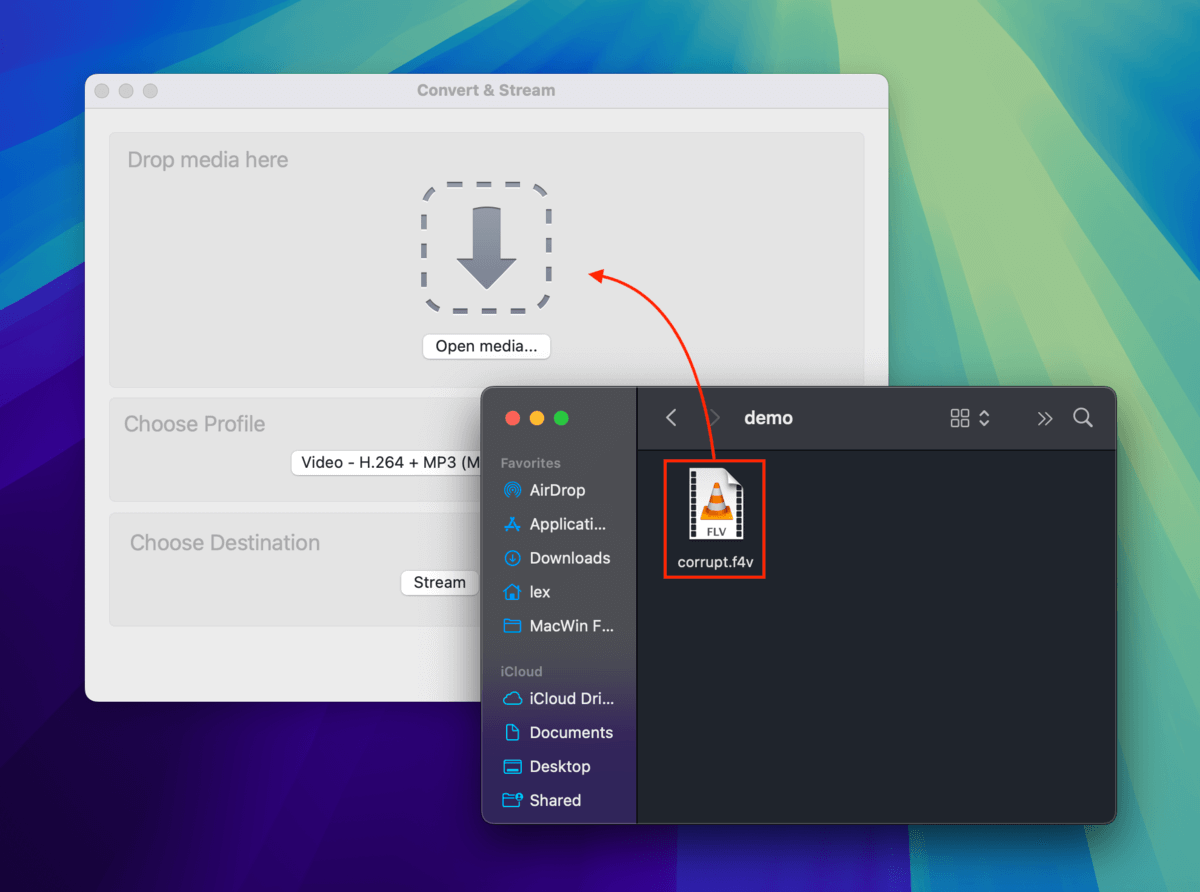
Step 3. Drop your file in the media section or you can click Open media… to add it via the dialogue menu.
Step 4. Click Customize…

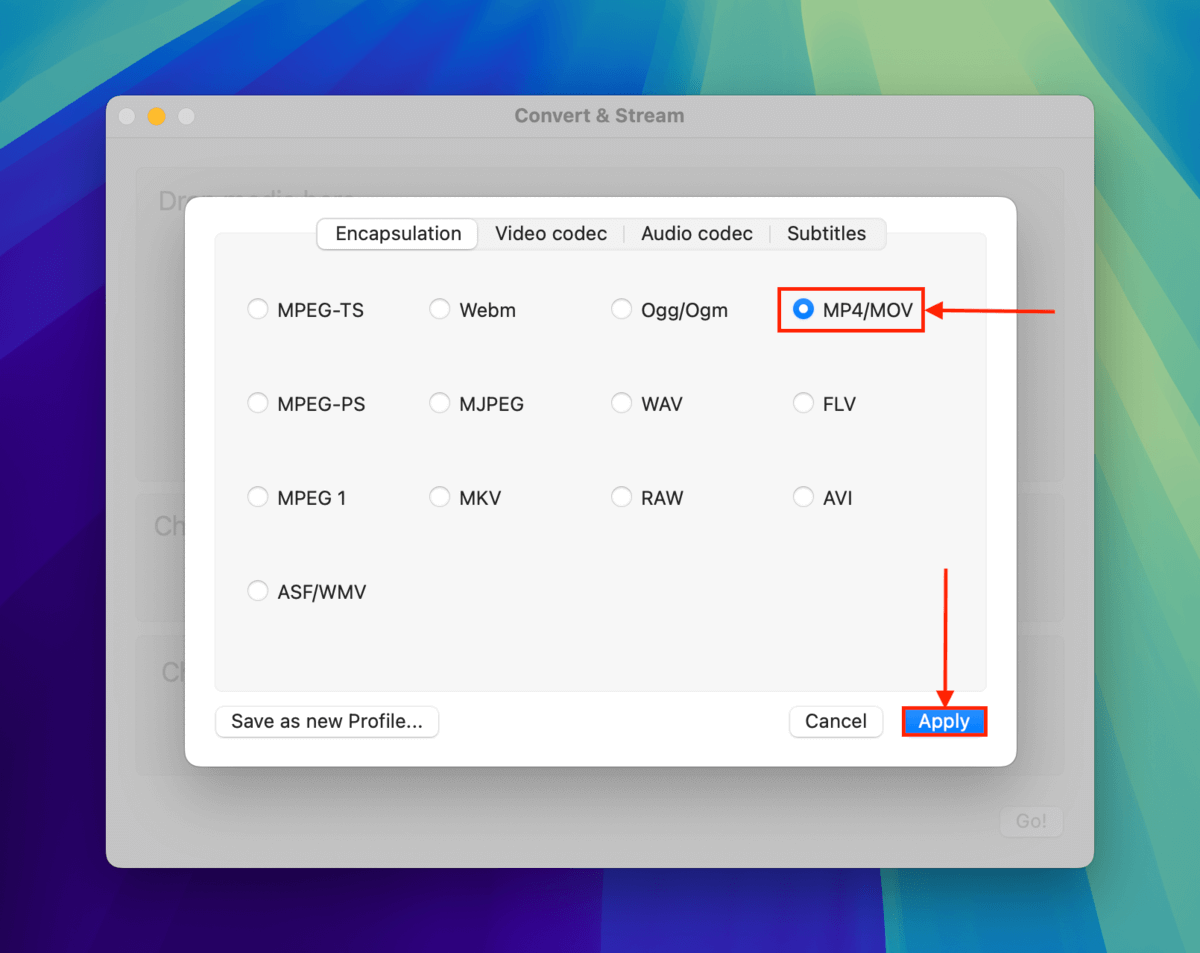
Step 5. In the Encapsulation menu, select either MOV or MP4 as the new container. We recommend MP4, as VLC Media Player will have to contend with less error handling. Then, click Apply.
Step 6. Click Save as File, which means that VLC will save the streams as a new file rather than just try to stream it.

Step 7. Next, choose a destination for the converted file — click Browse…

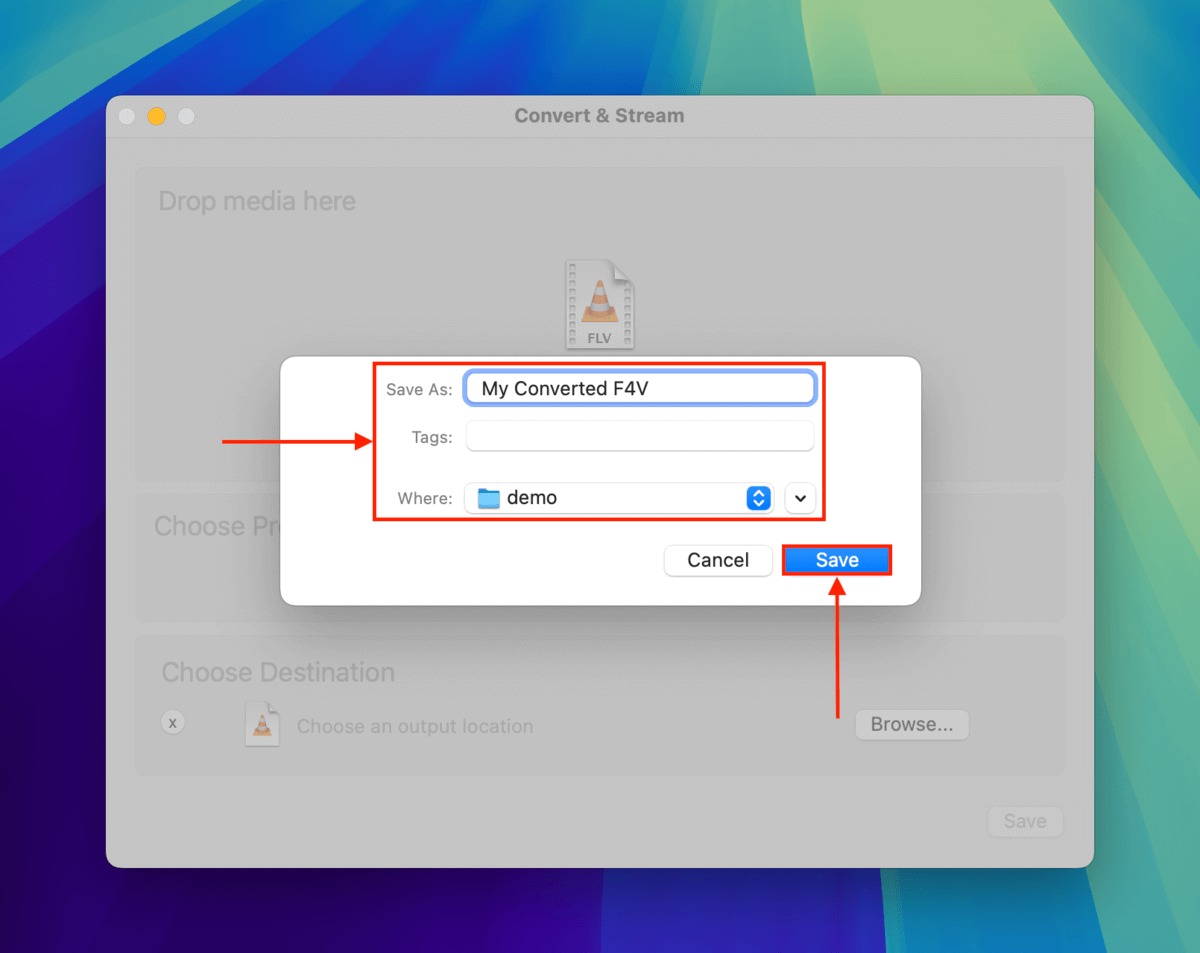
Step 8. Choose a name and folder for the new file. Then, click Save.
Step 9. Finally, click Save.

When you click Save, VLC Media Player will carry out the conversion process and save the new output to the location you selected in step 8.
Fix 3: Re-encode Your FLV File Using FFmpeg
If VLC’s conversion tool didn’t work, the next repair method is to re-encode your F4V video using a tool called FFmpeg (also free and open-source). Instead of focusing on the container, re-encoding extracts, repairs, and regenerates the actual video and audio streams from your F4V file and outputs them as a new file.
Unfortunately, FFmpeg can only be operated via the command line — but this whole method only takes a few commands and we laid out the process for you step by step below:
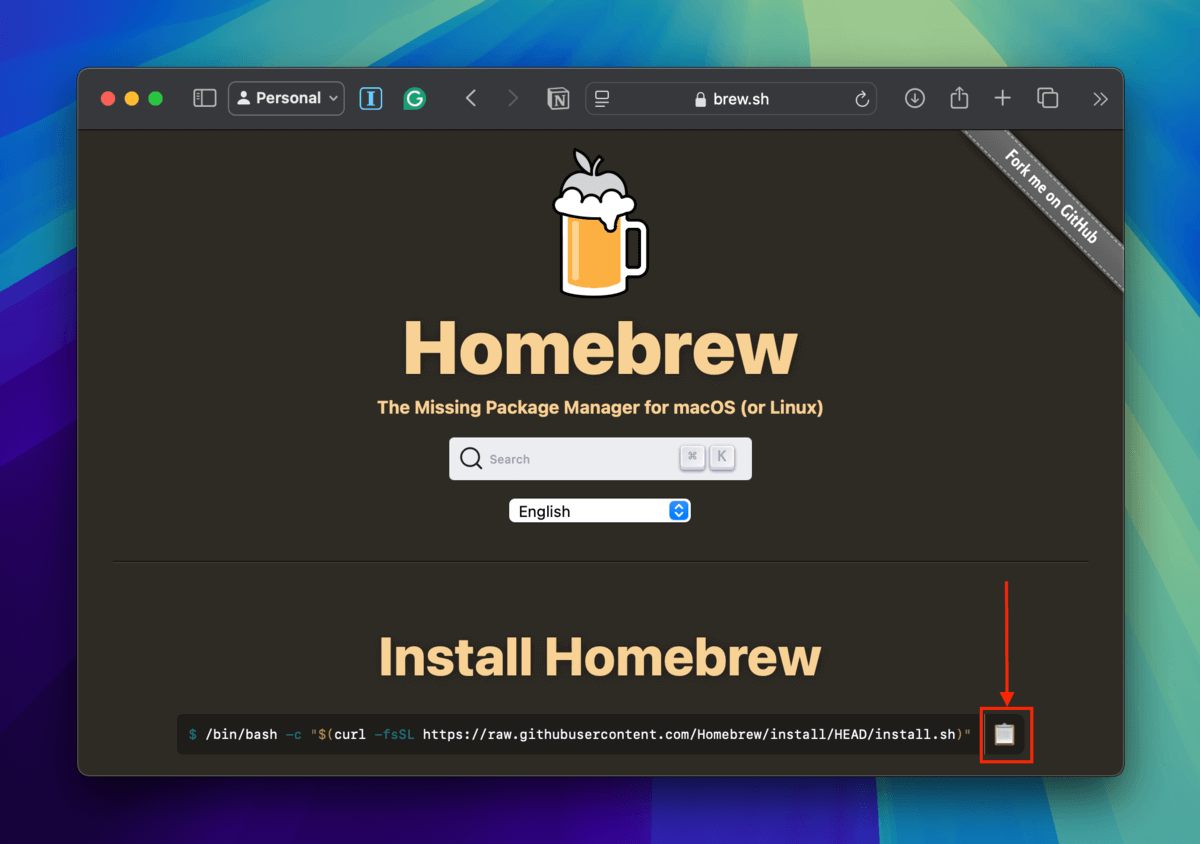
Step 1. Open any browser and navigate to brew.sh. Copy the installation command on the page by clicking the clipboard icon.
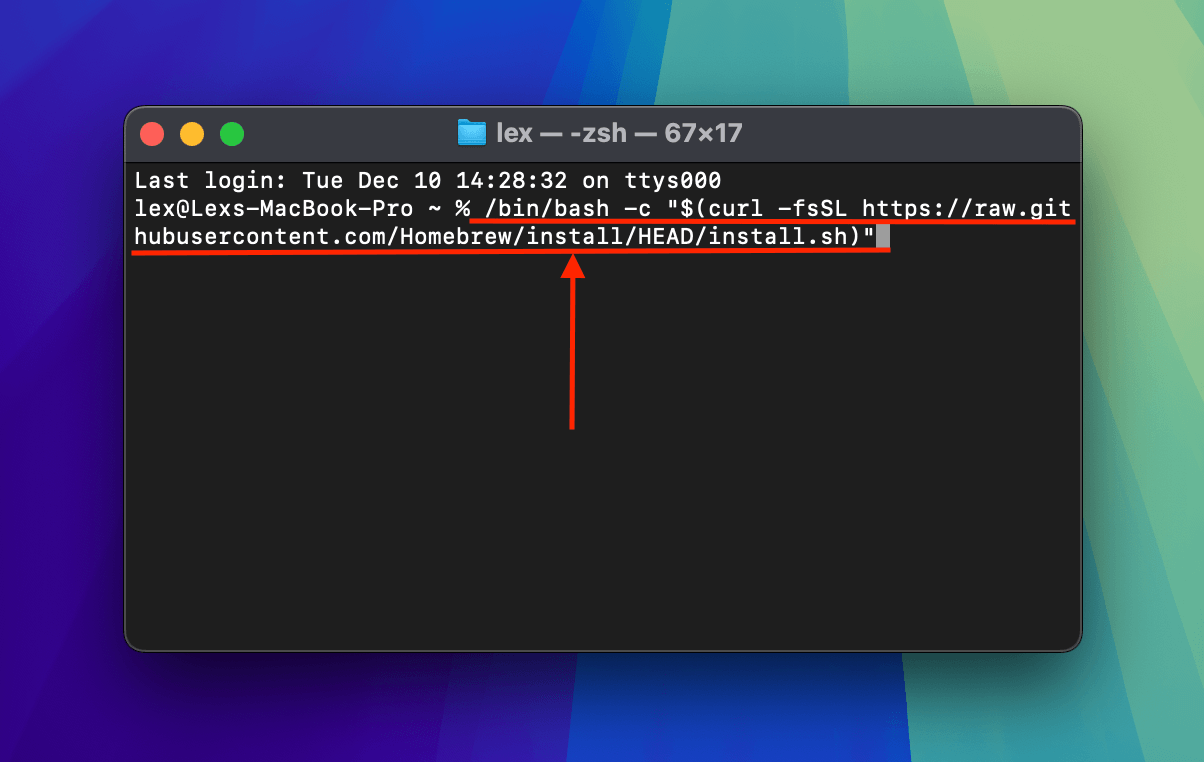
Step 2. Open the Terminal app (Finder > Applications > Utilities) and execute the command you copied by pasting it in the Terminal window and pressing Return.
Step 3. Once Homebrew has been fully installed on your Mac, you can use it to install FFmpeg on your Mac using this command:
brew install ffmpeg

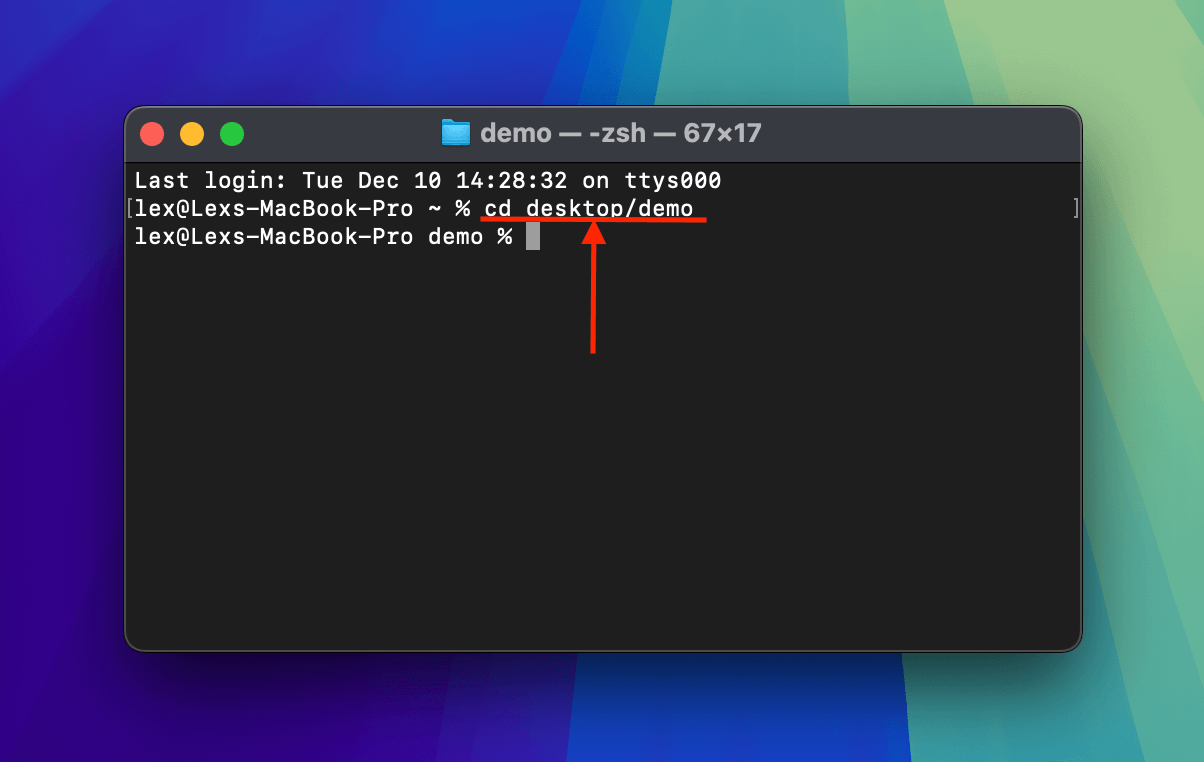
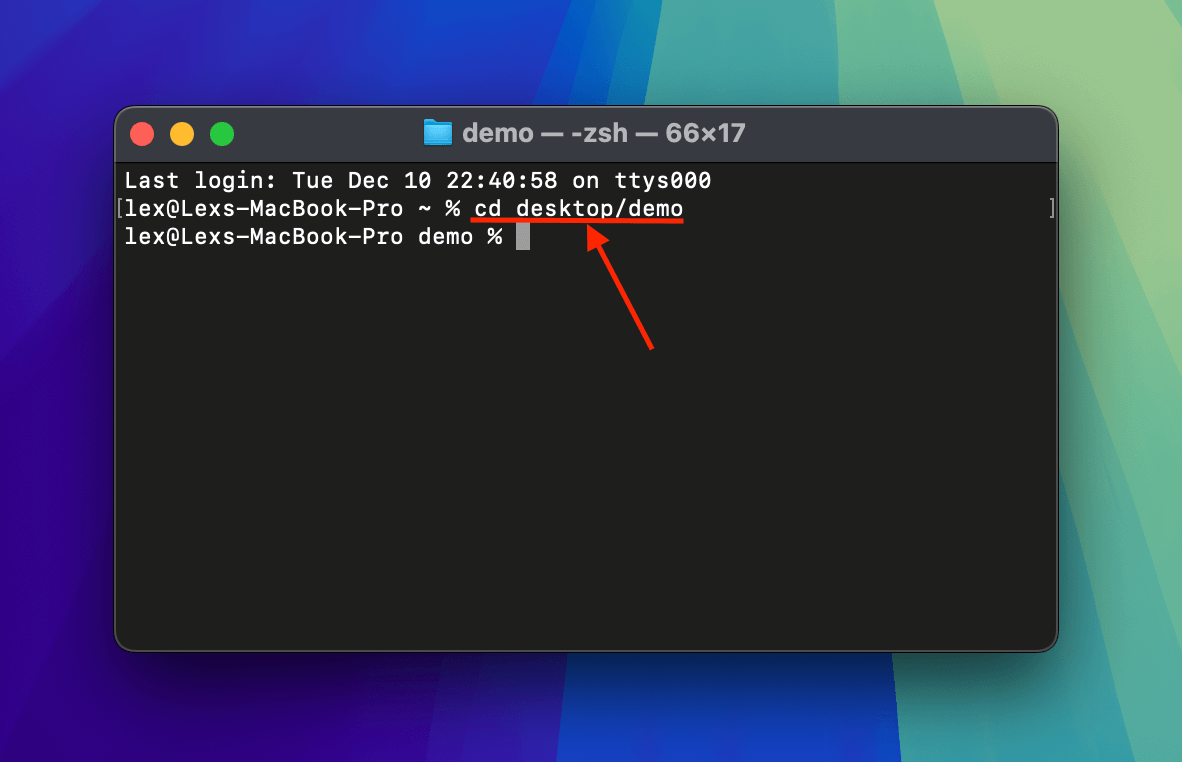
Step 4. Homebrew will tell you when it’s done installing FFmpeg. At that point, you can start using FFmpeg’s tools — but you’ll need to make sure you’re operating in the same directory as your corrupted F4V file. Use the Change Directory command:
cd desktop/demo
Replace desktop/demo with the appropriate folder path as found on your system.
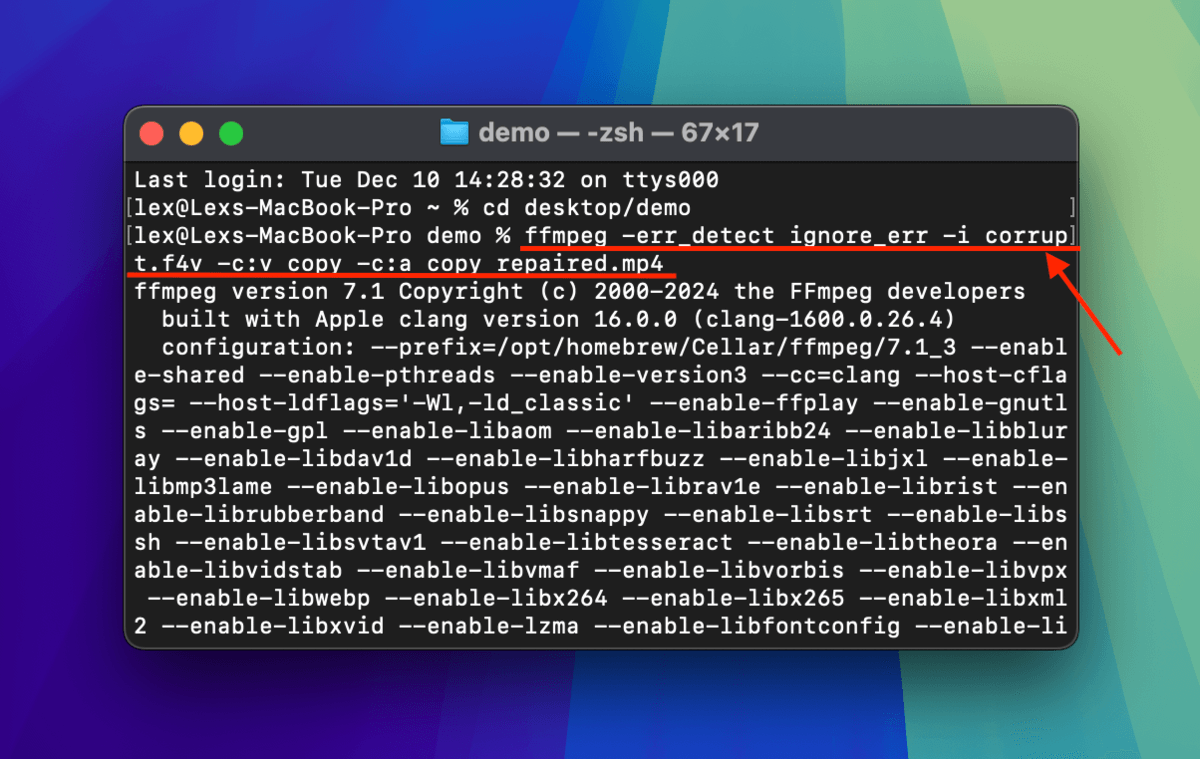
Step 5. The next command invokes FFmpeg’s re-encoder with an additional parameter to ignore errors thrown by the F4V file.
ffmpeg -err_detect ignore_err -i corrupt.f4v -c:v copy -c:a copy repaired.mp4
Replace corrupt.f4v and repaired.mp4 with the appropriate file names. And note that you can technically re-encode the file to F4V again (by naming the output repaired.f4v) but we opted for MP4 for maximum repairability and playback compatibility.
After FFmpeg re-encodes your video, it should appear in the same folder where your corrupt F4V file is stored. Try opening it with a media player to make sure it works.
Fix 4: Extract and Rebuild Your F4V’s Streams Using MP4Box
MP4Box is one of the media tools provided by the open-source multimedia framework GPAC. You can use MP4Box to extract your F4V files’ audio and video streams directly and rebuild them into a new container.
Unlike VLC’s conversion tool, MP4Box’s extract and rebuild process copies the streams exactly without even minor re-encoding. While this makes it less widely effective compared to VLC, it might be exactly what you need if the problem is completely isolated to the file’s metadata (e.g. in the case of a virus infection).
Step 1. If you already installed Homebrew on your system after trying the last Fix, you can use it to install GPAC via Terminal:
brew install gpac
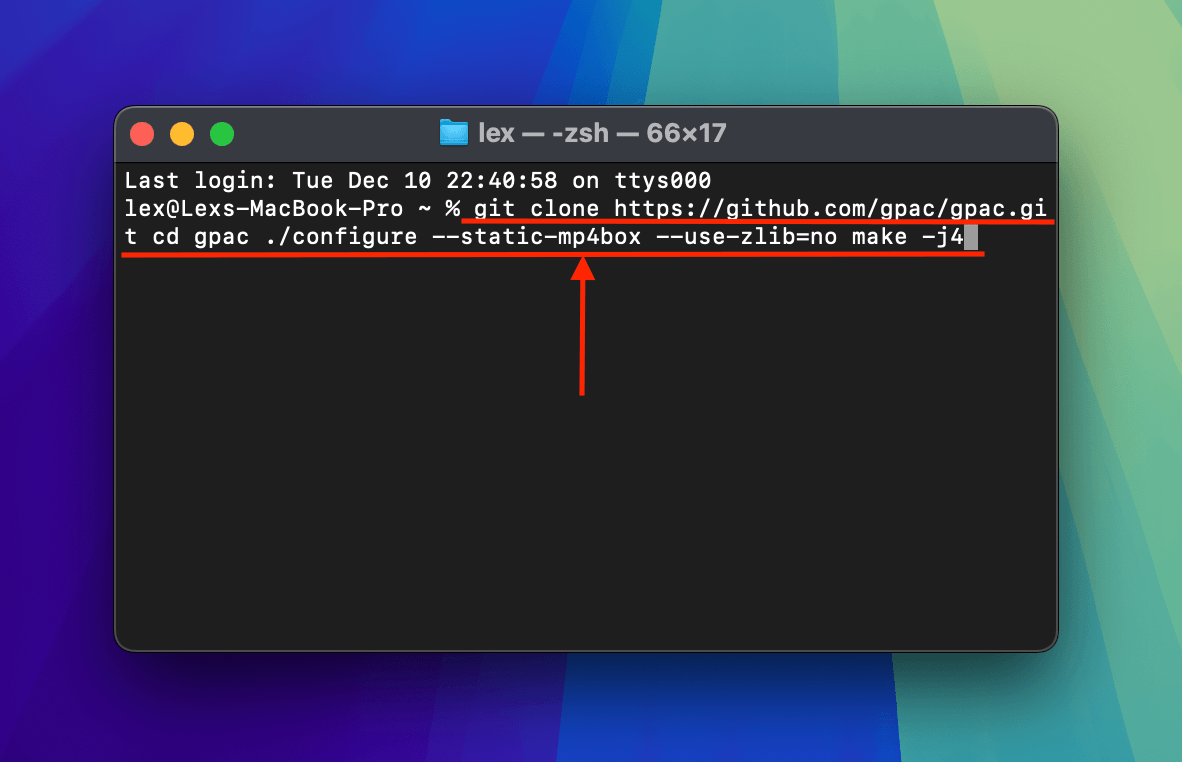
Alternatively, you can copy and paste this entire code block into your Terminal app and execute it:
git clone https://github.com/gpac/gpac.git cd gpac ./configure --static-mp4box --use-zlib=no make -j4
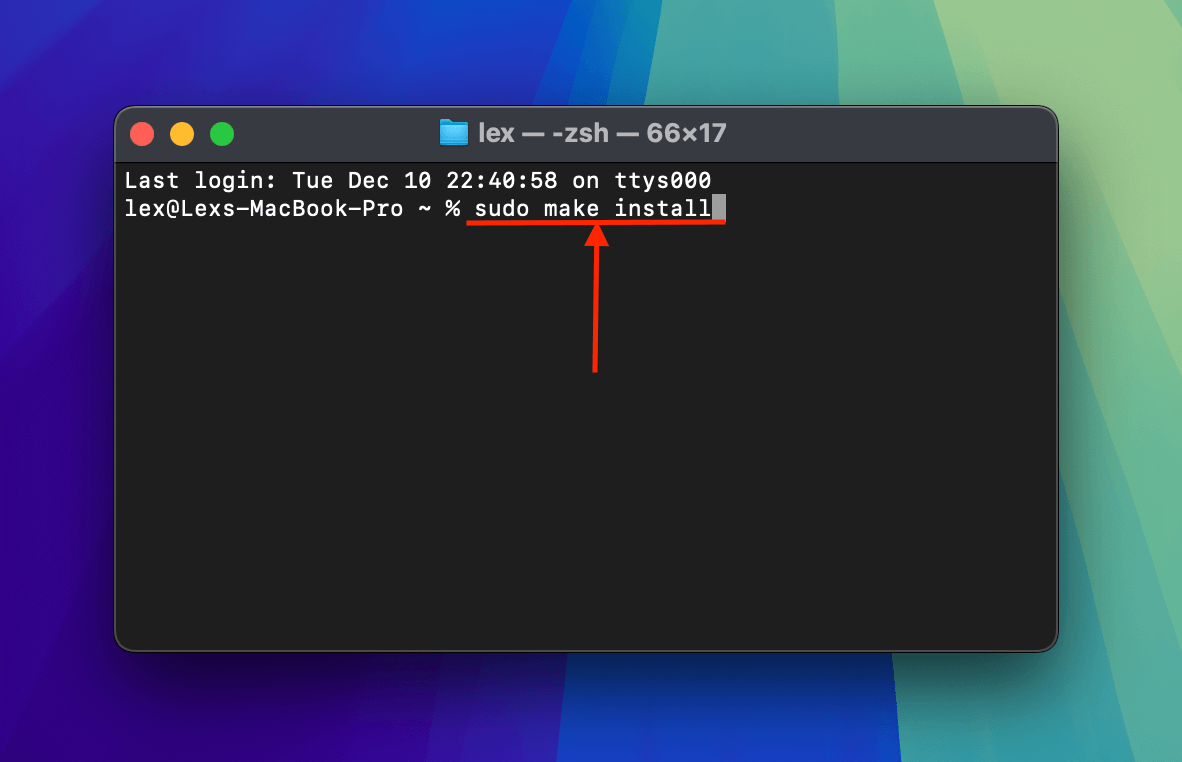
Step 2. Once GPAC has been installed on your Mac, install MP4Box with the following command:
sudo make install
Step 3. After installing MP4Box, close the Terminal window and re-open it. Then, execute the Change Directory command so Terminal operates in the same folder as your corrupted F4V file:
cd desktop/demo
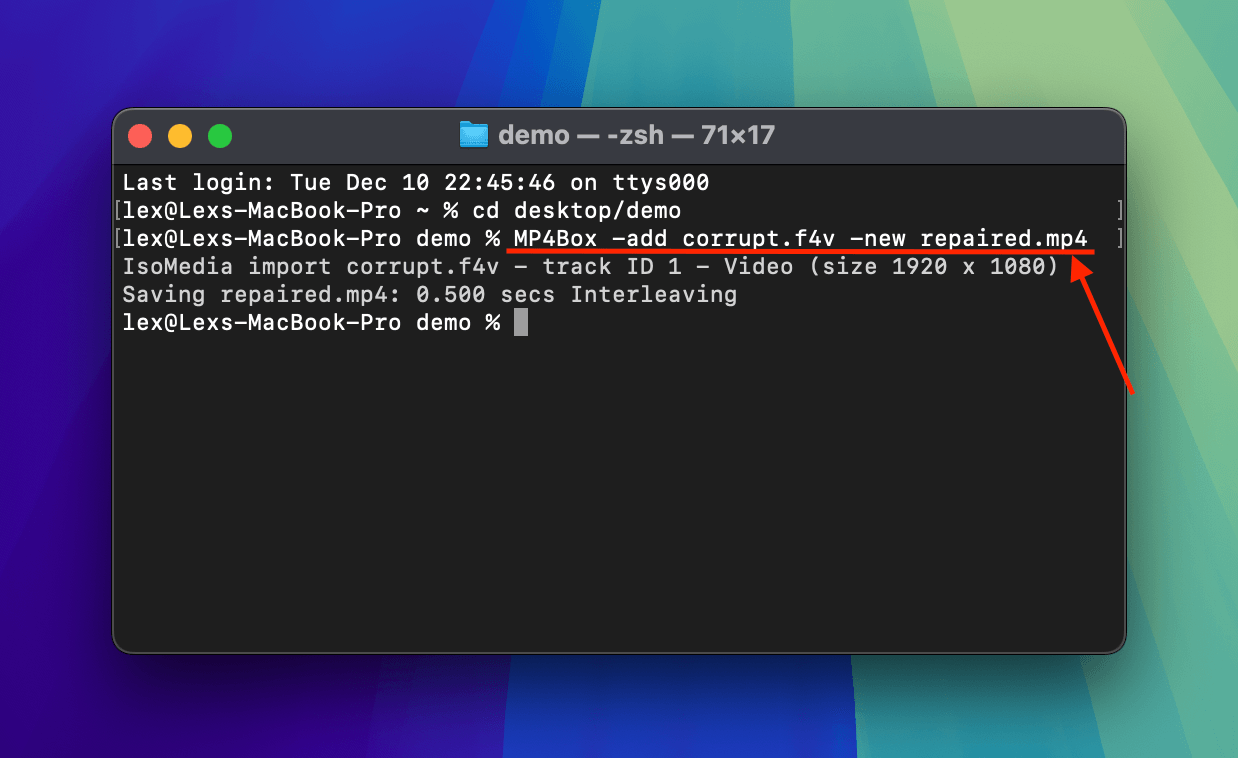
Step 4. When in the appropriate directory, you can utilize MP4Box’s tools on your F4V file. This command will extract the streams from your corrupted F4V file and wrap them in a new MP4 container:
MP4Box -add corrupt.f4v -new repaired.mp4
Replace corrupt.f4v and repaired.mp4 with the appropriate file names for your system.
The extraction and rebuilding process will begin immediately after you execute the command. Once it’s done, you’ll find your repaired.mp4 in the same folder where your corrupted F4V file is stored.
Before You Go, a Few Tips to Avoid F4V Corruption
F4V files can be tricky to work with. This file type in particular is not only pigeonholed to Adobe Flash products, but they can often be haphazardly produced by third-party applications that lack the proper support to build F4V files correctly.
And because F4V files are often used in an online environment, they are particularly vulnerable to corruption during saving, exporting, and downloading processes. Common interruptions like network intermittence and power outages almost always result in corruption if you’re in the middle of saving an F4V file.
So, to avoid encountering corruption, try to ensure a consistent technological environment whenever you’re working with F4V files. Connect to a stable network connection (or have a backup ready), and, if you’re on a MacBook, make sure your battery has sufficient power to carry out the task in case the power goes out in your area often. And avoid producing F4V files using non-Adobe Flash software.


