
Can’t play your recovered video file? It can (and does) happen due to faulty recovery — but videos can also be corrupted beforehand, making it tough to diagnose amongst a massive web of possible reasons between either scenarios.
For example, the recovered file data may be incomplete or the video itself had missing frames or metadata due to a camera malfunction. So the key is to utilize a variety of solutions that target different errors in order to maximize the success rate of your repair attempts.
We’ll guide you through 6 reliable fixes in this guide (that are also completely free!).
Table of Contents
6 Free Ways to Fix Recovered Videos That Are Not Playing
In this section, we’ll demonstrate 6 different fixes for corrupted videos. Each solution addresses a different aspect of corruption that typically manifests in recovered video files (whether corruption occurred before or after recovery).
Since exact diagnosis is extremely difficult for the average user, we instead wrote the following guides in order of difficulty and intrusion (except for the last one, which is easy to do but least likely to solve errors). Feel free to start with Fix 1 and work your way down the list.
Fix 1: Fix Your Recovered Video With Online File Repair Apps
The first solution we always recommend to repair corrupted video files is to use online file repair tools. They are web apps you can access through your browser and the entire repair attempt happens online.
For this guide, we’ll be using an app called Clever Online Video Repair. It’s free for files up to 5 GB in size and it recognizes almost all known video file extensions.
It’s also one of the few apps designed for files that are missing a Moov Atom, which is an important part of the file that contains the video’s information. It’s usually saved last so it typically goes missing when a recording session is cut short (e.g. camera dies suddenly, drone crashes, etc.). It can also occur if the recovered file has incomplete data post-production.
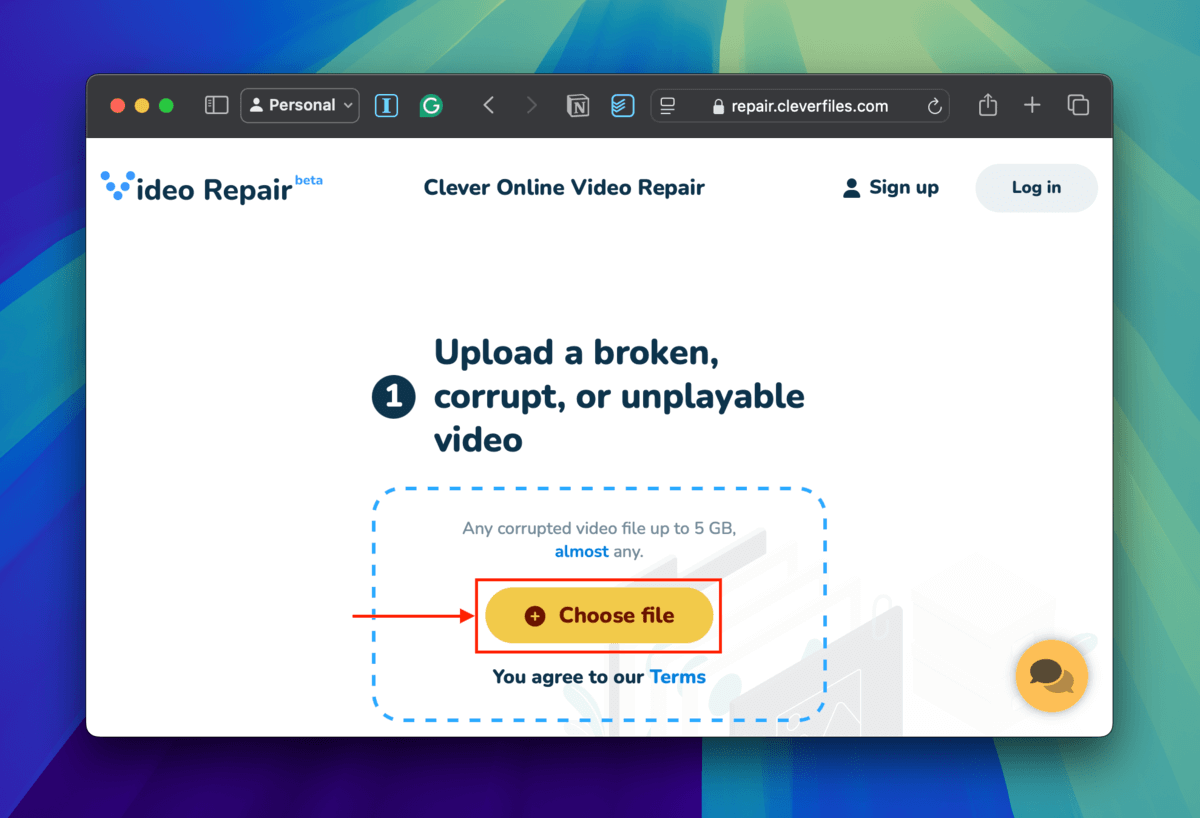
Step 1. Open a browser of your preference and navigate to repair.cleverfiles.com.
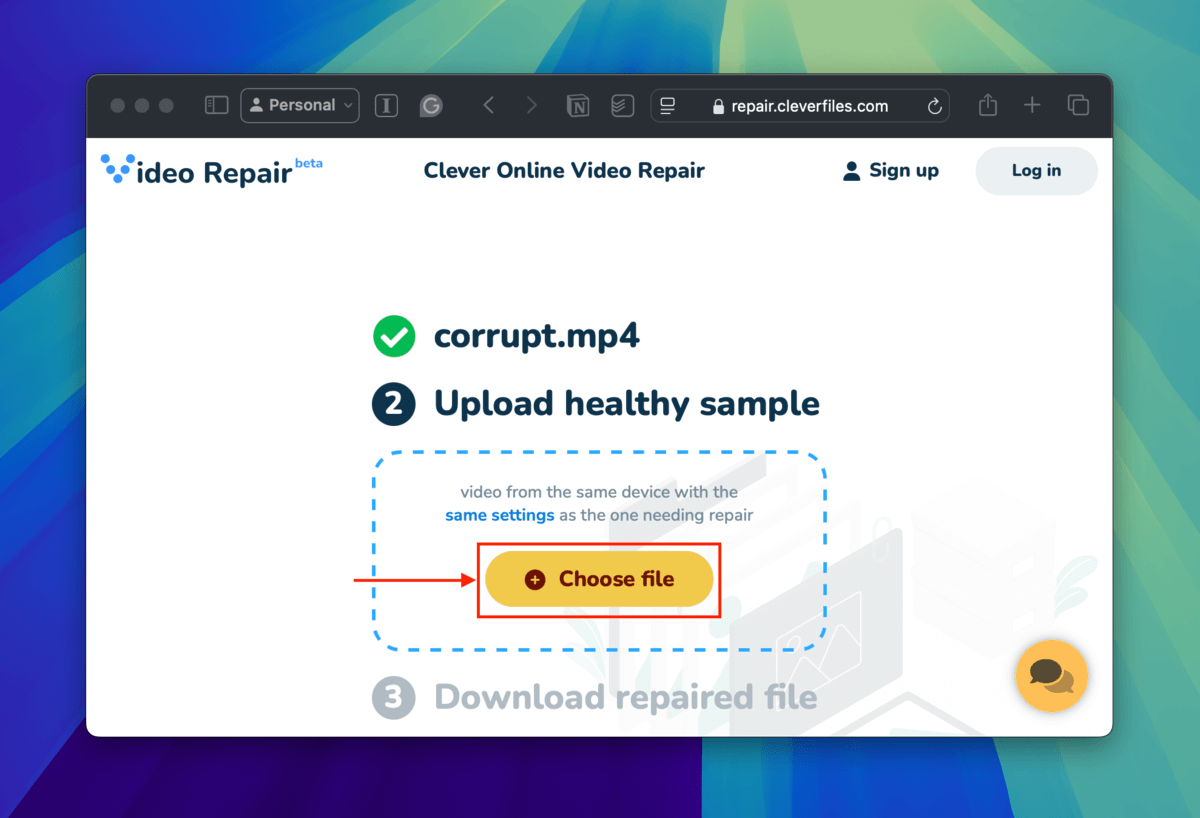
Step 2. Click + Choose file.
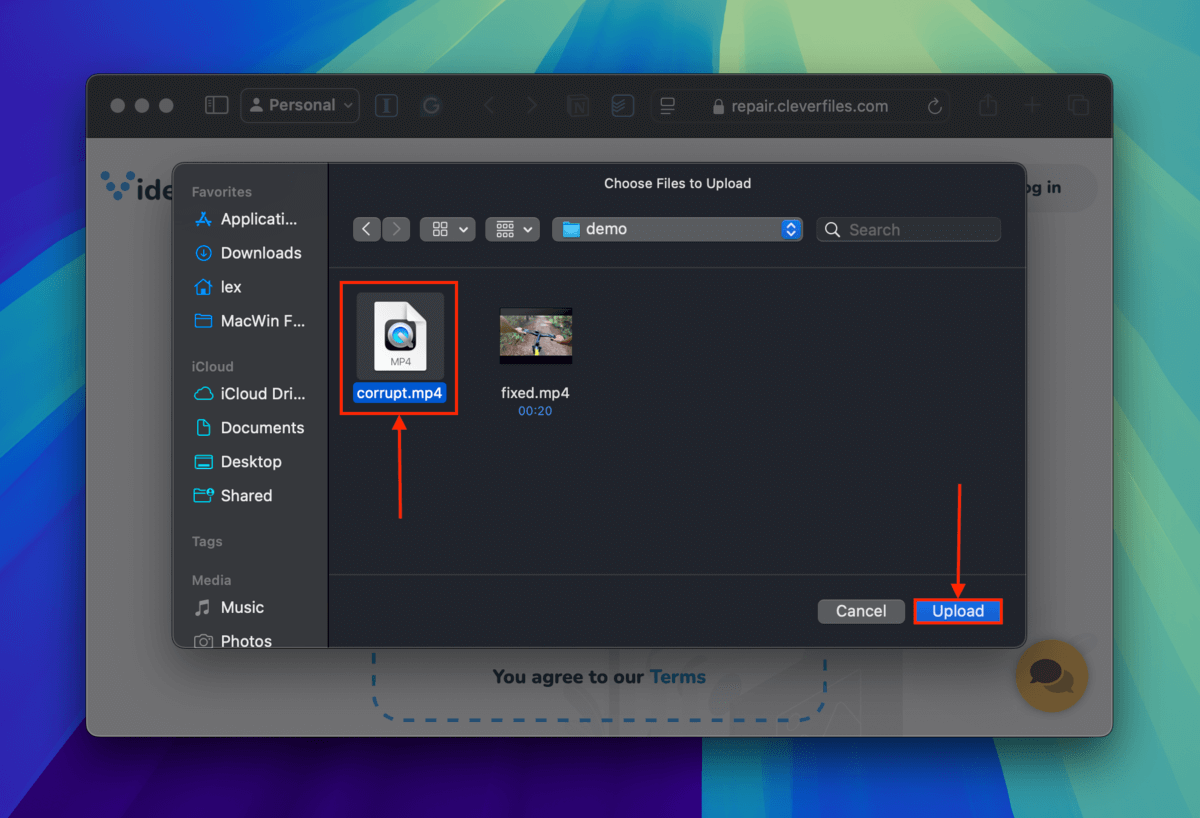
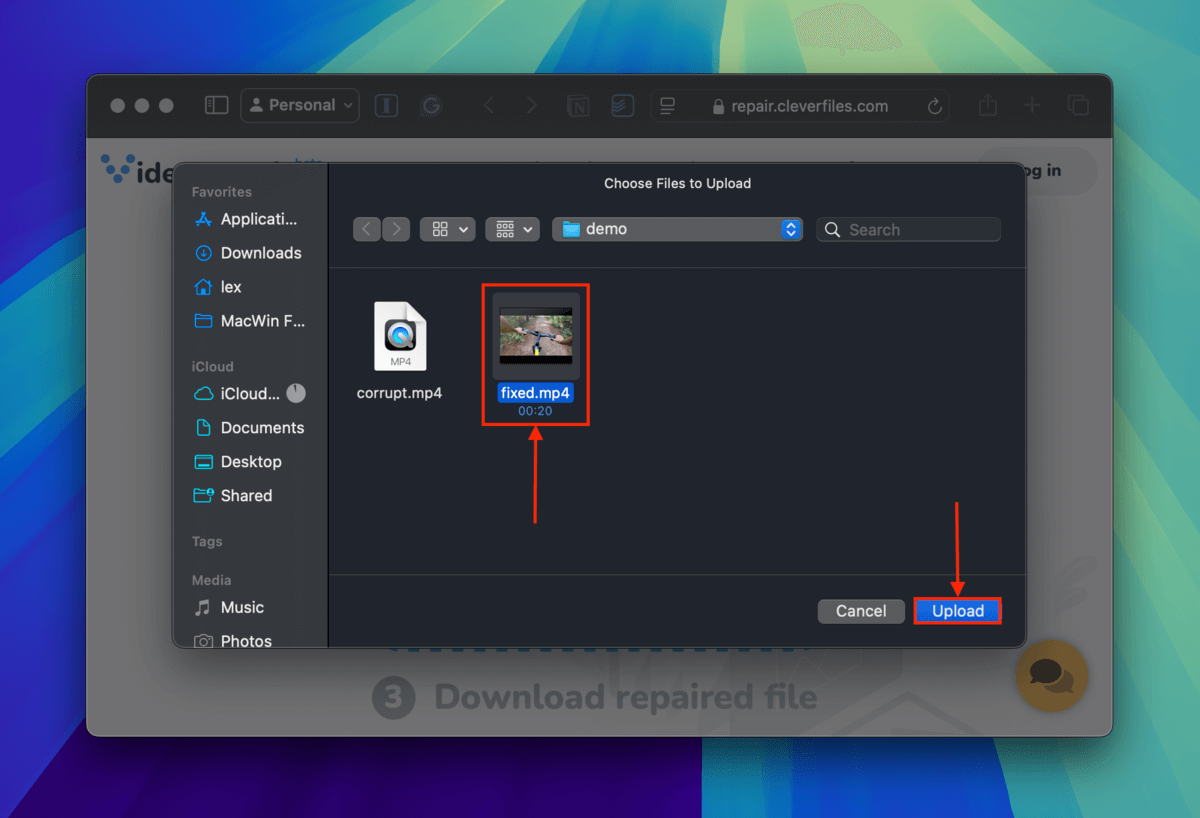
Step 3. In the dialogue box that appears, locate your corrupted video file. Select it and click Upload.
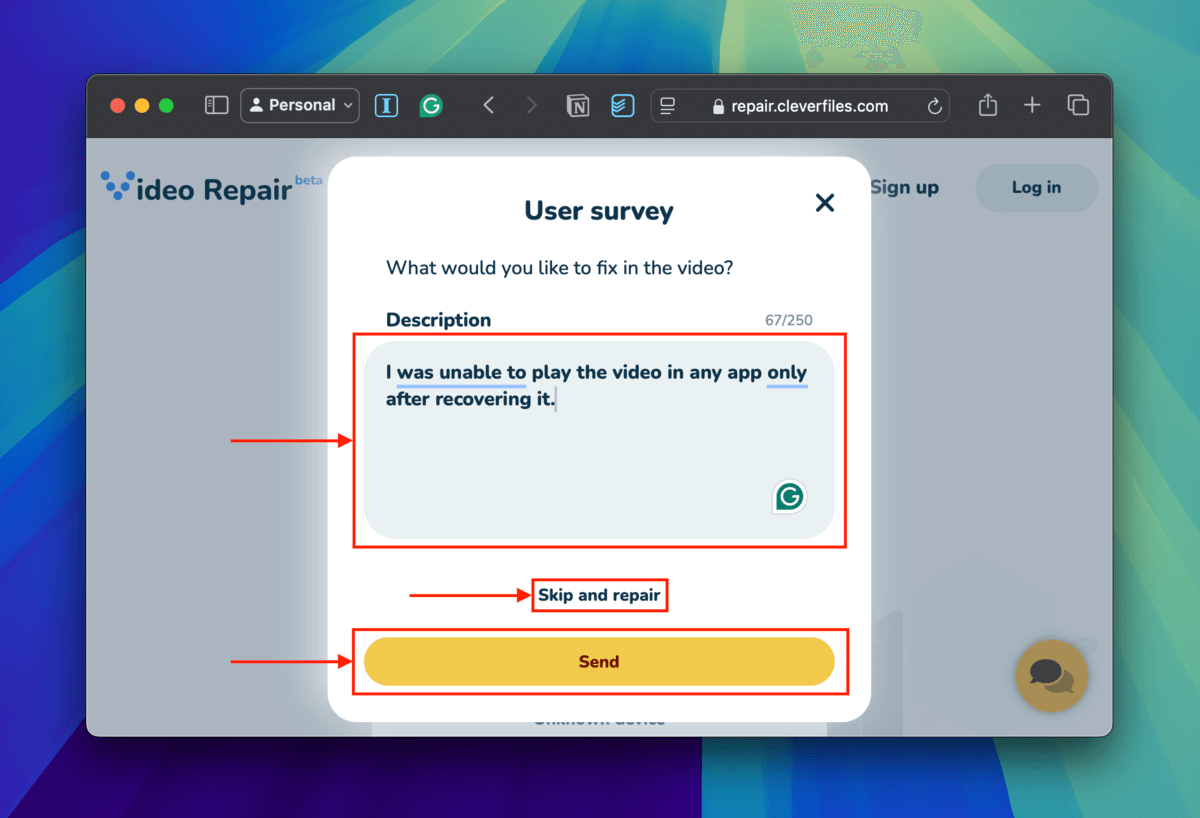
Step 4. As your file gets uploaded, a dialogue box for an optional user survey will appear. If you can, describe what happened immediately before and after the corruption occurred. If you can’t recall, click Skip and repair.
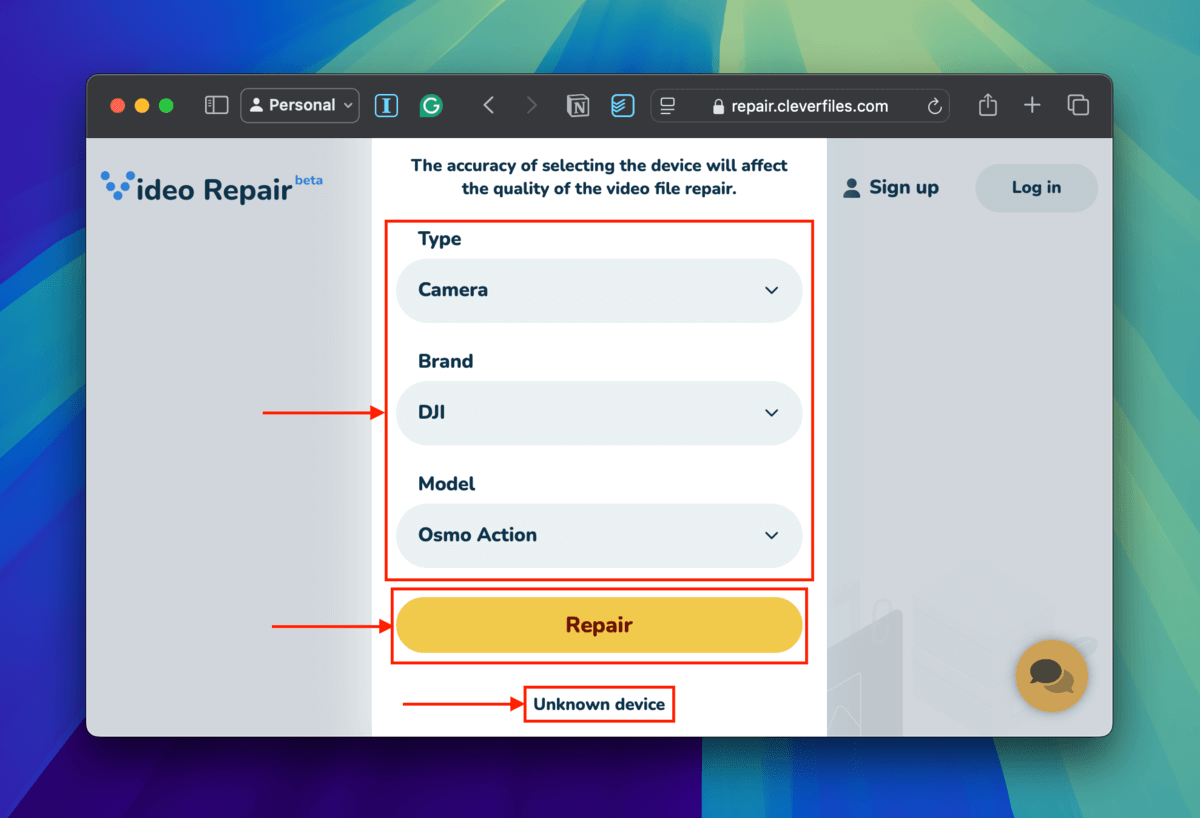
Step 5. In the next dialogue box, use the dropdown menus to select the type, brand, and model of the device used to capture the corrupted video. Was it a camera? A smartphone? This greatly aids the repair attempt but you can click Unknown device if you can’t recall.
Step 6. Once your corrupted video file has been successfully uploaded, a new + Choose file button will become available. Click it.
Step 7. In the dialogue box that appears, locate and select your healthy file sample. Then, click Upload.
Step 8. After uploading your healthy file sample, the repair operation will automatically commence. If successful, you’ll be able to preview screenshots of the repaired clip and download the file.
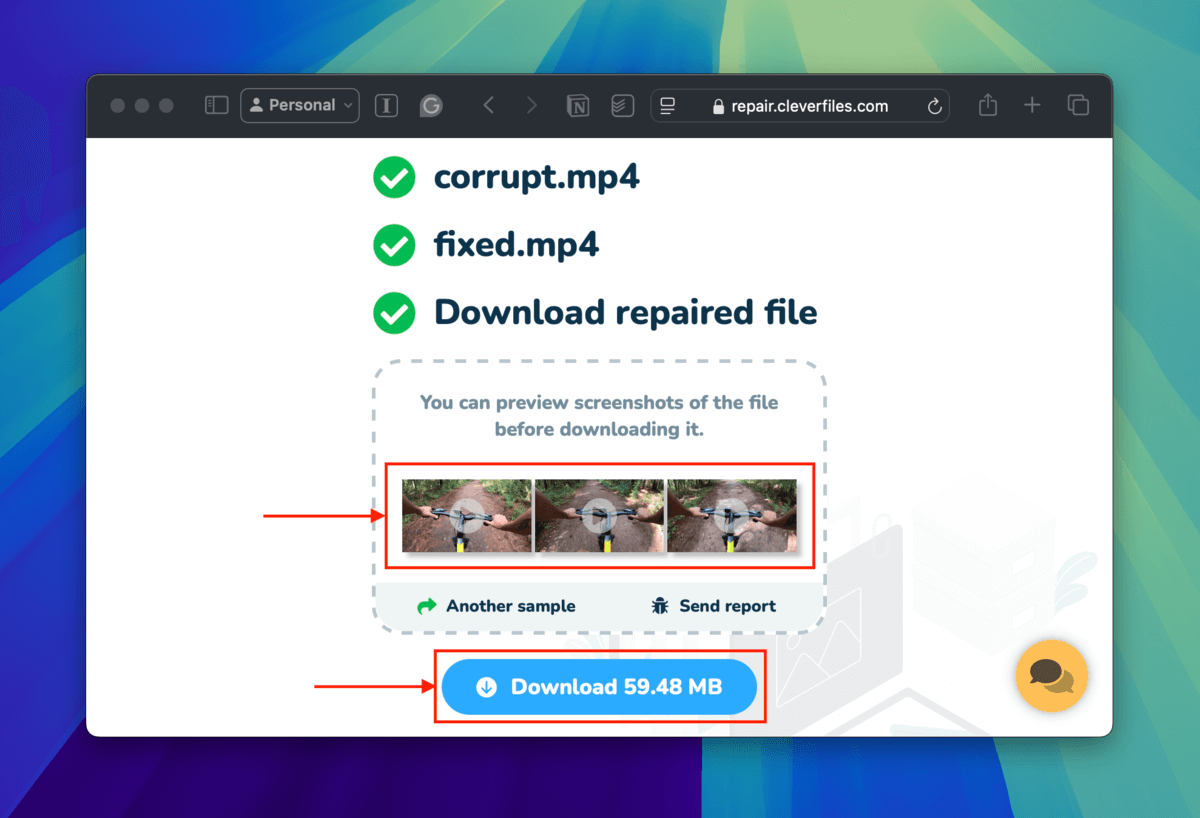
After clicking the Download button, your repaired file will be saved to your Mac like any other download. We recommend trying to open it with a media player ASAP — not only to ensure that the repair was a success but also the download itself!
Fix 2: Open Your Recovered Video File in QuickTime Player (MOV Files Only)
QuickTime Player is a built-in macOS multimedia streaming app that also features a minor repair function specifically for MOV files. It can’t do much, but it will try to detect and fix small errors in any MOV video you attempt to play.
Step 1. Open QuickTime Player (Finder > Applications).
Step 2. A file selection dialogue box should appear. Locate your corrupted MOV file and select it. Finally, click Open.

As QuickTime Player attempts to open the file, it will automatically detect errors and try to fix them. You’ll know your video file has been repaired if it successfully streams.
Fix 3: Rewrap Your Recovered Video File’s Streams in a New Container
If the Moov Atom isn’t the problem and neither of the previous quick fixes worked, the next solution to try is container repair. A video file’s container is the wrapper for the video and audio streams and it contains the metadata (information about the file) required by media apps to play it.
It’s possible for only the container to be damaged (metadata corruption) but the streams to be intact — in this case, you can try “rewrapping” your video file’s streams in a fresh new container.
For this operation, you can use an app called Shutter Encoder. It’s a beginner-friendly video encoder and converter known as the “GUI for FFmpeg.” It’s also open-source and completely free.
Step 1. Download Shutter Encoder. The download button from the official website will also open a Paypal window and QR code automatically — you can close both (unless you want to donate — highly encouraged) and resume the app download.
Step 2. Double-click the downloaded .pkg file and go through the standard installation wizard.
Step 3. After installing Shutter Encoder, you’ll find the app in the Finder > Applications folder. Double-click its icon to launch it.
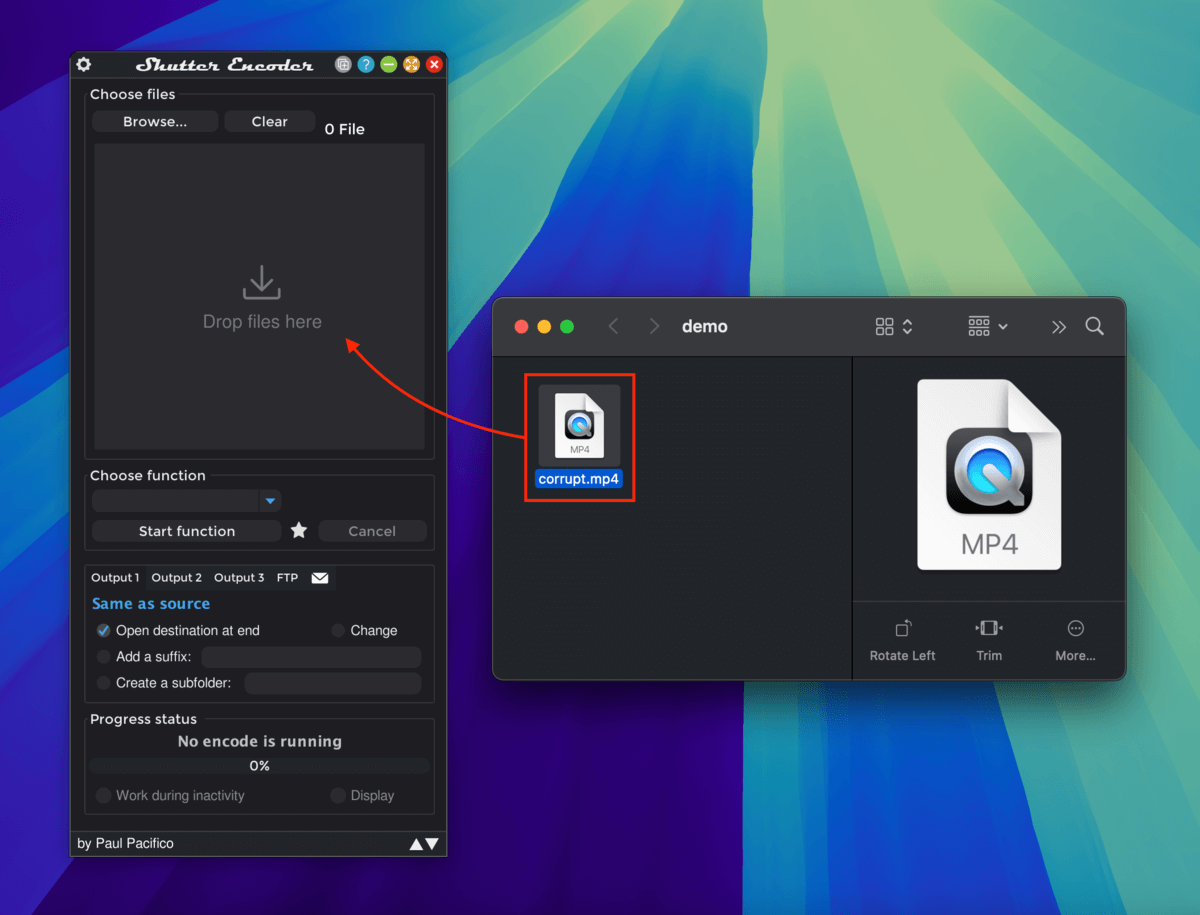
Step 4. Drag your corrupted video file into the space in the Choose files section.
Step 5. Click the dropdown menu directly under Choose function and select Rewrap.
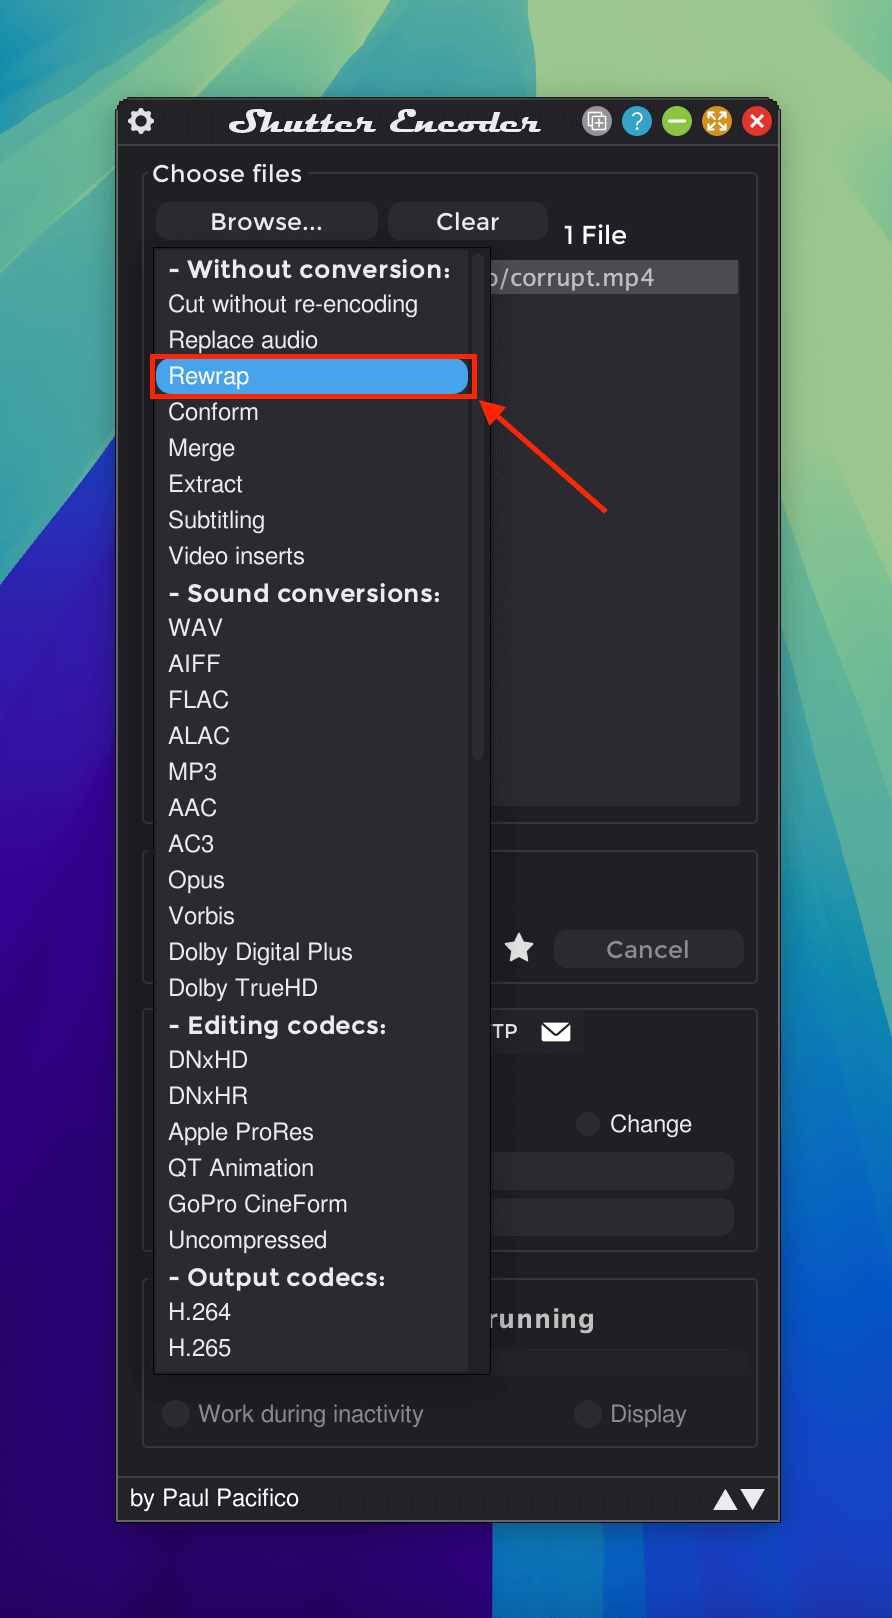
Step 6. Click the dropdown menu beside Rewrap and select the file extension output you want (you can select a new file container format or rebuild the same format). Finally, click Start function.

The Progress status section of the app window will display a progress bar for the rewrapping operation. Once it shows 100%, you’ll find your newly re-wrapped video in the same folder where your corrupted video is stored. Try playing the video to make sure it works.
Fix 4: Re-encode Your Recovered Video File
If rewrapping your video file’s streams in a new container doesn’t work, the corruption may have affected the actual streams and/or your video’s codec. The next solution you can try is to transcode your video file.
Transcoding not only builds a new container for your video but it also installs a fresh codec, attempts to reconstruct frames (by parsing the original file’s data), and it may be able to skip errors and restore playable parts depending on the software.
For this demonstration, we’ll be using the same app we used in Fix 4 — Shutter Encoder (which is 100% free and open-source).
Step 1. Follow steps 1-3 in the Fix 4.
Step 2. Drag your corrupted video file into the space in the Choose files section.
Step 3. Click the dropdown menu directly under Choose function and select DNxHD (under Editing codecs). Click the dropdown menu beside DNxHD and select 120. Finally, click Start function.

Wait until the progress bar in the Progress status section shows 100% completion. Shutter Encoder should then open the destination folder on its own (which, by default, is the same folder where your corrupted video is saved). Try playing it now.
Fix 5: Utilize the Untrunc Tool on Your Recovered Video File
Untrunc is a media file manipulation tool that can help repair severely corrupted and incomplete videos with missing or damaged file headers and other indexing information and metadata.
However, like Clever Online Video Repair (the tool we used in Fix 1), Untrunc requires a healthy video file sample that it can reference to rebuild the original corrupted file.
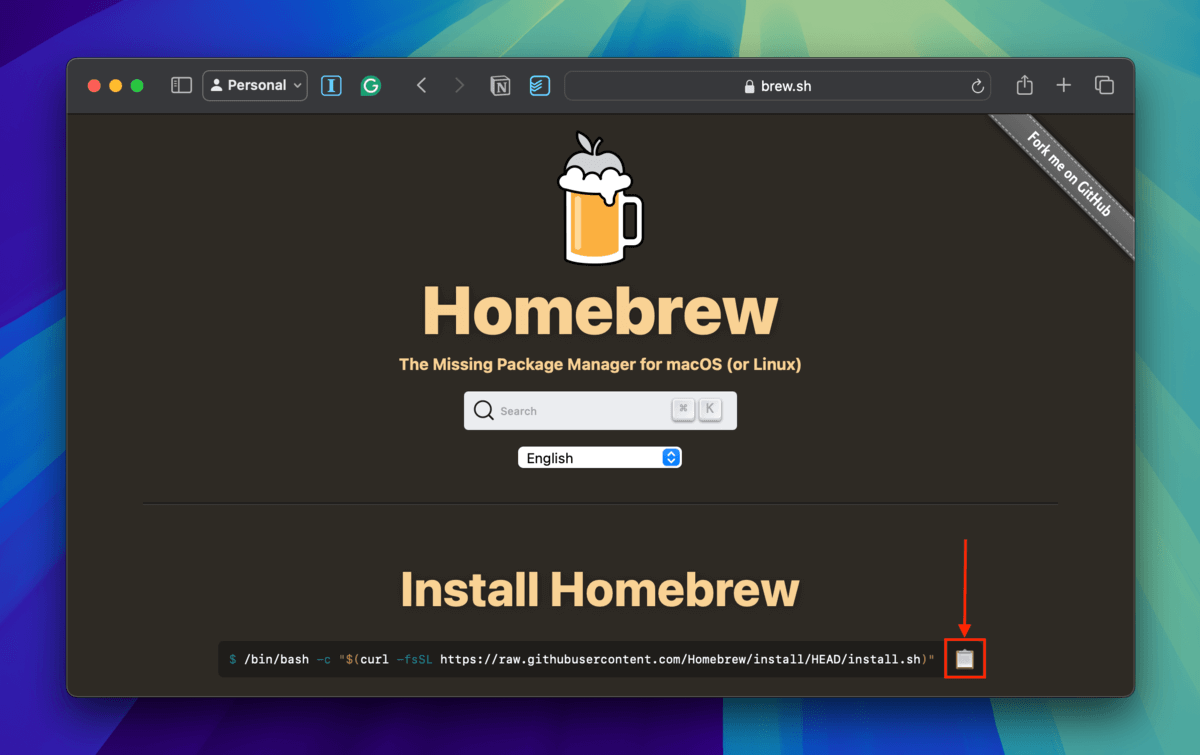
Step 1. Open any browser and navigate to brew.sh.
Step 2. Scroll to the middle of the page and click the clipboard icon to copy the code snippet beside it.
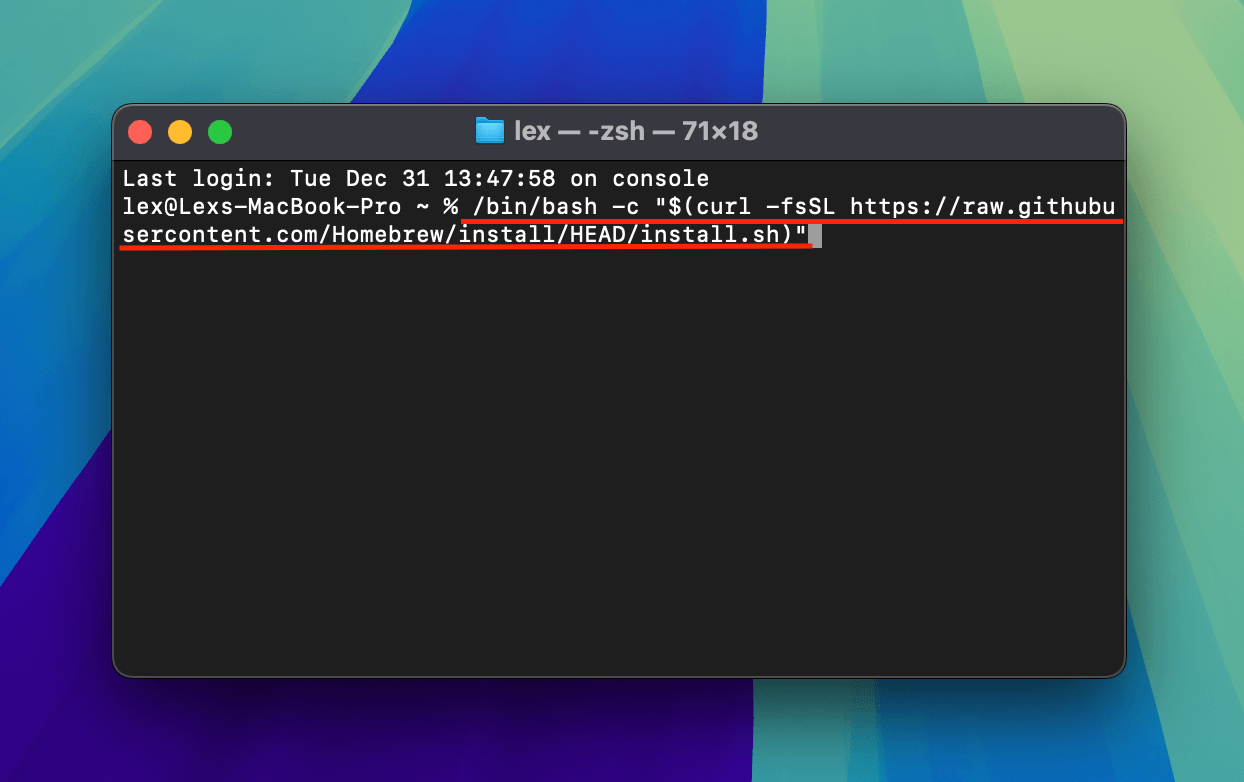
Step 3. Launch the Terminal app (Finder > Applications > Utilities). Paste the code snippet you copied in step 2 and press Return to execute it. This will install Homebrew.
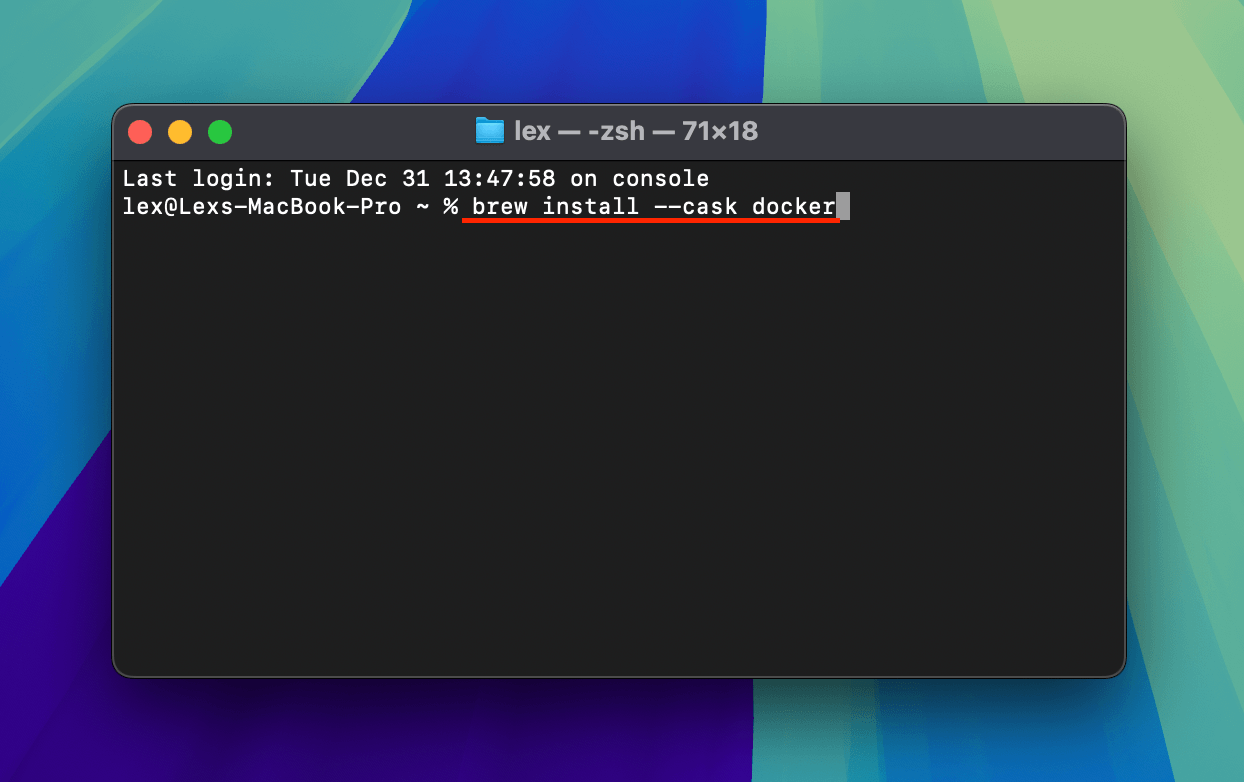
Step 4. Once Homebrew has been successfully installed, execute the following code to install the Docker app:
brew install --cask docker
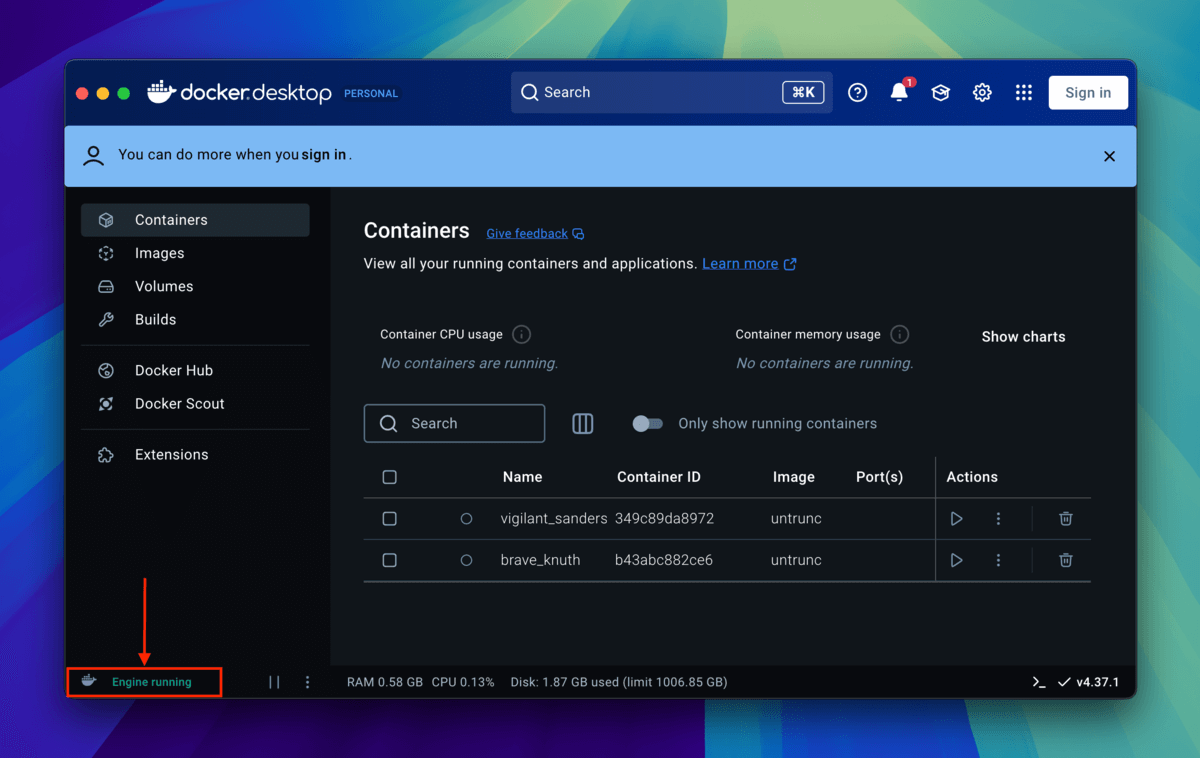
Step 5. Launch Docker (Finder > Applications). macOS may prompt you to confirm if you want to open it (because it’s an internet application). You’ll be greeted by a few dialogue boxes about Docker’s service agreement and your profile setup and customization (which you can skip). Keep clicking until you get to the main Docker window where you should see the words Engine running in the bottom left corner of the window.
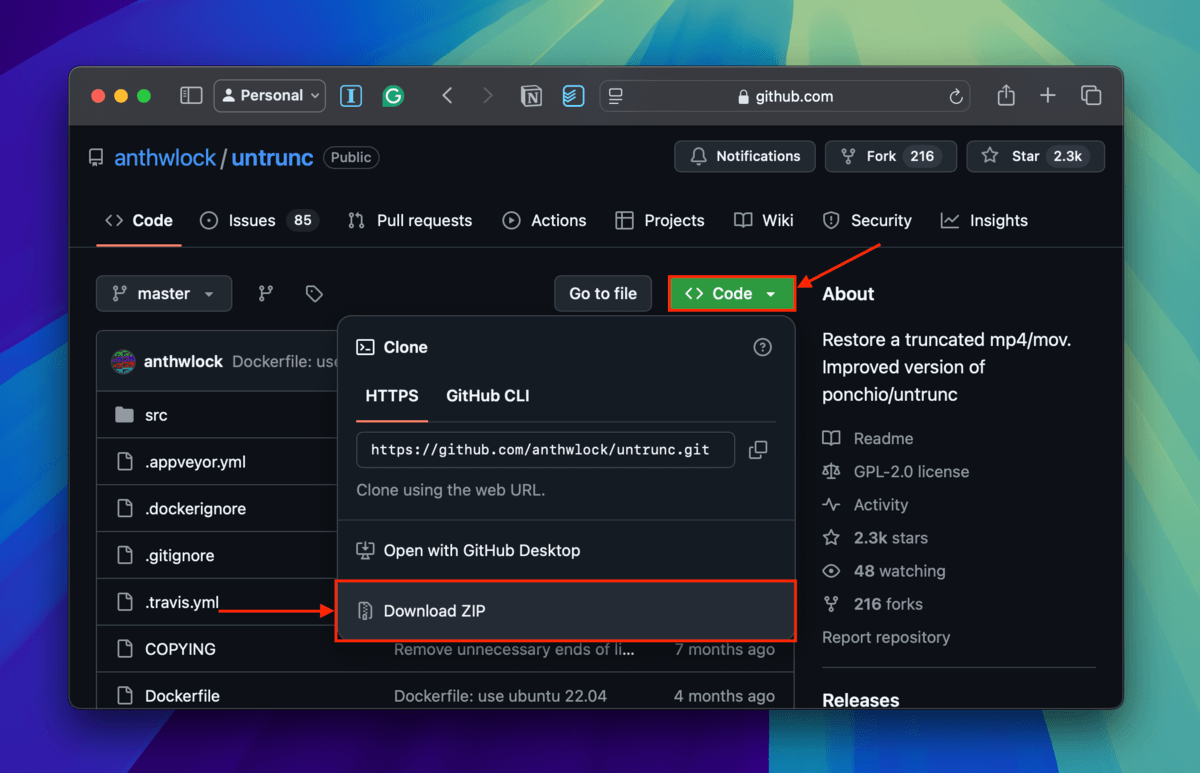
Step 6. Open any browser again and navigate to this Untrunc Fork GitHub Page. Click the <> Code button and click Download ZIP.
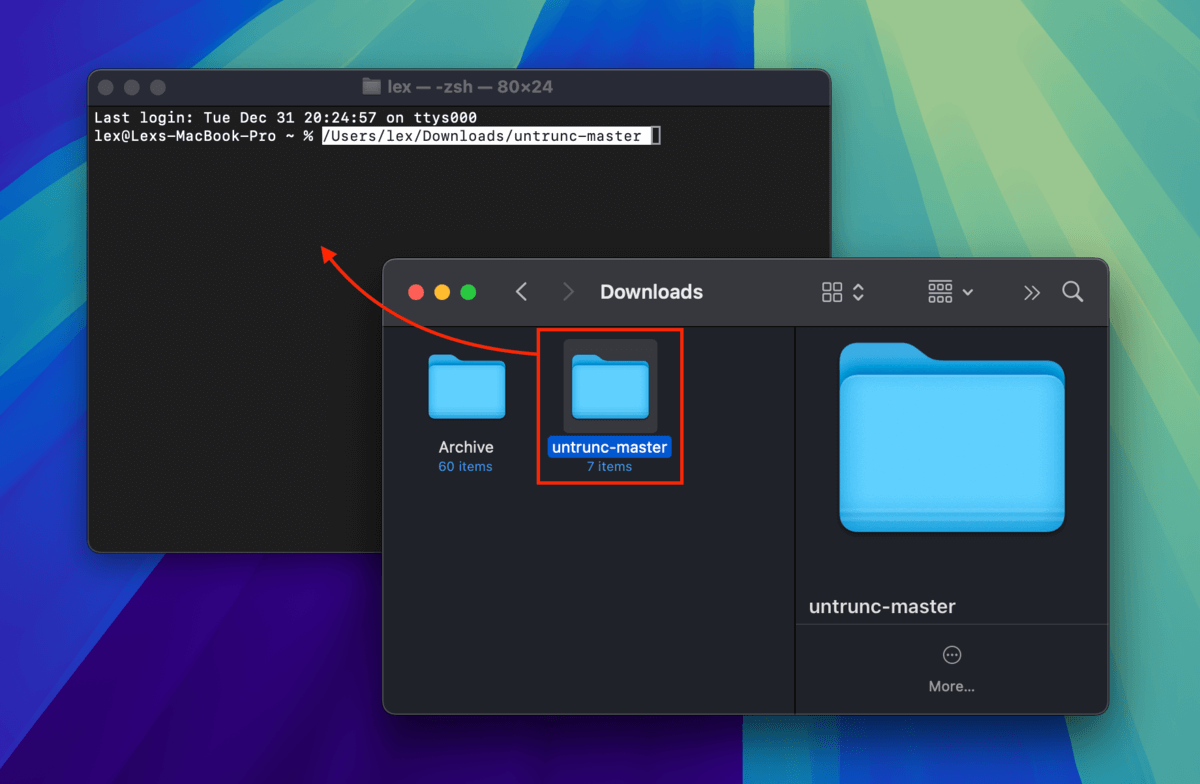
Step 7. Check your default Downloads folder to confirm that a folder called untruc-master has been successfully downloaded. Then, open the Terminal app and drag the untrunc-master folder into the Terminal window. Press Return.
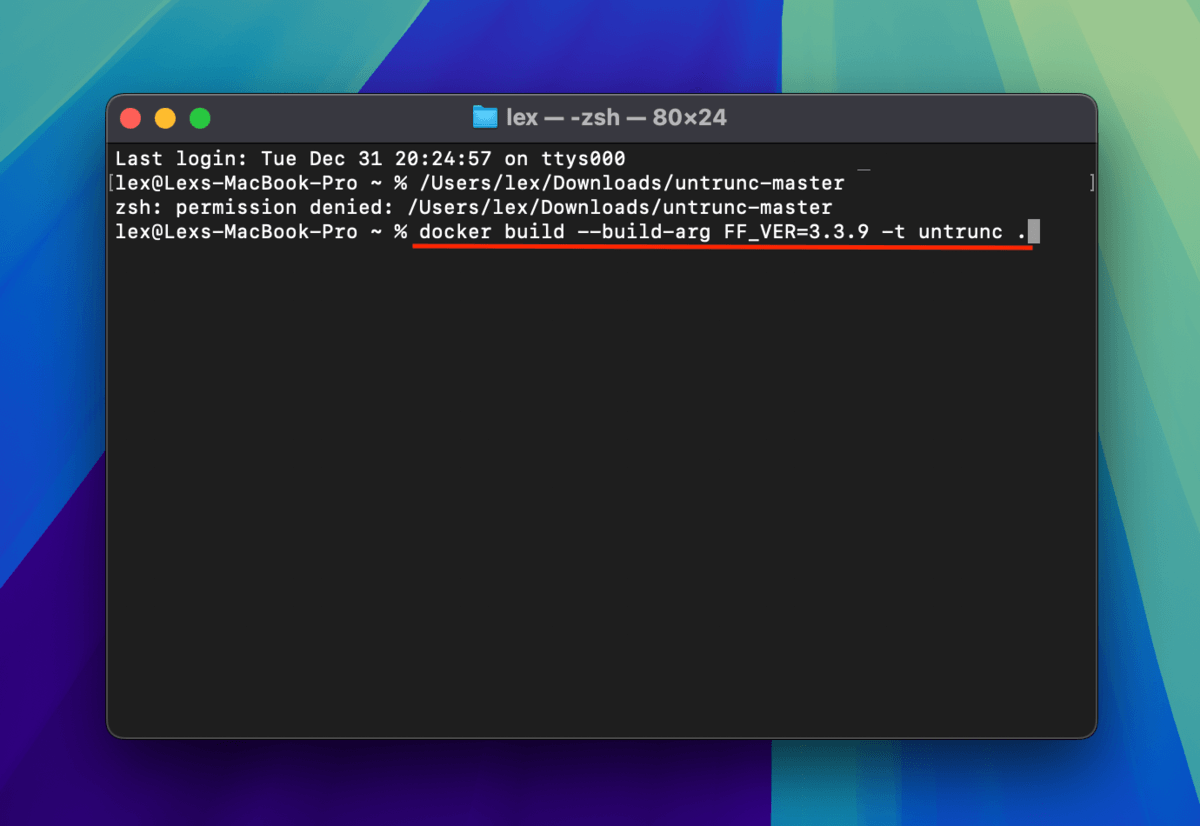
Step 8. Paste the following command in the Terminal app to apply version 3.3.9 of FFmpeg to Docker’s untrunc build:
docker build --build-arg FF_VER=3.3.9 -t untrunc .
Step 9.Finally, use the this command to execute the untrunc operation on your corrupted video file:
docker run -v ~/Desktop/demo/:/mnt untrunc /mnt/fixed.mp4 /mnt/corrupt.mp4
Replace /Desktop/demo with the folder path leading to the directory where your video files are stored. Replace fixed.mp4 and corrupt.mp4 with the appropriate input and output file names.

The Terminal app logs will tell you once the untrunc operation has been completed. The new file will appear in the same folder where your original corrupted file is located. Try to play the recovered MP4 video file now (the new version).
Fix 6: Rename Your Recovered Video File and Utilize VLC’s AVI Repair Tool
VLC Media Player is a free, open-source, and well-regarded multimedia tool with a repair feature built in for .avi files. It can fix minor errors and runs automatically whenever you open .avi files (due to a setting we’ll enable later).
You can still use this method even if your video uses another file extension (e.g. .mp4) by renaming it in Finder. While this doesn’t constitute a “real” conversion, it makes VLC treat the file as if it were an .avi video, triggering the repair operation.
Step 1. Download and install VLC Media Player but don’t launch it yet.
Step 2. Open Finder and navigate to the folder where your corrupted video file is stored.
Step 3. Right-click your duplicated corrupted file and select Rename from the menu.
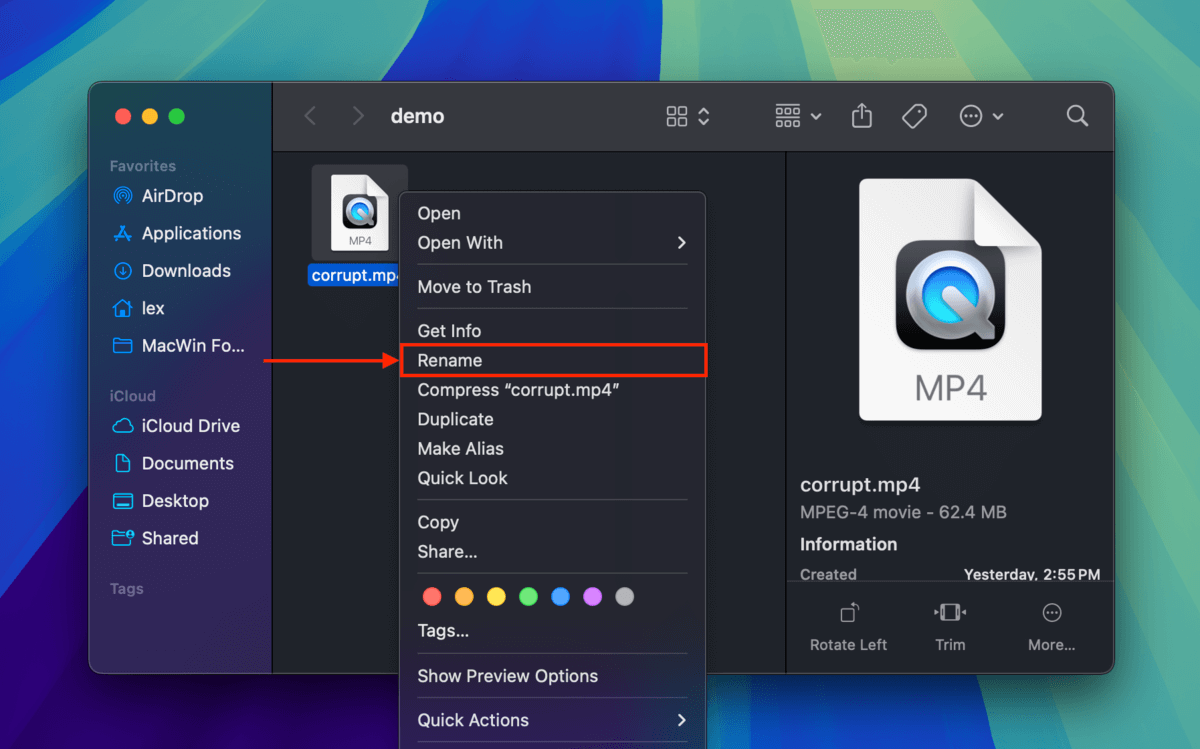
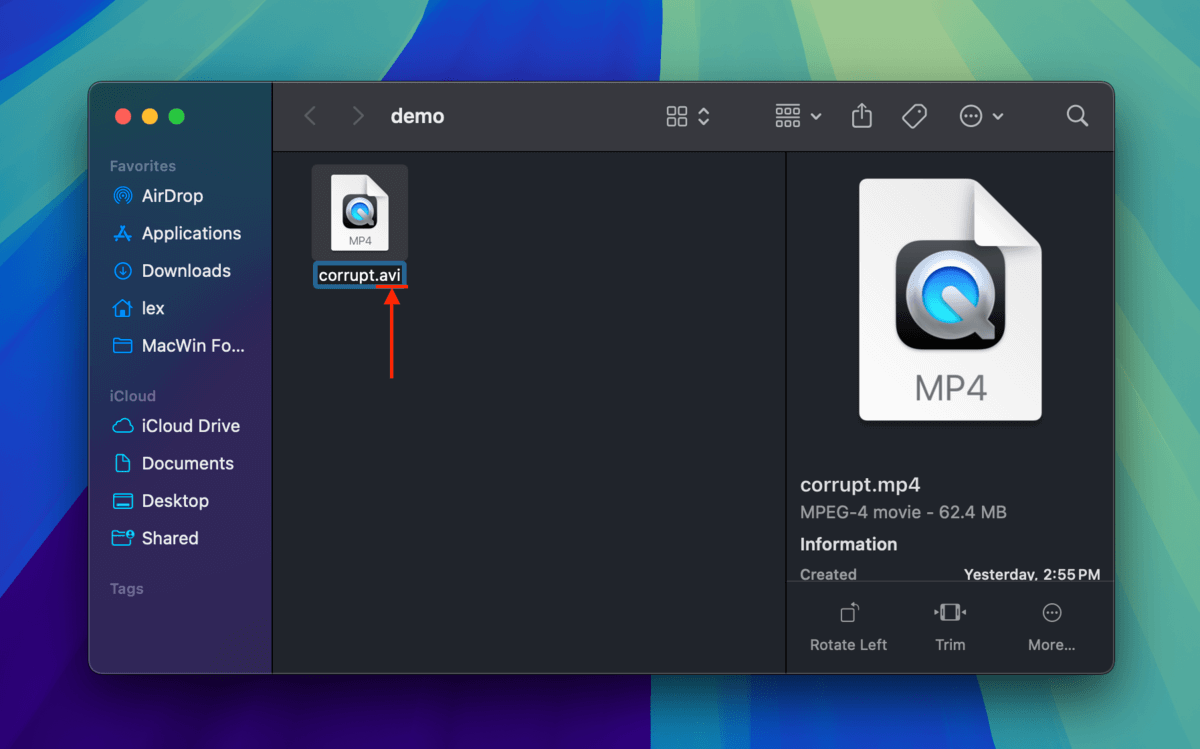
Step 4. Replace the file’s extension (which comes after the . symbol) to “avi.” For example, corrupt.mp4 will become corrupt.avi.
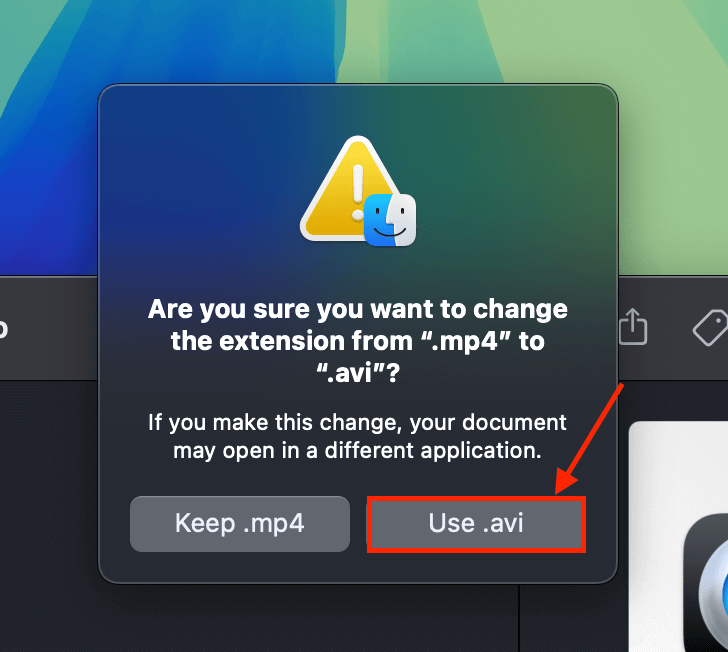
Step 5. Click Use .avi if prompted by Finder.
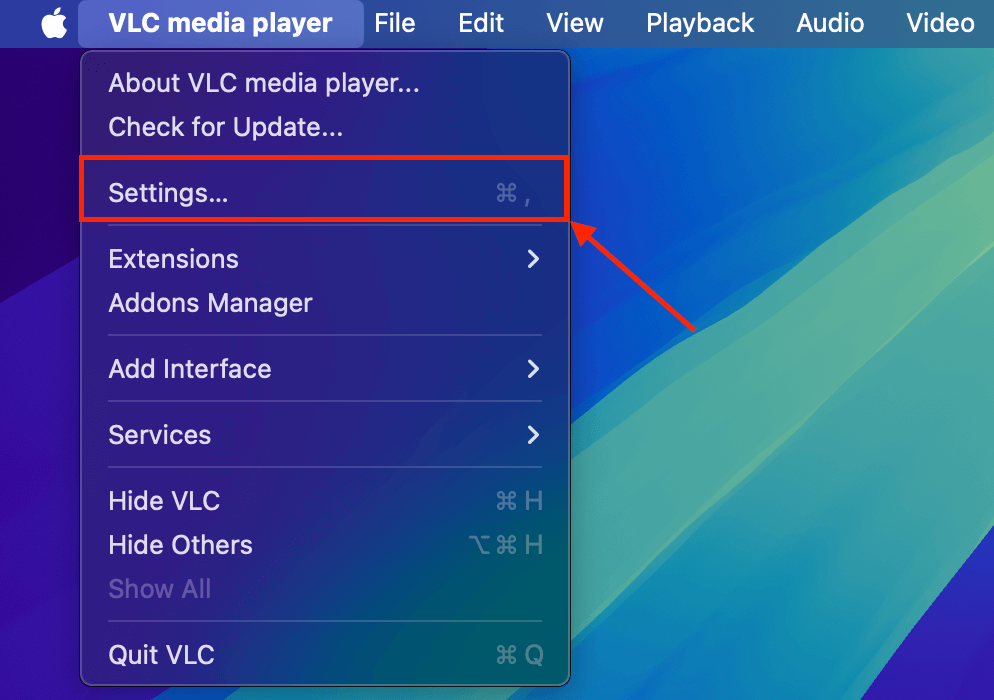
Step 6. Launch VLC Media Player (Finder > Applications). On the menu bar, click VLC media player > Settings…
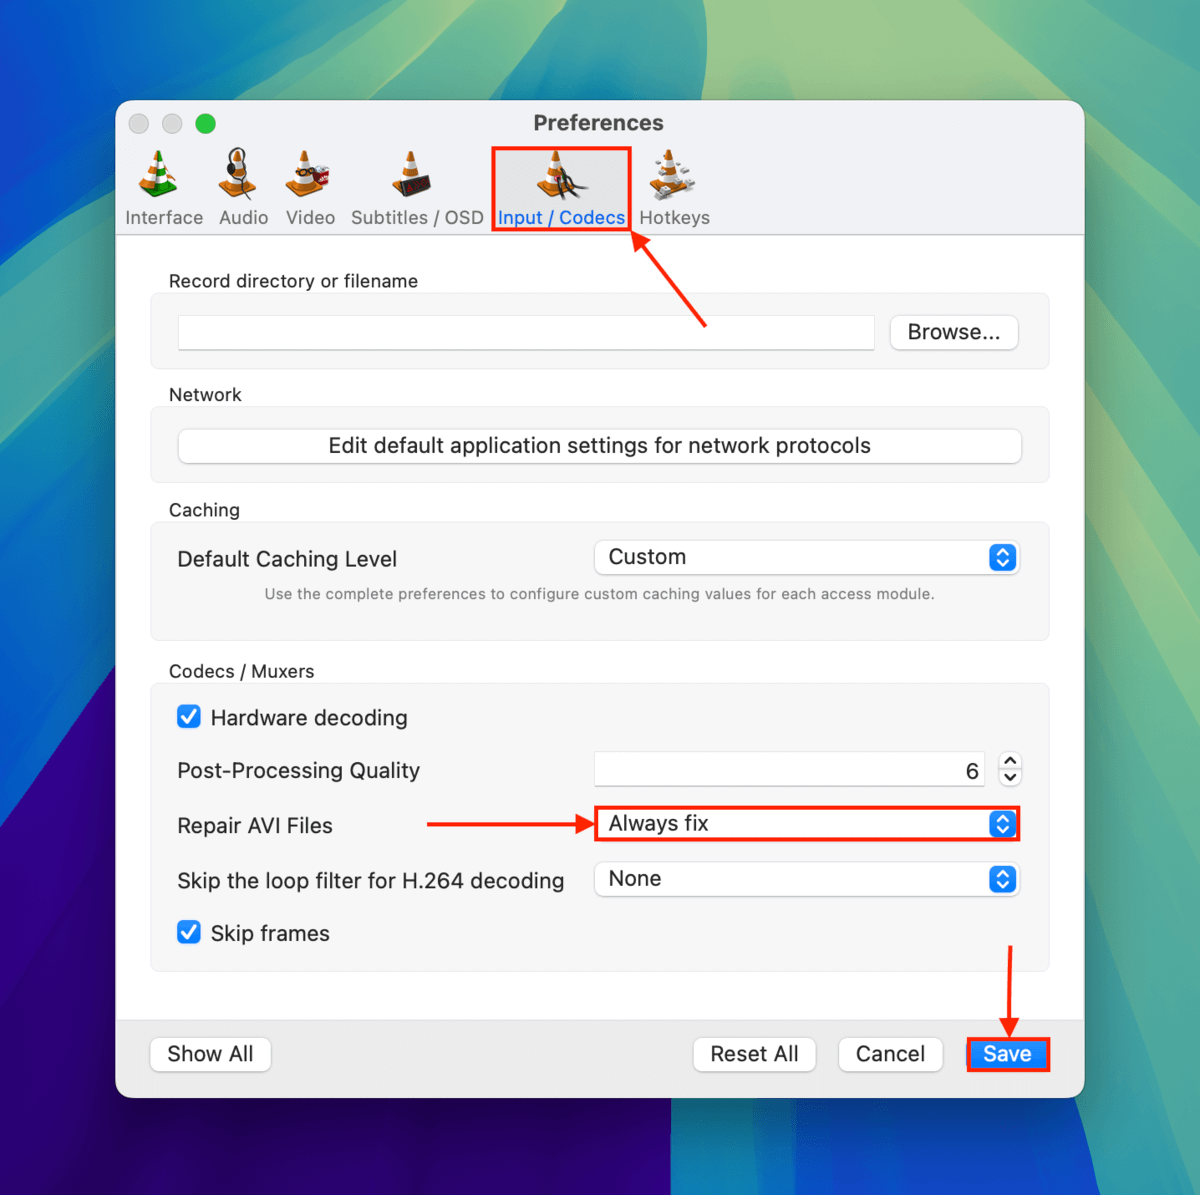
Step 7. At the top of the Preferences window, click Input / Codecs. Then, in the Codecs / Muxers section, click the dropdown menu beside Repair AVI Files and select Always fix. To apply the setting and close the Preferences window, click Save.
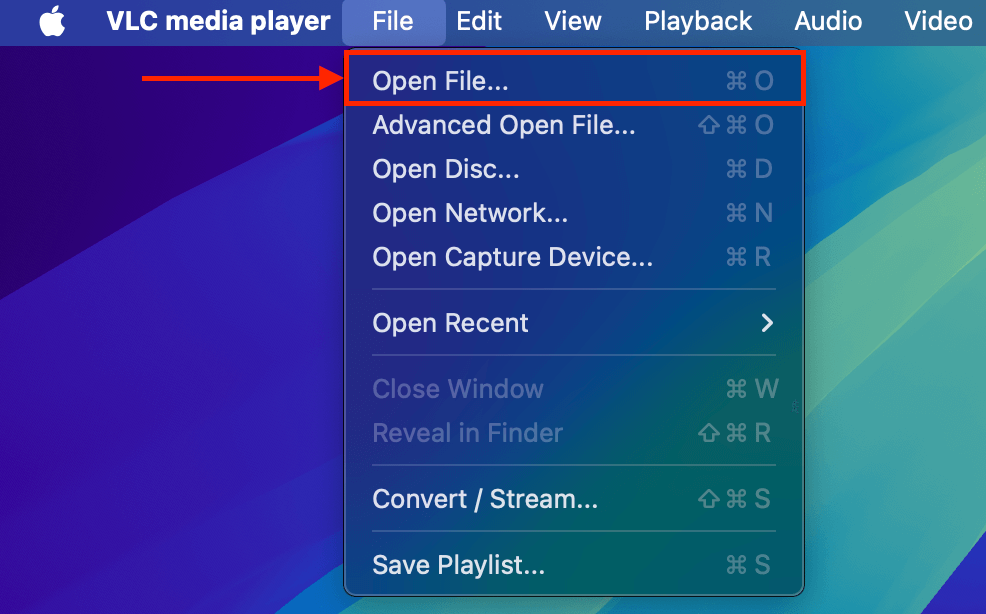
Step 8. Then, on the menu bar (with VLC still running), click File > Open File…
Step 9. In the dialogue box that appears, locate the “AVI” file you renamed in step 4. Finally, click Open.
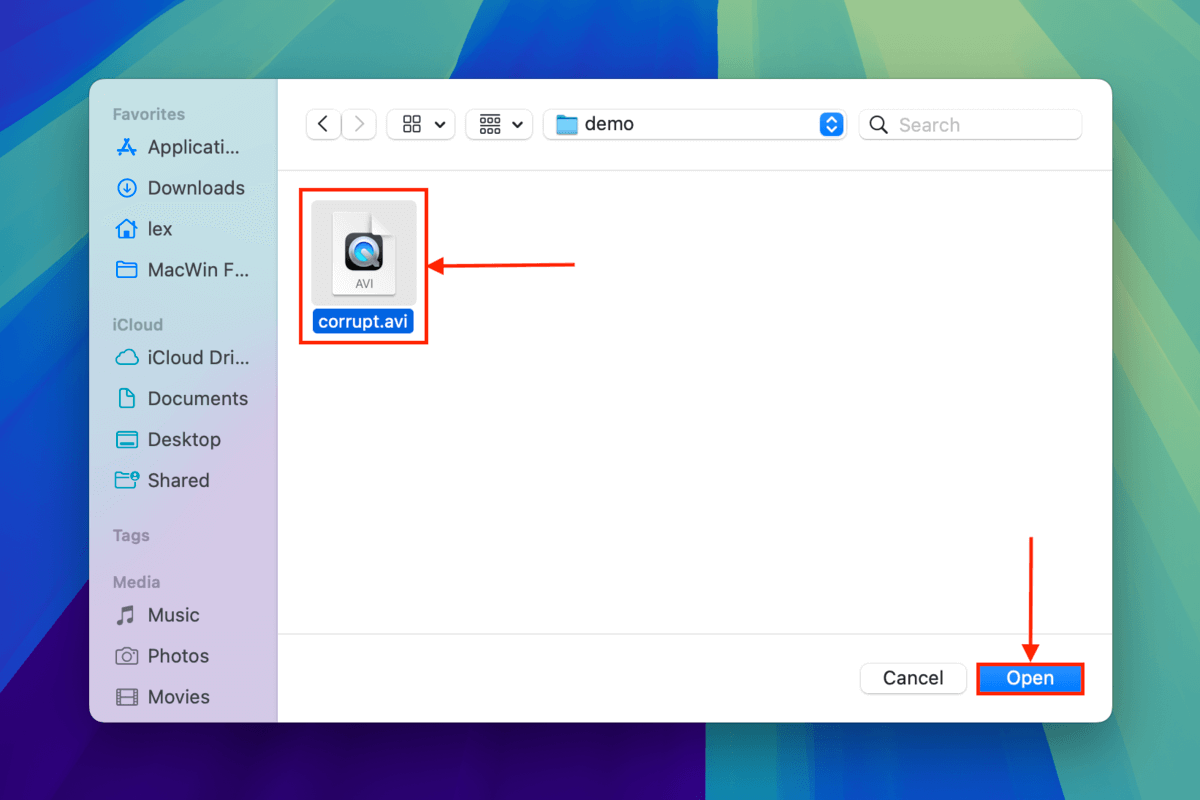
Once the file (step 9), VLC will automatically attempt to repair it. If successful, your video file should play without errors.
Before You Go, Have Some Anti-Corruption Video Recovery Tips!
Video recovery (and data recovery in general) is a highly complex process, making it hard to predict whether or not the files you get back will be entirely intact or even usable. However, there are a few things you can do to make it less likely for your recovered videos to end up corrupted or unplayable.
First, choose your data recovery software carefully. Some are designed to support large high-definition video files — many are not (and will not tell you this outright). Second, do not save any new files to the storage device containing the corrupted file to avoid even partial file overwriting (which leads to incomplete videos).
Finally, back up your files often! Data storage can be unpredictable so prevention is always better than cure in this case.


