I am not a tremendously heavy user of AppleScript and Automator (in fact, I never really bothered to learn AppleScript—some Mac user I am!). But if there’s one area where Automator has made inroads into my workflow, it’s in the area of image manipulation. And if you work with lots of images, this One Weird Trick™ could save you some time when you need to scale a bunch of them all at once.
A Brief Automator Overview
Automator works under a simple premise: You can string together steps—called Actions in Automator parlance—in order to tell your Mac to complete a task. Think of an Automator workflow as a step-by-step instruction guide that tells your Mac what to do.

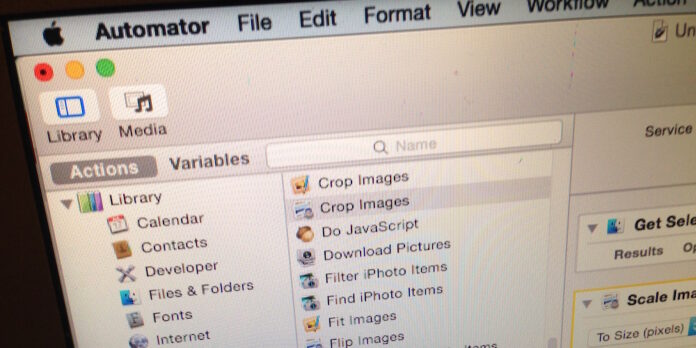
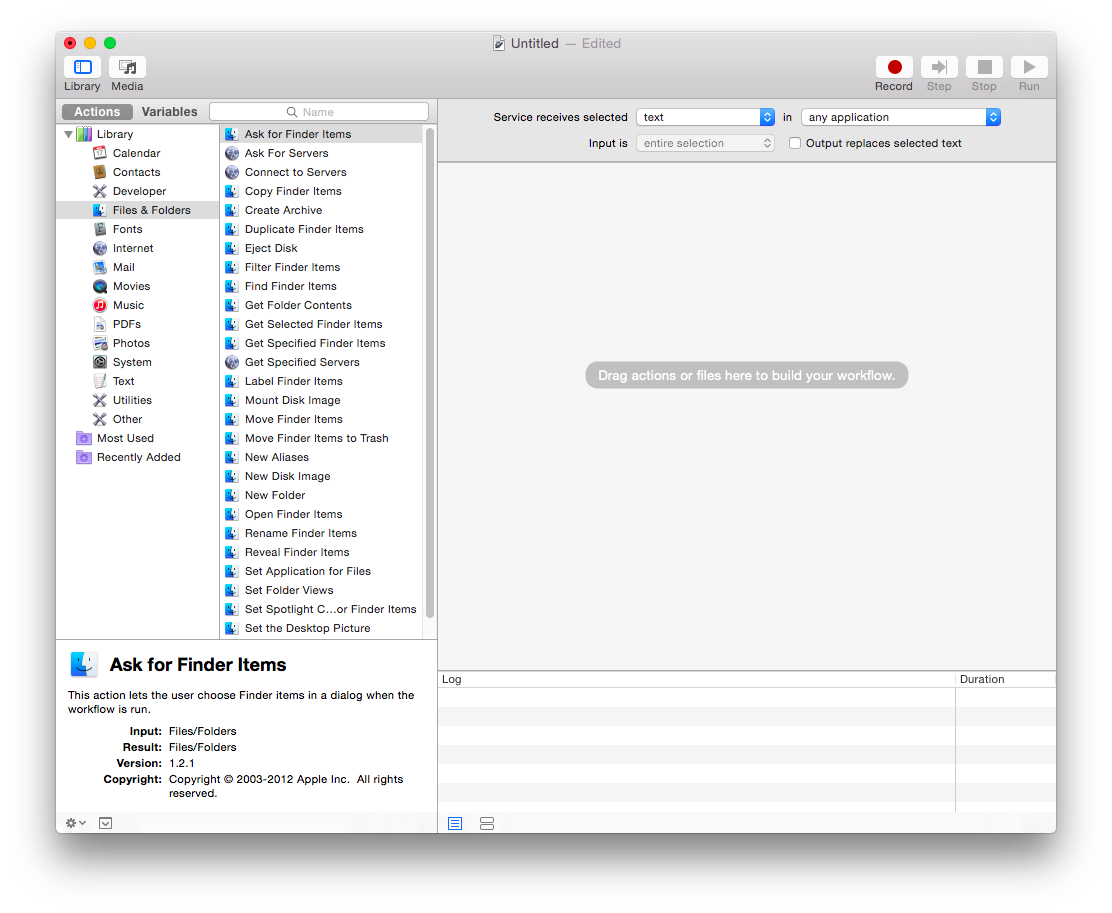
Automator’s interface has two sidebar columns and a main work area: The leftmost column shows you which apps provide Automator actions for you to use; the next column over lets you view actions associated with the selected app, then drag them over into the work area to build your workflow. Automator also provides a description of the selected action in the lower-left corner to give you an idea of what the selected action will do.
It may seem a little threatening at first, but it’s actually quite simple once you get the hang of things. BEfore you get started, click around and check out some of the actions at your disposal, and get a feel for what Automator can do for you.
Building The Workflow
To start, open Automator and create a new document (File > New if, for some reason, it doesn’t present you with a new document when you open the app). When prompted, select “Service” from the list of workflow types you can create, then click Choose. You can choose another option if you want, but for this tutorial, we want a workflow that we can get at through the Finder’s right-click menu.
You’ll need to tell Automator that you want this workflow to work with image files in the Finder, so at the top of the work area, select image files from the pop-up menu next to “services receives selected.” Next, select Finder from the application picker pop-up menu. You should get something that looks like this:
So far so good, right?
Look for the action named “Get Selected Finder Items” and drag it into the work area. Next, look for “Scale Images”—you may find multiple actions with this name, but for this tutorial, we want the one with the Preview icon next to it. Once you find this action, drag it to the work area and place it below Get Selected Finder Items.
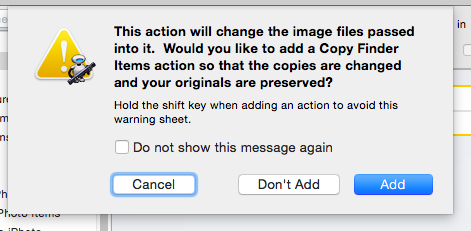
At this point, Automator will ask you if you want to create a copy of the selected filed before you want to resize them. You can add that step if you want, but for the sake of this example, we want it to just resize the originals, so go ahead and click Don’t Add.
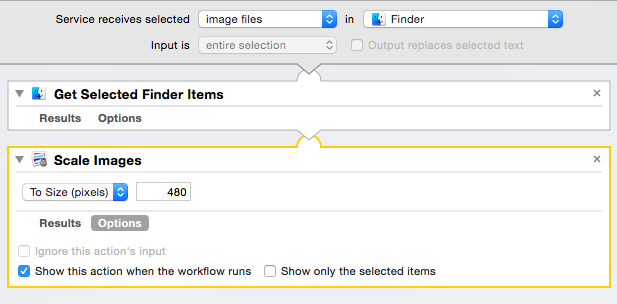
By default, the Scale Images action is set to resize your images to be 480 pixels across. We want a workflow where we can choose how wide images should be every time we run it, though. To make this happen, click Options under Scale Images, then check the box labelled “Show this action when the workflow runs.”
You should now see something like this:
Now, let’s go ahead and save it. Select Save… from the File menu and give your workflow a name. You can call it whatever you want, but I’d suggest naming it in such a way that you know that it’ll resize the original image file, not a copy (I named mine “Scale Images (Does Not Make Copy)…”). Click Save once you’re done, and go ahead and quit Automator.
To test your new workflow, right-click an image file in the Finder, mouse over Services, then select your new workflow from the list.
Once you get a good feel for how Automator works, start experimenting. Add combinations of workflow actions. Try making workflows for different file types. And tweet us @macgasm and show us what you’ve come up with!


