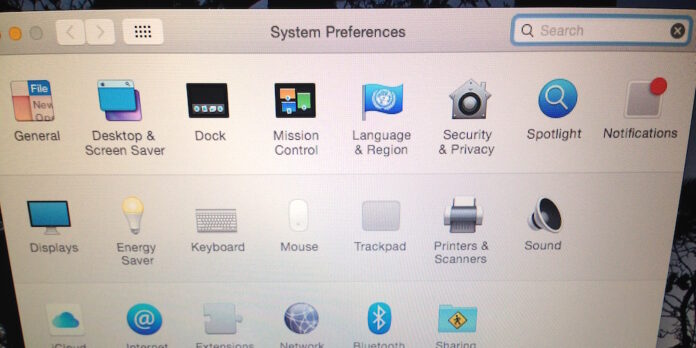
Tucked away in System Preferences is an option to hide preference panes you don’t want or need to use. This could come in handy if you’re setting up a user account for your kids and want to simplify things for them, for example, or if you have no desire to use iCloud and want the preference pane gone from your life.
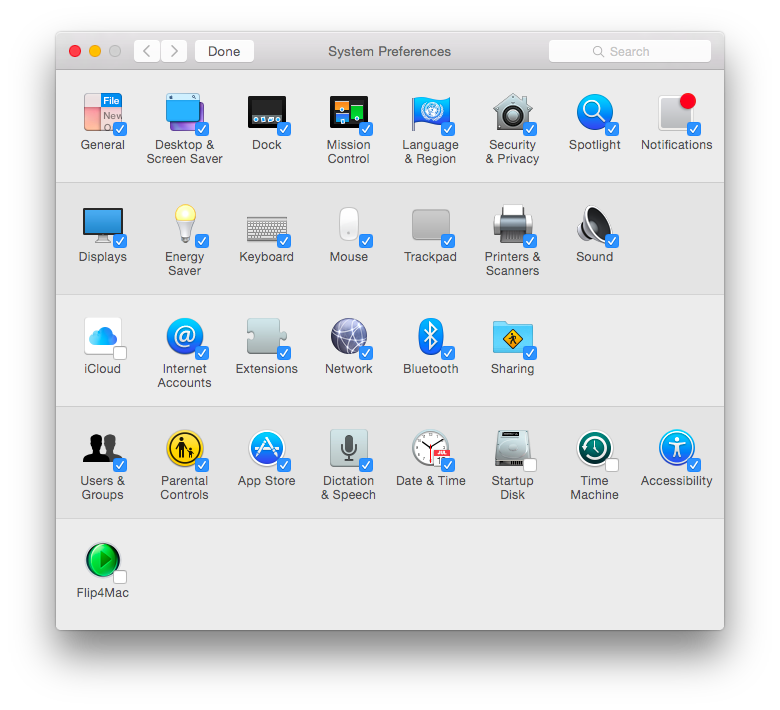
As you might have guessed, the first thing you need to do is open System Preferences. Once open, go to the View menu and select Customize…. Once you do, you’ll notice that the preference pane icons in the main System preferences window are now joined by checkboxes. Uncheck the boxes next to items you no longer want to appear in System Preferences, while leaving the boxes checked next to the items you do want to appear. Once you’re done, press the Done button in the toolbar.

To un-hide an item, repeat the process, and re-check the box for that preference pane.
Hidden preference panes aren’t hidden completely, though; if you need to get to them, you can still access them through the View menu in System Preferences.
While you’re in the View menu, you might also notice that you can change how items are ordered in the main System Preferences window: You can toggle between viewing items in alphabetical order, or by grouping them by category (the default view). Go ahead and play with these settings and see which arrangement works best for you.


