Sometimes you need to run tasks that require your Mac to stay awake for long periods of time. Normally, this requires you to change your Mac’s sleep settings within System Preferences, and although this is easy enough to do, it can be tedious if you have to do said task multiple times throughout the day.
Sure, there are third-party apps that can do this for you, but what if there was a quick and easy Terminal command that would prevent your Mac from sleeping instead? Good news: There is.
Using Terminal To Prevent Your Mac From Sleeping
First, launch the Terminal app (in the Utilities folder) and type in
caffeinate
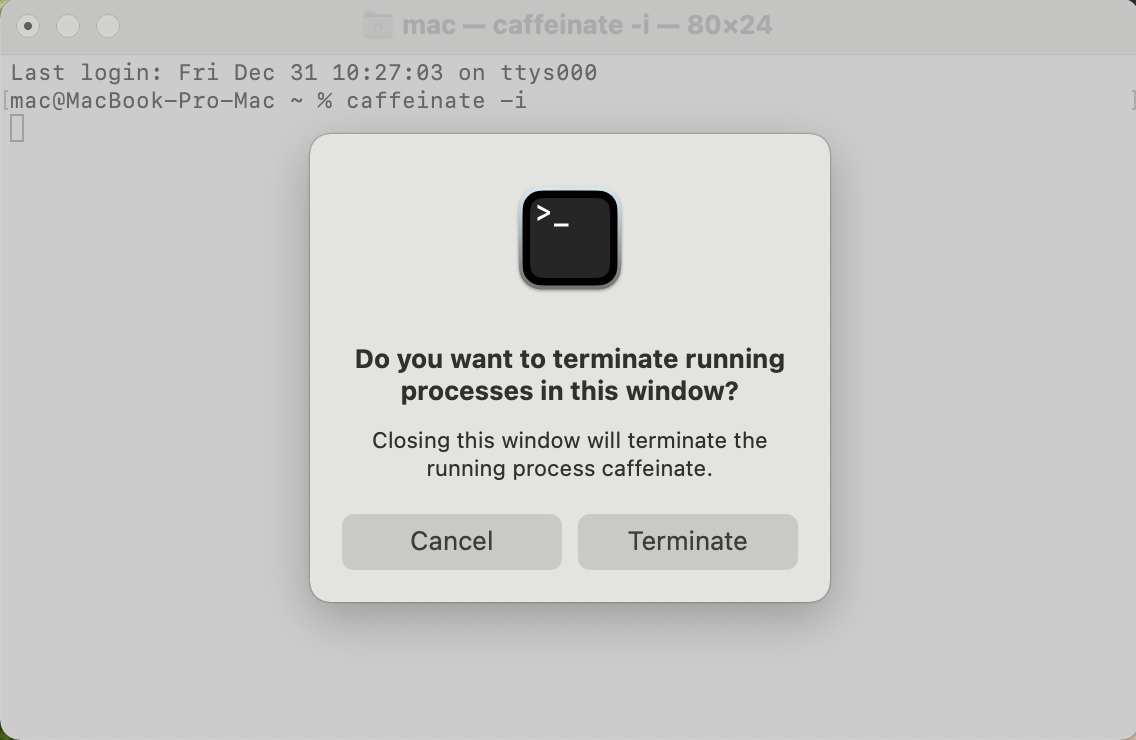
If you run the command this way, your Mac will stay awake until you close the Terminal window—this way, you don’t need to remember to re-enter a command to make your Mac return to its normal sleeping habits.

Other Caffeinate Options
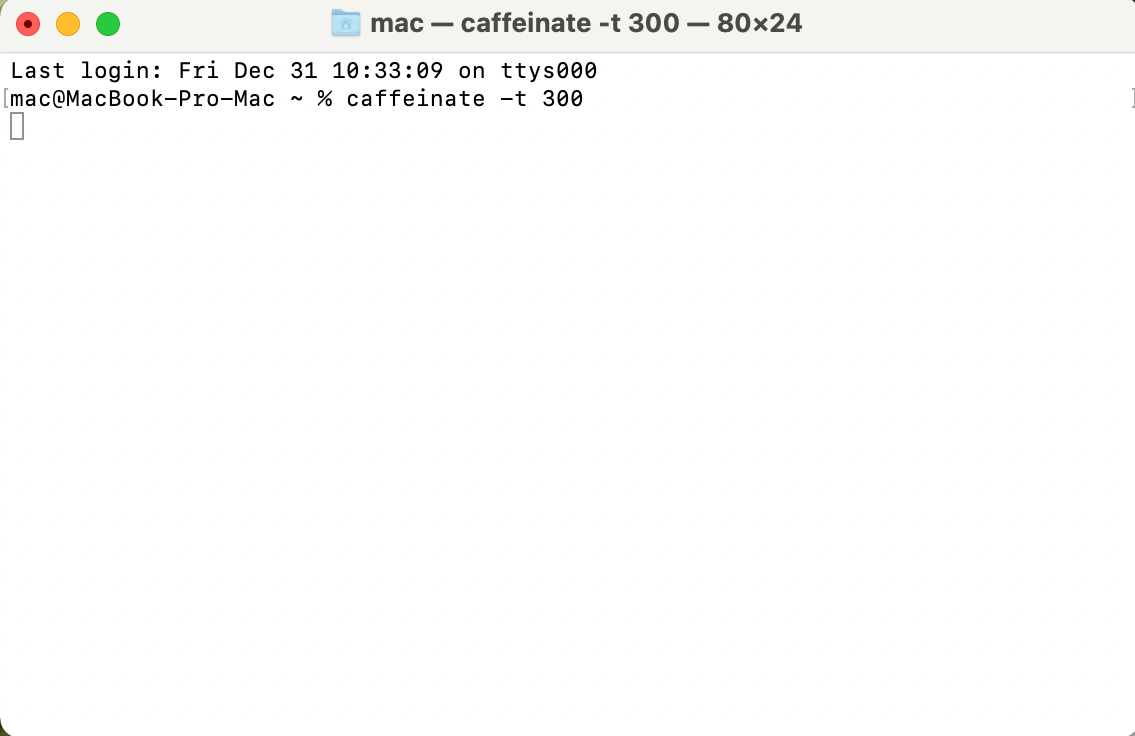
There are two other ways to run the Caffeinate command as well: timed or until the end of an already-running Terminal command. To add a timer to the Caffeinate command, just add how much time (in seconds) you’d like your Mac to be awake for to the end of a command. It will look something like this:
caffeinate -t 4000
Replace 4000 with the amount of time in seconds that you want your Mac to stay awake.
To attach the Caffeinate command to an already-running Terminal command, just add the running command to the end of the Caffeinate command within Terminal. For example:
caffeinate -i script.sh
The caffeinate command also lets you specify which parts of your Mac stay awake. Adding “-i” to the end of the command prevents your Mac from idle sleeping. You can also end the command with -s, -d, or -m instead:
- “-s” keeps your whole system awake,
- “-d” prevents your display from going to sleep,
- “-m” prevents disks from spinning while your Mac is idle.
That sums up how to use the Caffeinate command on your Mac. Keep in mind that, if the command is used improperly, you could run into power consumption issues, so give your Mac a break from time to time!


