
Running out of space on your iPad? The options are limited, but there are several effective ways to expand your device’s storage capacity–and they become even more impactful if you use multiple methods together.
In this article, we’ll show you 4 different ways, both free and paid, to get more storage on your iPad. We’ll also briefly cover how to check on the status of your iPad storage and how it’s currently being allocated.
Table of Contents
How to Check Your iPad’s Storage Information
When trying to manage storage space on your device, the iPad Storage menu in the Settings app can give you a top-down view of how your device’s memory is being used. Here’s how to access it:
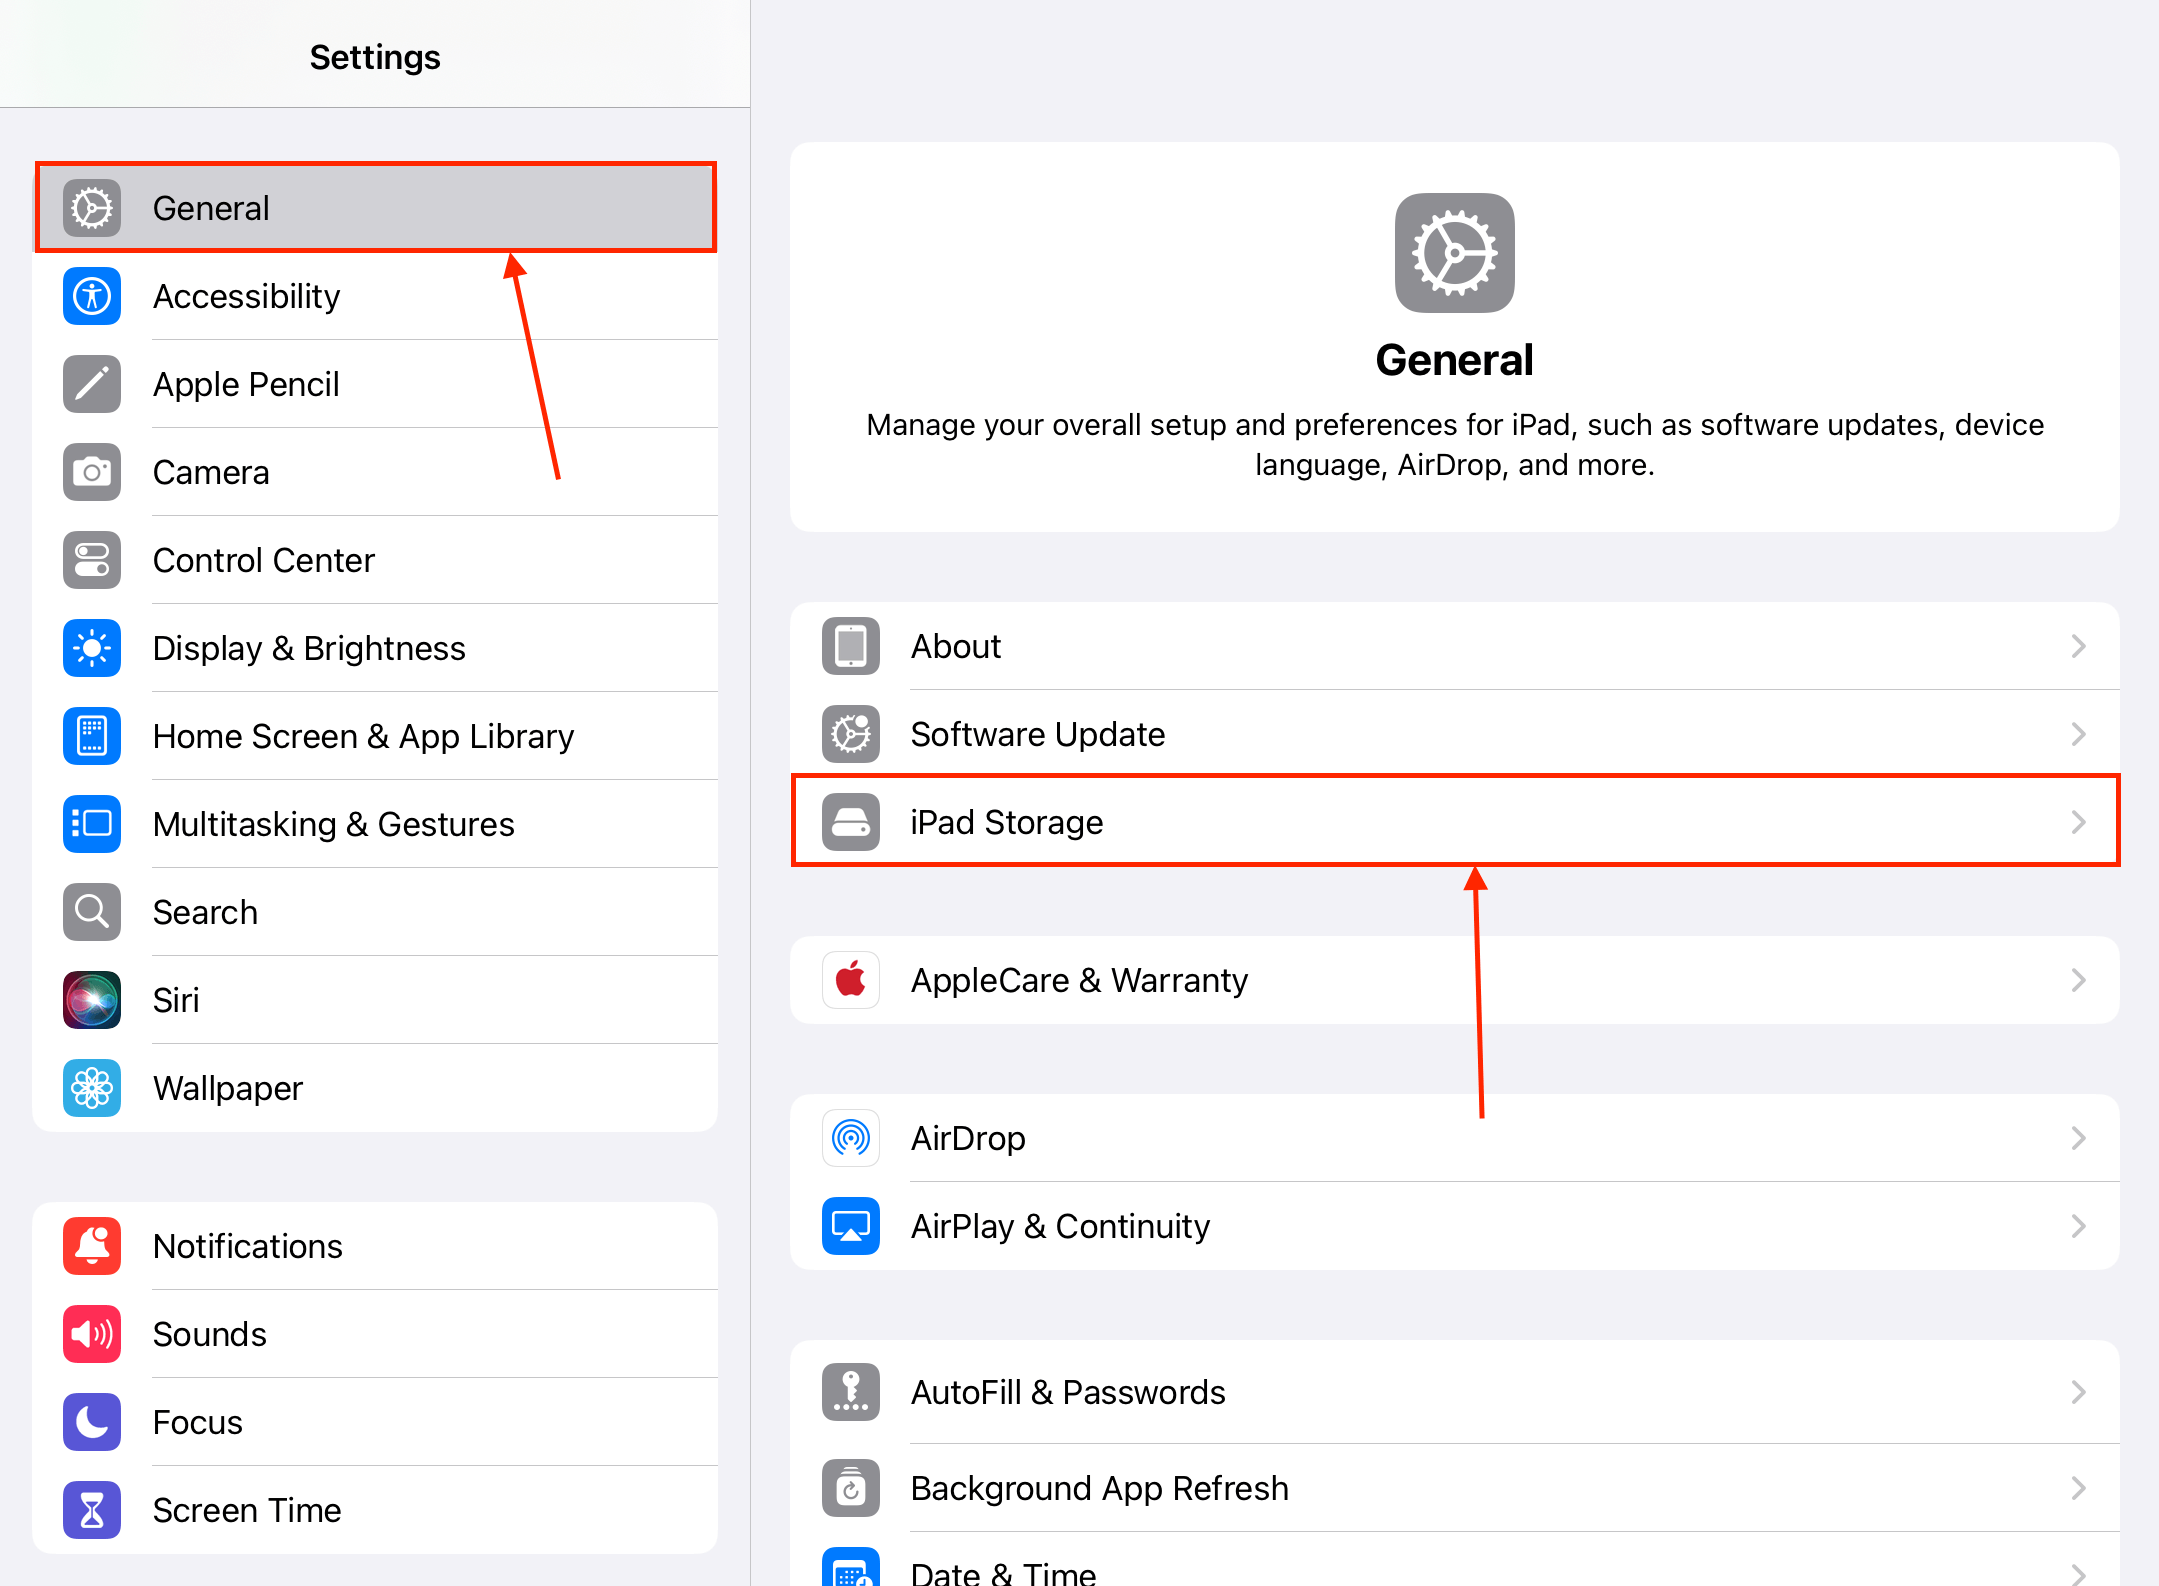
Step 1. Open the Settings app.
Step 2. In the left sidebar, select General. Then, tap iPad Storage.
Step 3. Review the details of your device’s storage.
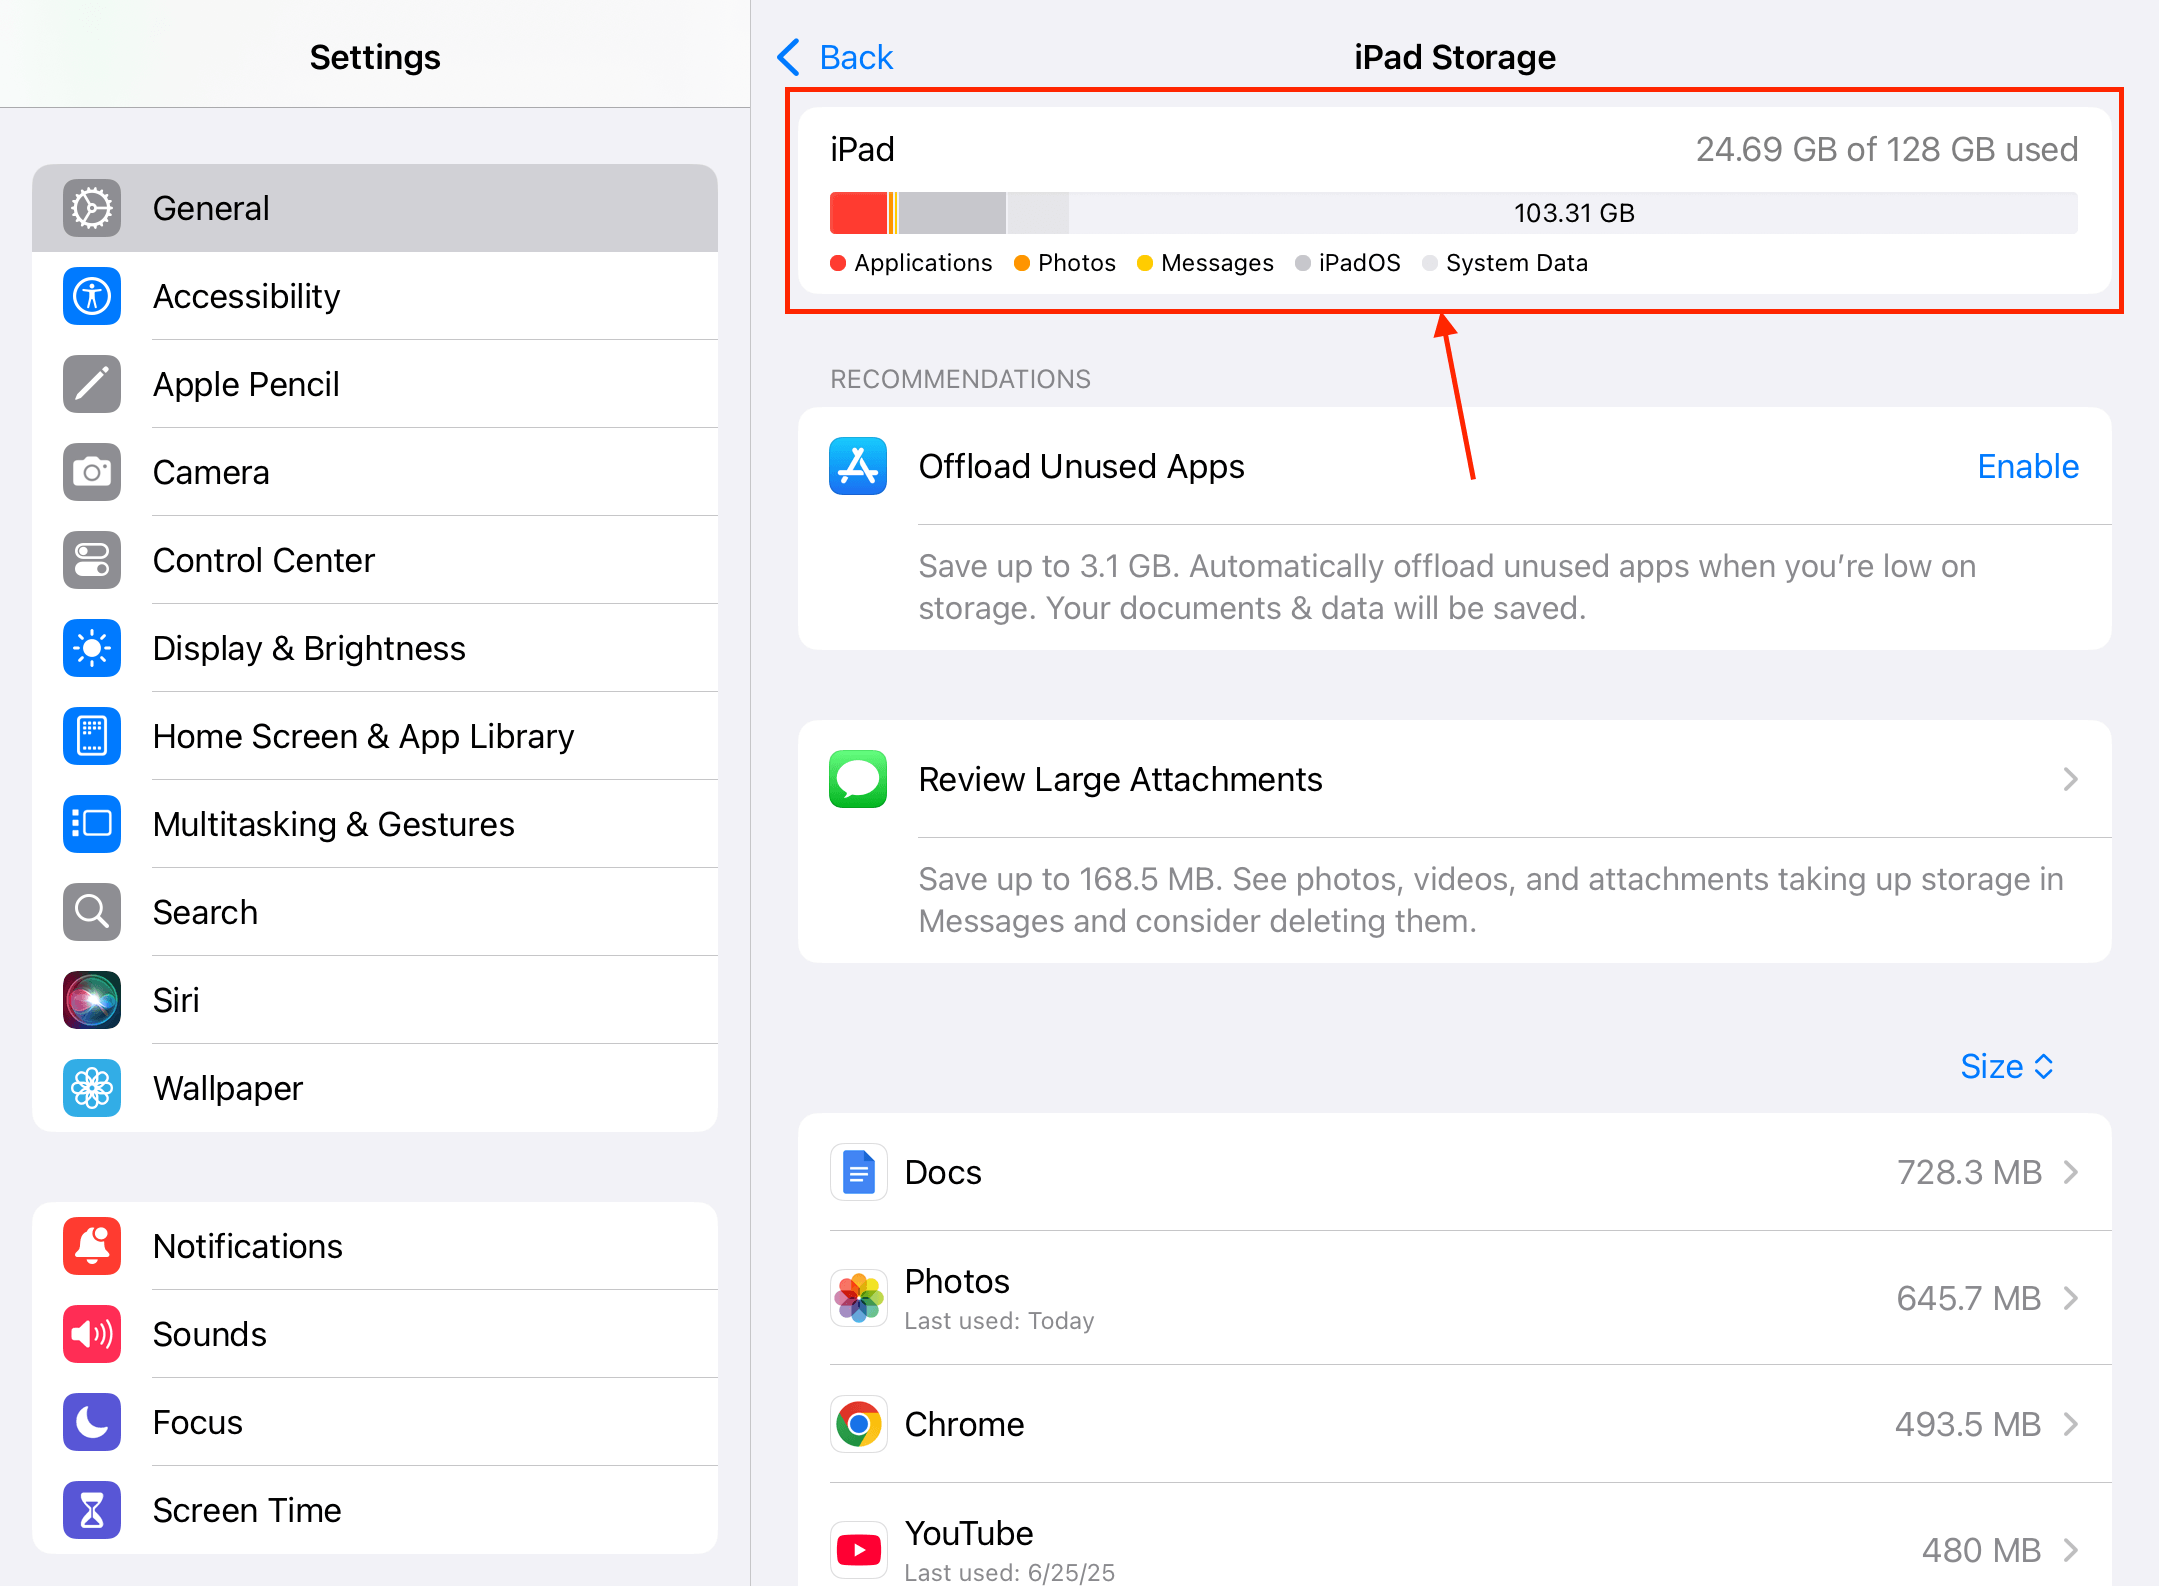
At the very top of the iPad Storage menu, you’ll see a detailed breakdown of your total storage space, how it’s allocated to different types of data, and how much of it is already being used.
4 Ways to Get More Storage on Your iPad
In this section, we’ll break down 4 reliable methods to gain more storage space on your iPad. We recommend you start with the first two methods, which are free but highly effective. But for users who need it, the paid solutions are also likely worth it.
Method 1: Reclaim Wasted Storage Space by Eliminating Clutter (Free)
The best way to increase storage space on your iPad is to reclaim as many gigabytes as possible from device clutter. These are files on your iPad that you no longer need but take up a lot of space on your device. Here are the most common examples found specifically on iPads:
- 🎮 Old or seldom-used apps: iPad applications take up so much space. One game can “cost” up to 20 GB of storage space on its own (or even more) after downloading all required assets. Offload or delete apps you no longer use.
- 📸 Library clutter: Camera roll junk like duplicates, old screenshots, and Live photos can literally cost you gigabytes of space over time. You can review your library manually, but we recommend using third-party apps like Clever Cleaner: AI Cleanup App (which are specifically designed for cleaning).
- 📎 Message attachments: iMessage attachments can reach up to 100 MB in size, and they take up local storage space on your iPad. You can review iMessage attachments by tapping on your contact’s icon in an iMessage conversation.
- ⬇️ Downloads: Files that you download online also take up space locally on your iPad. You can review and delete them from the Downloads folder in the Files app.
- 🛜 Streaming app media: Media streaming apps like Netflix and YouTube usually allow you to download shows for offline viewing. Those are also saved locally, but you can delete them from within the app itself.
- 🌎 Browser caches: Your iPad’s browser apps usually save temporary files (like website assets) that can be easily pulled from caches in order to load pages faster. Clearing this cache can free up a lot of space, depending on your browsing habits. You can clear Safari’s cache via the Settings > Apps > Safari, but other browsers have this option in-app.
Method 2: Enable iCloud Photos and Optimize iPad Storage (Free)
iCloud is your iPad’s built-in cloud storage service. When enabled, it uploads your photos and videos to iCloud’s servers and synchronizes this data across all your Apple devices (that also have iCloud enabled). This way, you always have access to your files.
iCloud also has a feature called Optimize iPad Storage. When enabled, this feature automatically saves high-definition copies of your photos and videos to the cloud and keeps lower-definition copies on your device. These “LD” versions of your photos and videos are much smaller in file size, but don’t cause a noticeable drop in quality.
Step 1. Open the Settings app.
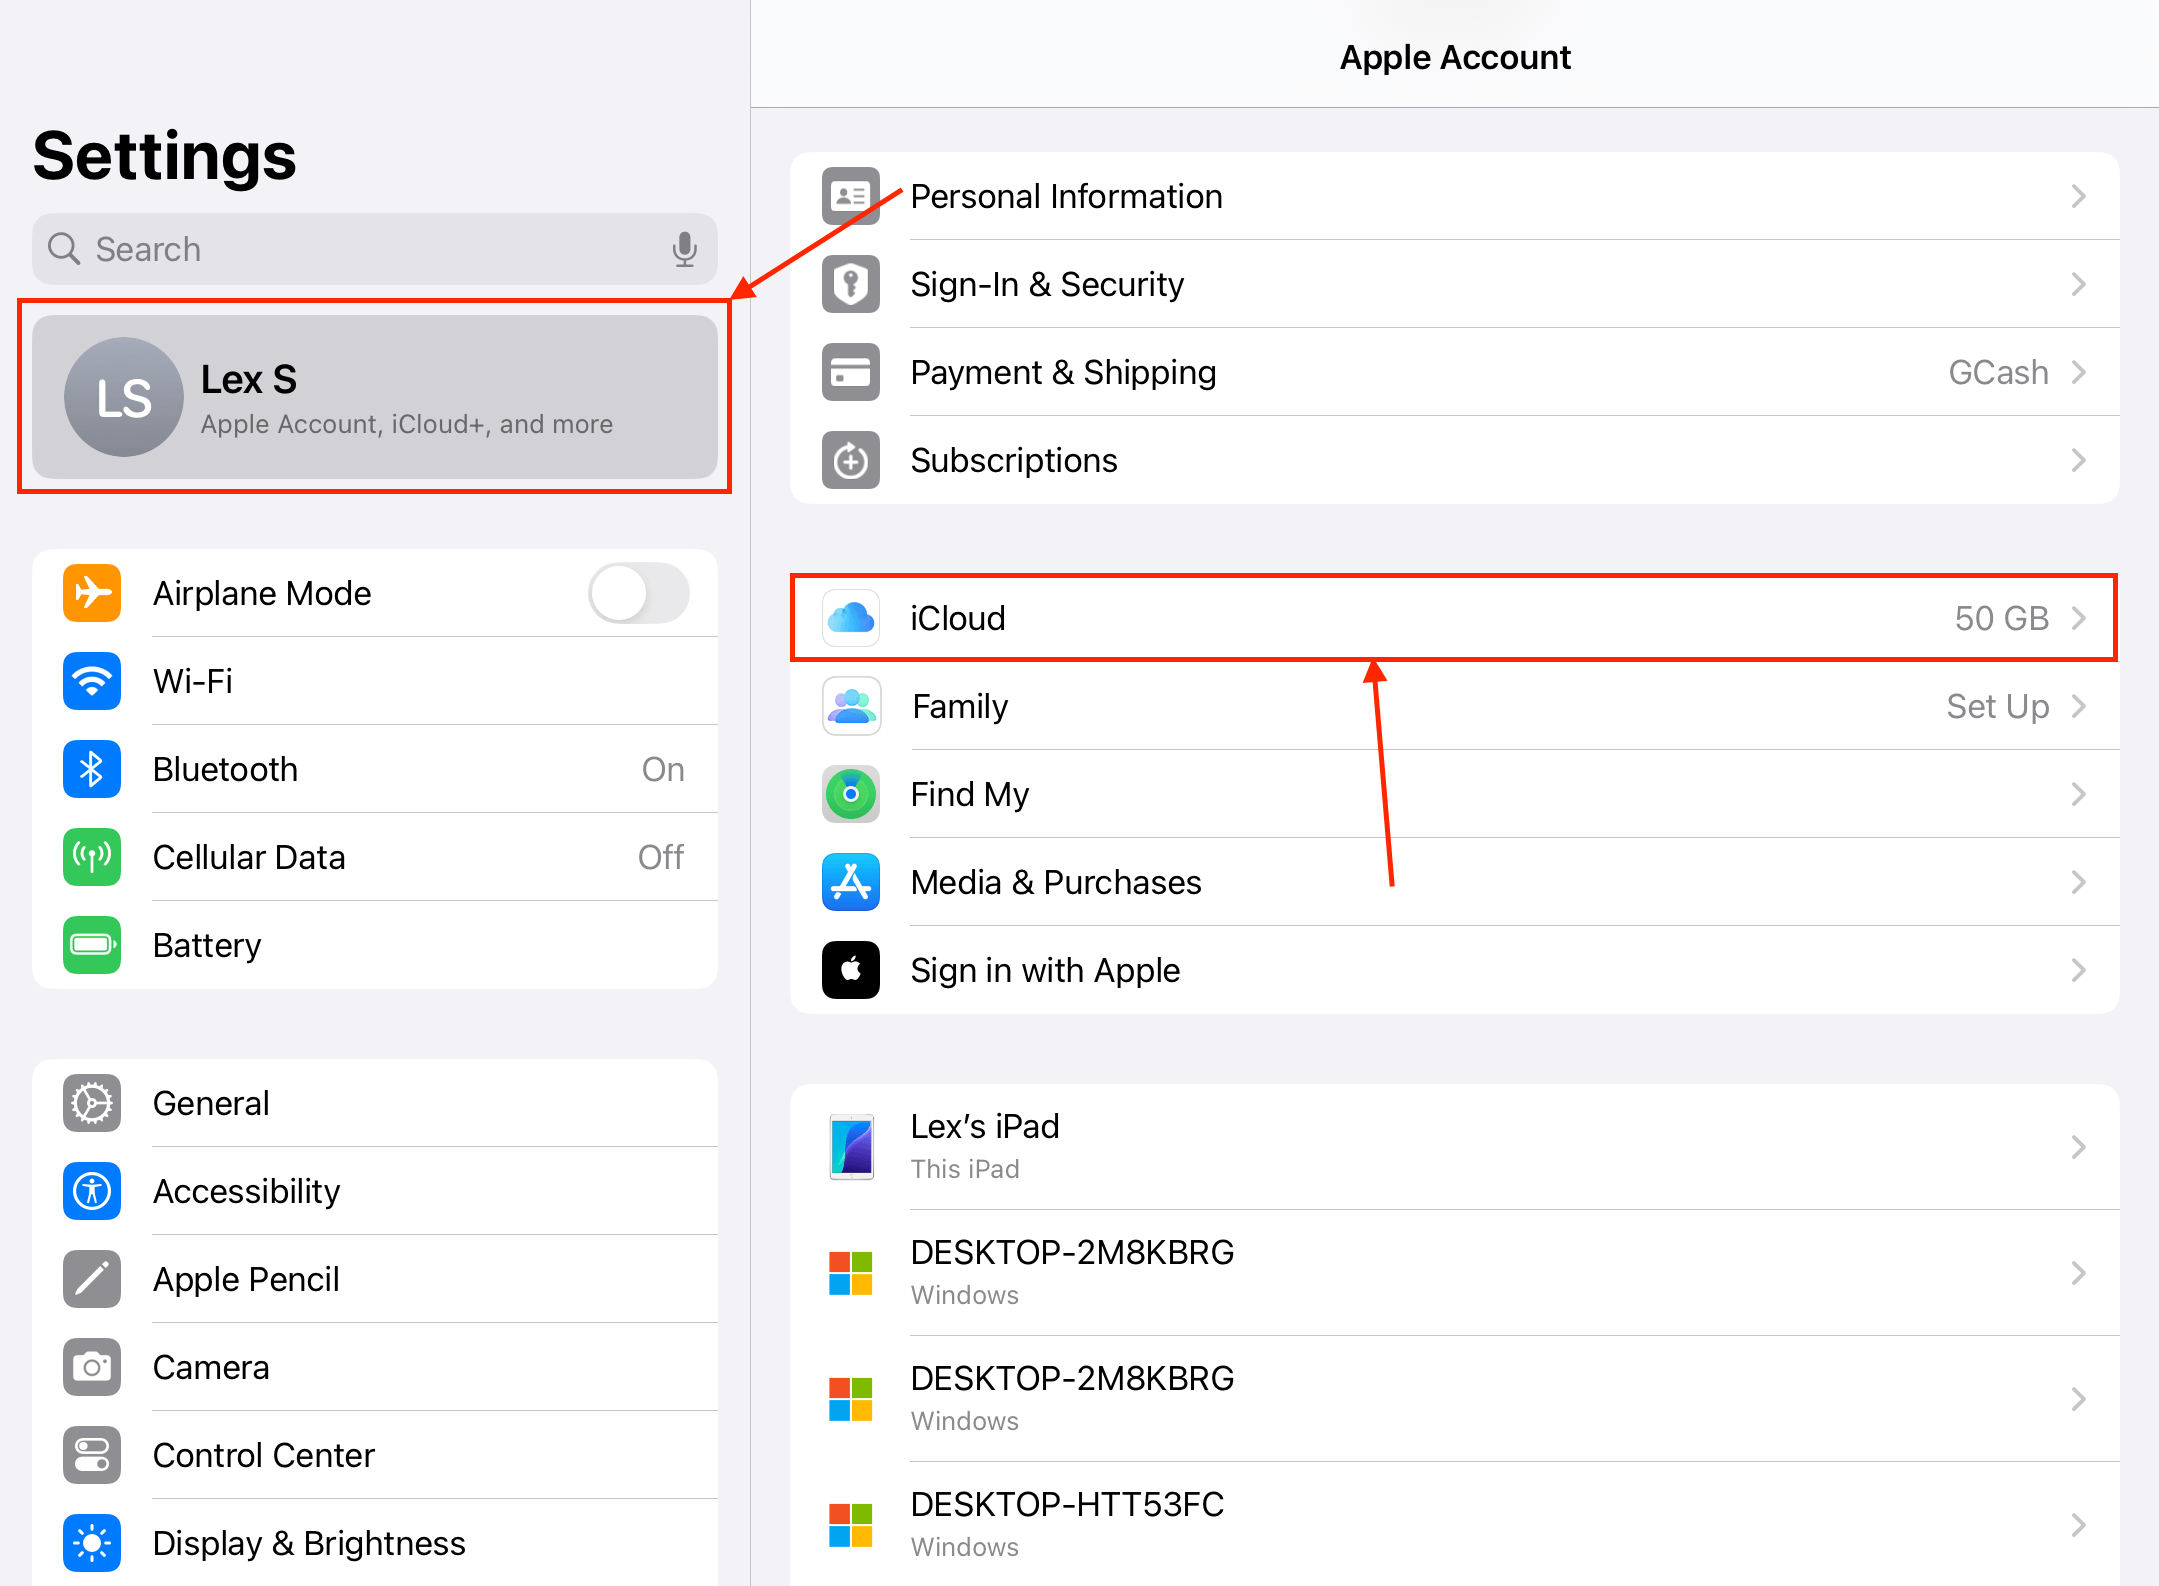
Step 2. Tap your Apple ID and choose iCloud.
Step 3. In the Saved to iCloud section, tap Photos.
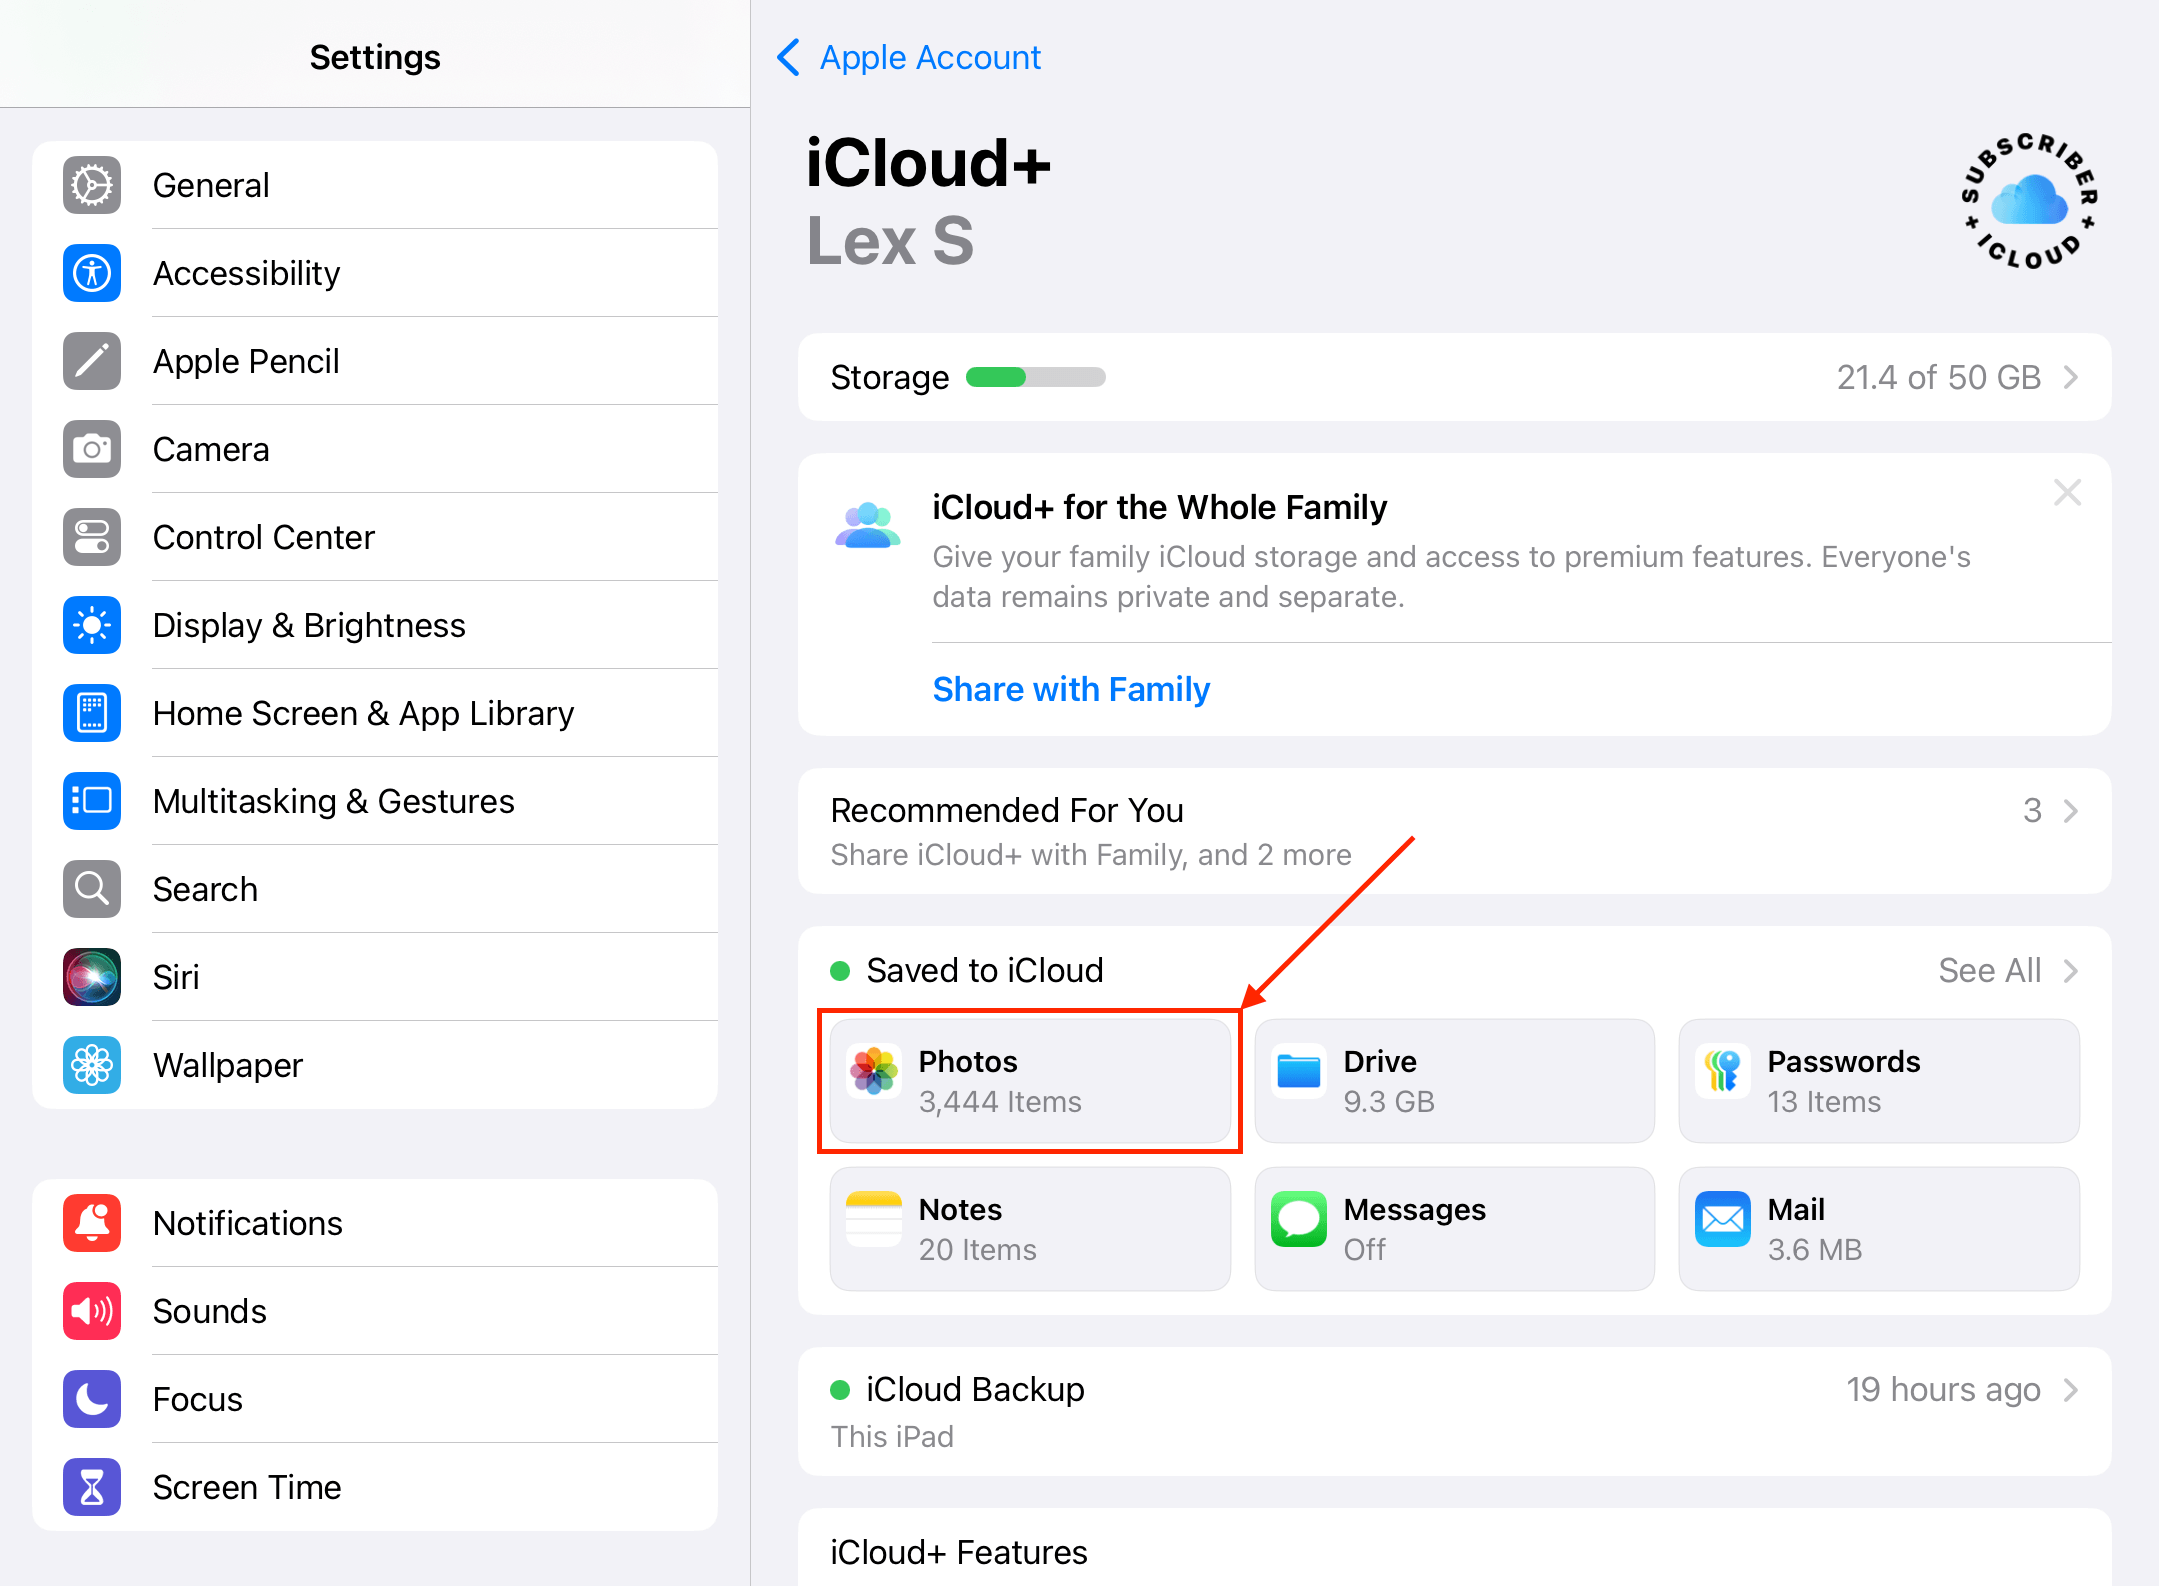
Step 4. Activate the toggle switch beside the Sync this iPad Setting. Then, make sure Optimize iPad Storage is also enabled.

Step 5. Return to the iCloud menu in step 3 and do the same for iCloud Drive (also in the Saved to iCloud section).
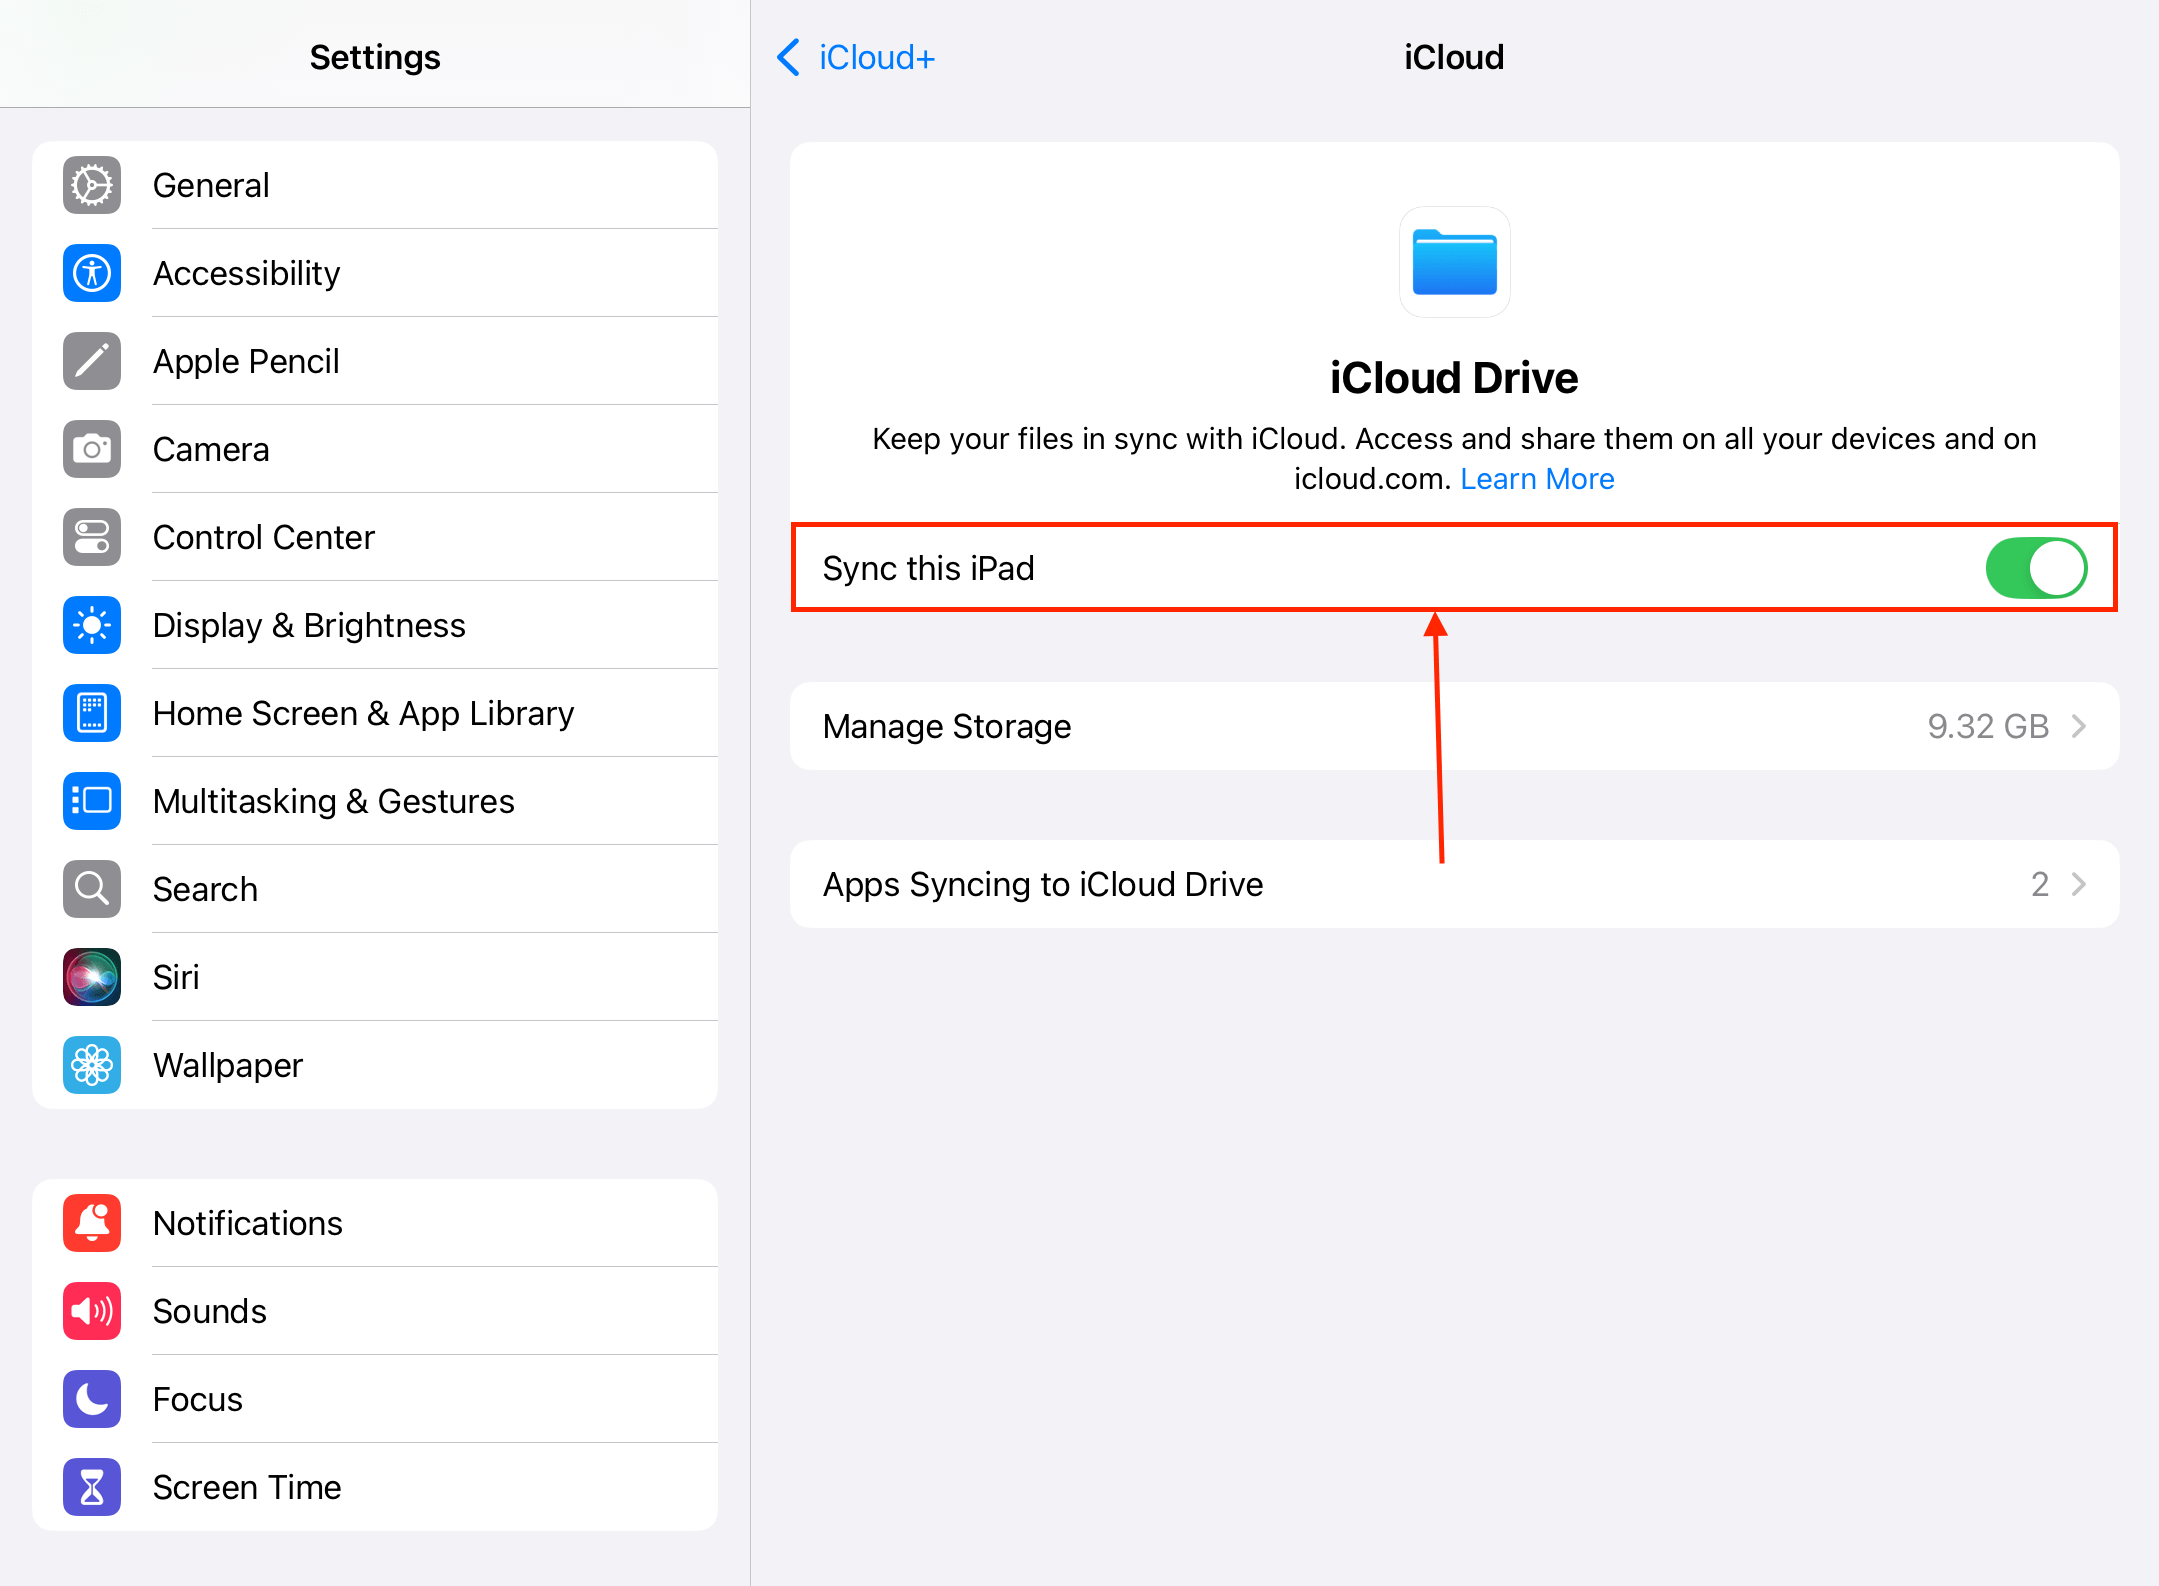
Once iCloud Drive and iCloud Photos are enabled on your iPad, lock your device’s screen, charge it, and then leave it alone for half an hour (or longer, depending on how many files you have). This gives iOS enough time to apply the changes to your files.
Method 3: Buy More iCloud Storage Space (Paid)
If you run out of iCloud storage space, you can “buy” more gigabytes for a monthly fee—the options are 50GB, 200GB, and 2TB (from the original free 5GB). If you take a lot of photos and videos and you utilize iCloud for your library, it may be worth considering an upgrade.
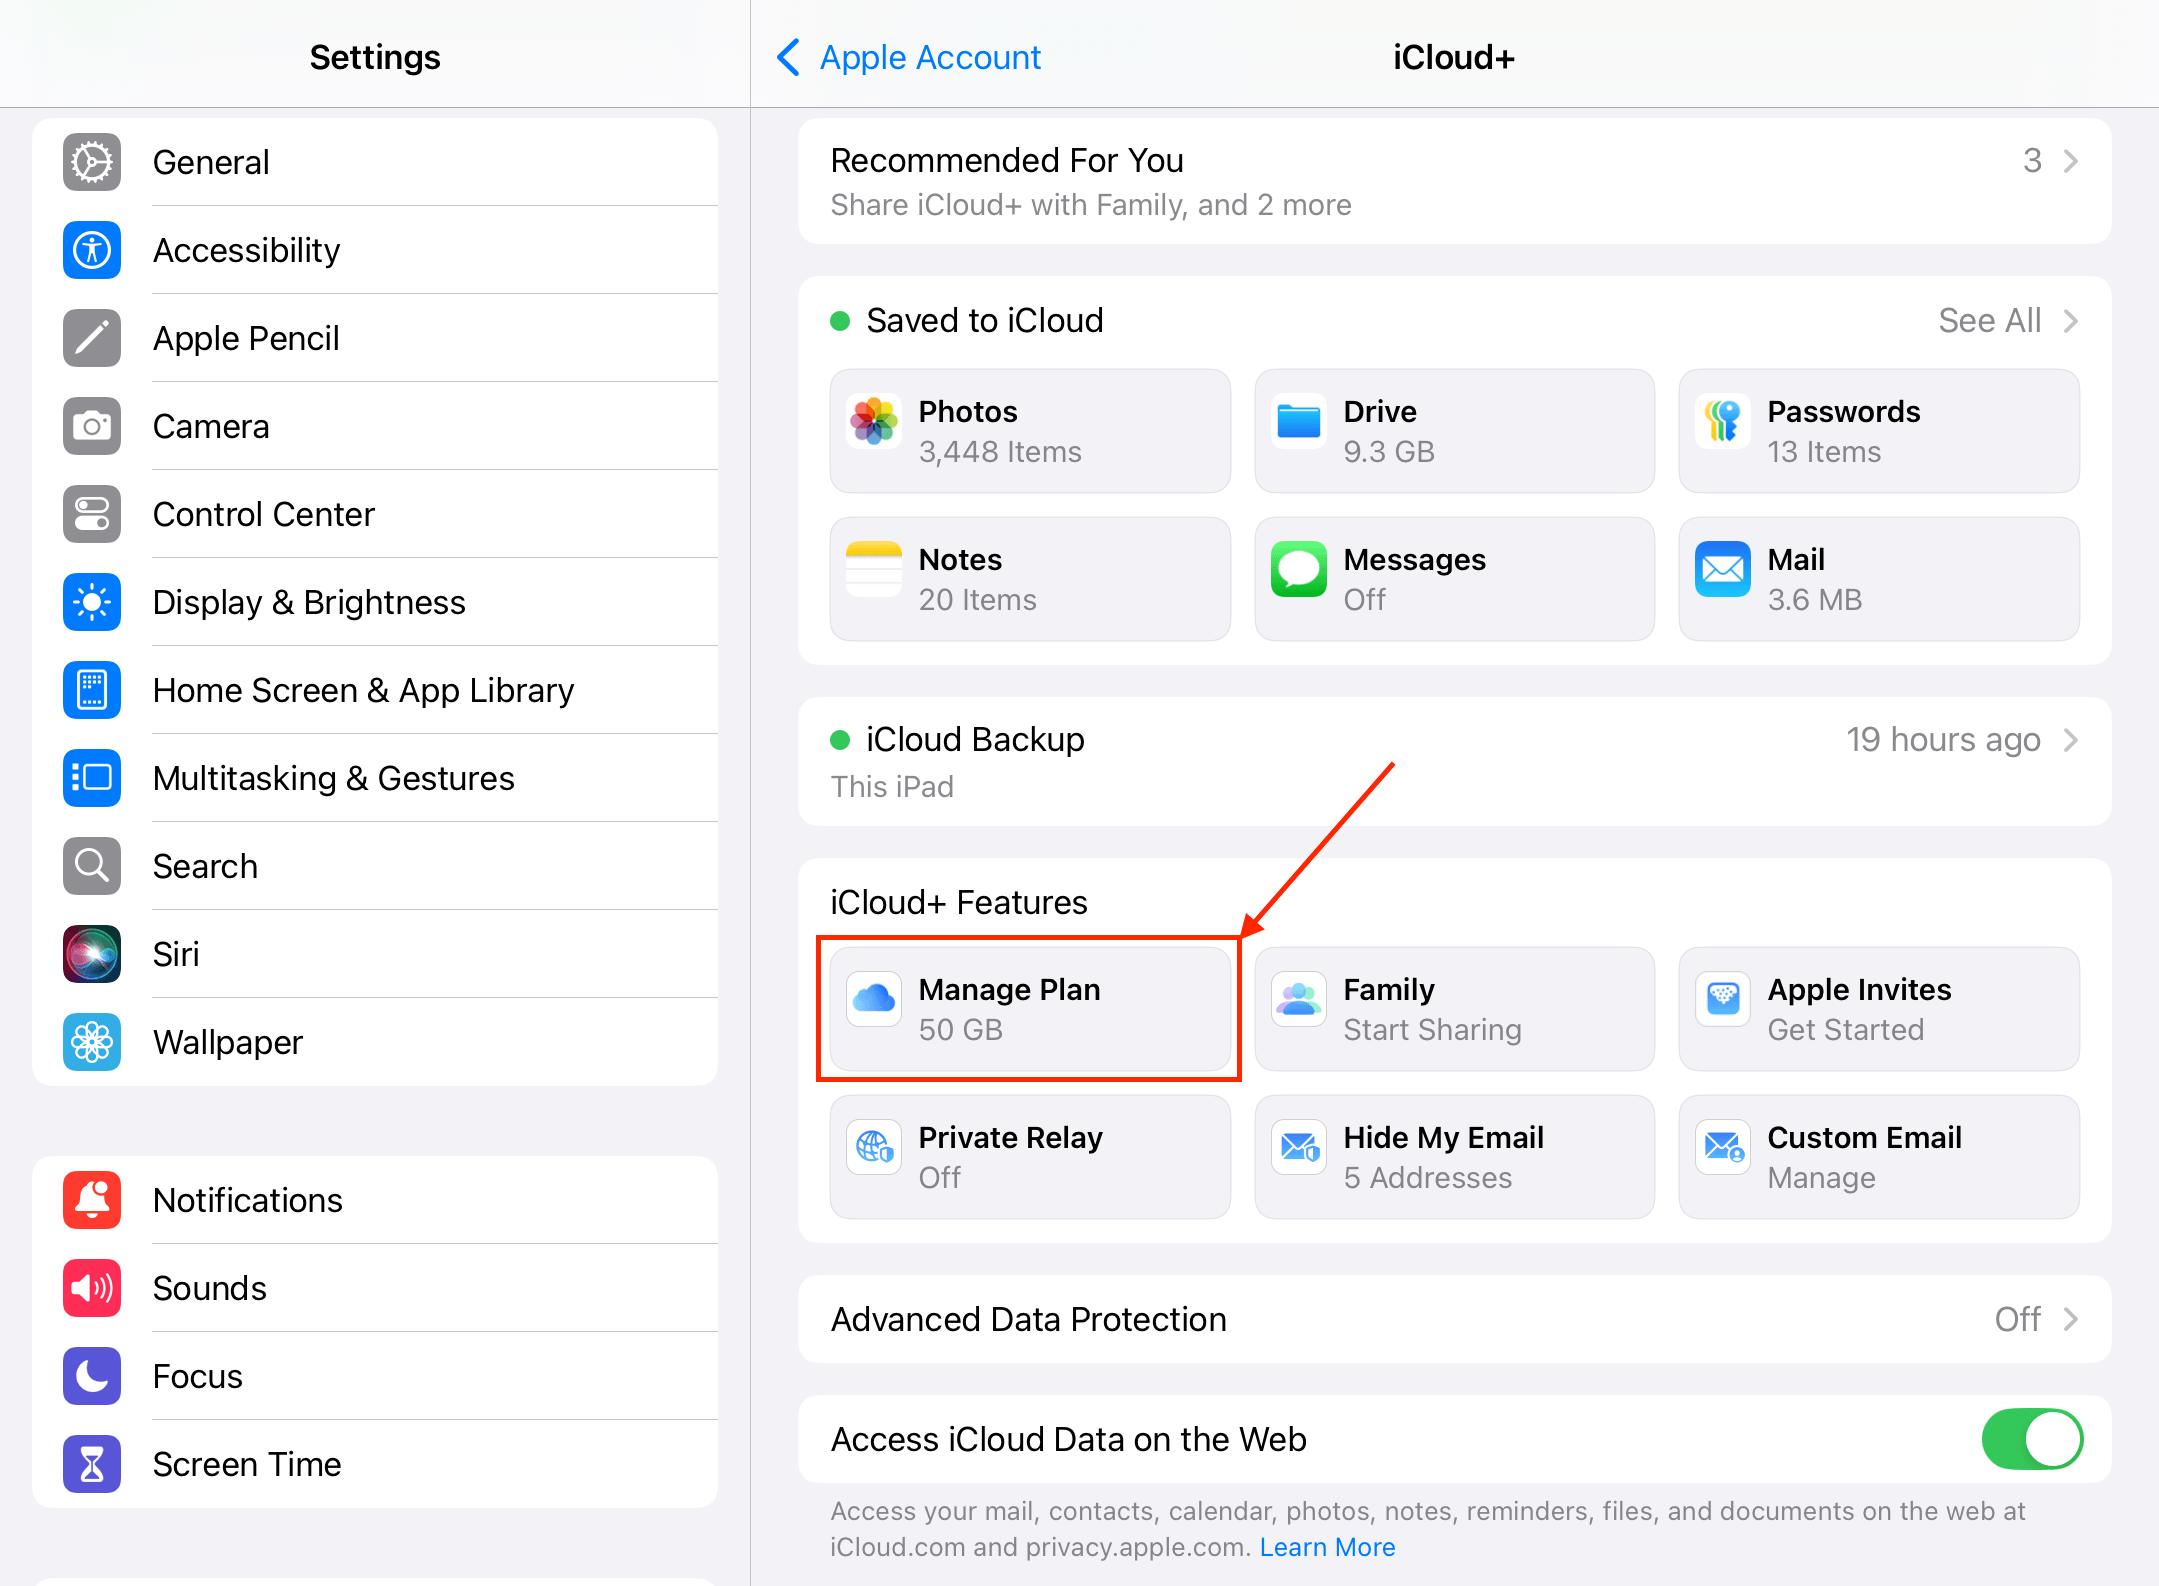
Step 1. Open the Settings app and tap your Apple ID. Then, select iCloud.
Step 2. Scroll down to the very bottom of the iCloud menu and tap Upgrade to iCloud+. If you want to upgrade your existing iCloud+ subscription, tap Manage Plan in the iCloud+ Features section.
After upgrading to iCloud+, keep your iPad locked and charged as it starts uploading your excess files to the cloud.
Method 4: Use External Storage Devices With Your iPad (Paid)
Aside from cloud storage, you can also expand your device’s physical capacity using an external storage device.
This is a more “temporary” solution, since you can only use the extra storage while the device is connected to your iPad. However, it still allows you to preserve your local storage space. Here are some examples of what you can do with an external storage device for your iPad:
- Browse and access files: Using the Files app, you can directly access your external drive’s root directory and view and interact with its files. You don’t need to copy the files to your local storage to handle them.
- Edit photos and videos: Some photo and video editing apps allow you to open and directly edit files from external storage. In some cases, you can even save the edited file on that drive as well, instead of locally.
- Export local files: You can also offload large project files or downloads from your iPad’s local storage to your external storage device. These files can, again, be viewed from the storage device in the Files app without having to save them to your local storage again.
Is Your iPad Getting Slow?
One of the effects of having no free storage space on your iPad is the potential occurrence of lag. This is because your iPad lacks the “elbow room” it needs to operate efficiently, such as not having enough memory for temporary files and cache management.
However, there are other potential reasons for your iPad to be slowing down–if you’re experiencing lag on your device even after getting more storage space, something else might be the culprit. Check out our guide on how to speed up your iPad–we’ll help you diagnose the exact issue and show you 12 different ways to fix it.


